Train an Image Matting Model with Azure ML Custom Containers
Learn how you can train your own model through Azure Machine Learning and custom containers

Imagine that it is as simple as uploading your dataset and running a container that invokes a shell script to train your custom model? Well, that's what I want to achieve in this blog post.
Introduction
For my new project Tinx.ai I am finding an Image Matting model that runs fast enough while ensuring a high-quality standard for my users.
One of the best references I can find that helped me structure my way of thinking is a blog post by Google a while ago that goes into how they successfully deployed Background Segmentation models for Google Meet: https://ai.googleblog.com/2020/10/background-features-in-google-meet.html honestly, I've not seen many posts explain it as well as they did, so definitely check it out!
As for my model searching journey, I decided to utilize Azure Infrastructure (more specifically Azure ML)
Full Outline
The steps that we will perform towards creating our own custom model are:
- Model Selection: Find a model that we want to utilize
- Training Locally: Figure out how to use the model
- Custom Data: For our model we don't want to rely on pre-trained models as they are often trained on a small dataset, so we want to add our own custom data to it
- Validating our Custom Data: We should ensure that our dataset is correct to minimize errors during training
- Create a Training Job: Let's create an Azure ML Job to run our training job in a scalable way
Training our own custom model
1. Model Selection - PP-Matting
There are multiple models out there that achieve great image matting performance. For Tinx.ai I selected the pp-matting model that can be easily exported to ONNX for the reasons of:
- Easy portability (one runtime across different platforms)
- Weights baked in
- Easy optimization (e.g., quantization and others)
This model can be easily trained through a bash script included in the repository! So, let's get started and try to run that first.
2. Training Locally
We have our model, so let's figure out how to use it. Personally, I think of this as a crucial step, because without it we won't be able to automate it easily.
To locally train the PP-Matting Model, we must follow a couple of steps:
- Install
PaddlePaddlewith GPU support (if possible, depending on your CUDA version) - Download the Model code
- Install model requirements
- Train
The steps above are common for most of the models, just the dependency of step 1. changes.
Executing this resulted in the following BASH script for me:
# Install Paddle Paddle for GPU (nvidia-smi)
# see https://www.paddlepaddle.org.cn/en/install/quick?docurl=/documentation/docs/en/install/pip/linux-pip_en.html
python -m pip install paddlepaddle==2.3.1 -i https://mirror.baidu.com/pypi/simple

# Download Architecture
git clone https://github.com/PaddlePaddle/PaddleSeg.git model

# Install Requirements
pip install -r model/Matting/requirements.txt

# Download Pre-Trained Model
https://paddleseg.bj.bcebos.com/matting/models/ppmatting-hrnet_w48-composition.pdparams
https://paddleseg.bj.bcebos.com/matting/models/ppmatting-hrnet_w48-distinctions.pdparams

# Run Training
export CUDA_VISIBLE_DEVICES=0
python tools/train.py \
       --config configs/quick_start/modnet-mobilenetv2.yml \
       --do_eval \
       --use_vdl \
       --save_interval 500 \
       --num_workers 5 \
       --save_dir output
Now we understand that let's go on and create a custom container that we will run in Azure ML.
Personally, I would've preferred on running a Notebook as a job and just waiting on the execution to finish, but that deemed to be hard in Azure ML and I couldn't get it working properly
3. Custom Data
Our model expects a custom dataset to train, so let's create the following directory structure on an Azure Blob Storage with Hierarchical Namespaces enabled:
💡 Use Hierarchical Namespaces as it's more suitable when we have directories and BlobFuse works better with it. Without it a special file must be created per directory (see https://github.com/Azure/azure-storage-fuse/issues/866#issuecomment-1218264037 for more information)
img-matting/
    TinxAI/
        train/ # Contains our training dataset
            alpha/*.jpg
            fg/*.jpg
        val/ # Contains our validation dataset
            alpha/*.jpg
            fg/*.jpg
            trimap/*.jpg
        train.txt
        val.txt
4. Validating our Custom Data
Crucial in step 3. is that we ensure two things:
- That we create our train.txt files
- That our
alpha/folder contains only JPGs and that eachfgfile has a correspondingalphafile with it
⚠️ Which might sound as a boring step is a crucial step, since we don't want to re-start our job which has been running +30hours on an expensive compute just because we are missing 1 file (normally we expect the code to catch this, but PaddleSeg did not check this)
For the points above I created two small python scripts that help me with this:
generate_train_and_val_txt.py
# This file will create a train.txt and val.txt
# each line being of the files in `val/fg` and `train/fg`
# the starting directory is passed as an argument
import os
import sys

# Which directories to read
# (we read val/fg and train/fg from this directory)
path_src = sys.argv[1] if len(sys.argv) >= 2 else "."

# Where to store the train.txt and val.txt files
path_dst = sys.argv[2] if len(sys.argv) >= 3 else "."

print("Generating train.txt and val.txt")
print(f"- path_src: {path_src}")
print(f"- path_dst: {path_dst}")

path_fg_val = f"{path_src}/val/fg"
path_fg_train = f"{path_src}/train/fg"

files_train = sorted(os.listdir(path_fg_train))
files_val = sorted(os.listdir(path_fg_val))

with open(f"{path_dst}/train.txt", 'w') as f:
    for file in files_train:
        f.write(os.path.join(path_fg_train, file + '\n'))

with open(f"{path_dst}/val.txt", 'w') as f:
    for file in files_val:
        f.write(os.path.join(path_fg_val, file + '\n'))
validate_fg_and_alpha_exist.py
# This file will validate the existance of an alpha file and fg file
# in the pairs (val/fg, val/alpha) and (train/fg, train/alpha)
import os
import sys

# Which directories to read
# (we read val/fg and train/fg from this directory)
path_src = sys.argv[1] if len(sys.argv) >= 2 else "."

print("Validating Fg and Alpha exist")
print(f"- path_src: {path_src}")
print(f"- checking: (val/fg, val/alpha) && (train/fg, train/alpha)")

path_val_fg = f"{path_src}/val/fg"
path_val_alpha = f"{path_src}/val/alpha"
path_train_fg = f"{path_src}/train/fg"
path_train_alpha = f"{path_src}/train/alpha"

# Check val/fg, val/alpha pair
files_val = os.listdir(path_val_fg)

for file in files_val:
    path_alpha_jpg = f"{path_val_alpha}/{file}"

    if not os.path.exists(path_alpha_jpg):
        print(f"{path_alpha_jpg} does not exist")


# Check train/fg, train/alpha pair
files_train = os.listdir(path_train_fg)

for file in files_train:
    path_alpha_jpg = f"{path_train_alpha}/{file}"

    if not os.path.exists(path_alpha_jpg):
        print(f"{path_alpha_jpg} does not exist")
For more information, check out my latest blog post that goes more in-depth on this
5. Create Azure ML Job
Now all the above is done, let's get started with creating our Azure ML job. While creating a custom container might seem easy, it is far from since we must take into consideration scale and easiness of dataset management. So, let's go over what our container must do:
Honestly, what sounded as an easy task was quite annoying. I am not an expert in creating and trainig models, but this was a cumbersome process to figure out...
Outline
- "Mount" the dataset on the container through BlobFuse
- Install PyTorch
- Add our custom scripts
- Push the container to a private registry
We could utilize the local build option, but this does not take the local files into account
Directory Structure
To perform the outline mentioned above and the learnings we received from the BlobFuse article, we can now create a directory structure that helps us:
Dockerfile # Container Definition
container_build.sh   # Easily build the container
container_run.sh   # Easily run the container
tinx-ai/
  main.sh
  docker/
    azure-blobfuse-config.yaml # Configuration for our mount point
    azure-blobfuse-mount.sh    # Mount our blob storage
  utils/
    generate_train_and_val_txt.py  # Generate train.txt and val.txt
    validate_fg_and_alpha_exist.py # ensure alpha and fg exist
The tinx-ai/utils/azure-blobfuse-config.yaml and tinx-ai/utils/azure-blobfuse-mount.sh files are covered in the before mentioned article, so let's go more in-depth on what the others contain:
container_build.sh
ACR_NAME=YOUR_ACR_NAME
CONTAINER_NAME=YOUR_CONTAINER_NAME
CONTAINER_VERSION=v0.0.1
CONTAINER_TAG=${ACR_NAME}.azurecr.io/${CONTAINER_NAME}:${CONTAINER_VERSION}

echo "Building Container"
docker build -t $CONTAINER_TAG -f Dockerfile .

# echo "Pushing Container"
# az acr login --name $ACR_NAME
# docker push $CONTAINER_TAG
container_run.sh
ACR_NAME=YOUR_ACR_NAME
CONTAINER_NAME=YOUR_CONTAINER_NAME
CONTAINER_VERSION=v0.0.1
CONTAINER_TAG=${ACR_NAME}.azurecr.io/${CONTAINER_NAME}:${CONTAINER_VERSION}

echo "Running container $CONTAINER_TAG"
docker run -it --rm --cap-add=SYS_ADMIN --gpus all --device=/dev/fuse --security-opt apparmor:unconfined --shm-size=38gb $CONTAINER_TAG
Dockerfile
# https://github.com/Azure/AzureML-Containers/tree/master/base/gpu
FROM mcr.microsoft.com/azureml/openmpi4.1.0-cuda11.3-cudnn8-ubuntu20.04

# ======================================================================
# Provide BlobFuse v2 (https://docs.microsoft.com/en-us/azure/storage/blobs/blobfuse2-how-to-deploy)
# this will translate calls from Linux Filesystem to Azure Blob Storage
# beside installing it, we need to perform 3 base actions
# - Configure a temporary path for caching or streaming
# - Create an empty directory for mounting the blob container
# - Authorize access to your storage account
# ======================================================================
# https://github.com/Azure/azure-storage-fuse/releases/download/blobfuse2-2.0.0-preview2/blobfuse2-2.0.0-preview.2-ubuntu-18.04-x86-64.deb
RUN apt install -y libfuse3-dev fuse3 \
    && wget https://github.com/Azure/azure-storage-fuse/releases/download/blobfuse2-2.0.0-preview2/blobfuse2-2.0.0-preview.2-ubuntu-20.04-x86-64.deb \
    && apt install ./blobfuse2-2.0.0-preview.2-ubuntu-20.04-x86-64.deb

# ======================================================================
# Configure PyTorch
# https://pytorch.org/get-started/locally/
# ======================================================================
RUN pip install torch torchvision torchaudio --extra-index-url https://download.pytorch.org/whl/cu113

# ======================================================================
# Configure Python Dependencies
# ======================================================================
COPY requirements.txt requirements.txt
RUN pip install -r requirements.txt

# ======================================================================
# Configure Scripts
# ======================================================================
#ADD docker/bootstrap.sh docker/bootstrap.sh
#RUN chmod +x docker/bootstrap.sh; ./docker/bootstrap.sh

COPY docker/ /docker
RUN chmod 755 /docker/*.sh

# ======================================================================
# Configure Other
# ======================================================================
ADD ./ ./

#ENTRYPOINT ["/docker/azure-blobfuse-mount.sh"]
tinx-ai/main.sh
#!/bin/bash
set -euo pipefail
set -o errexit
set -o errtrace

if [ $# -lt 2 ]; then
    echo "Usage: $0 <PATH_SCRIPTS_ROOT> <PATH_DATASET_MOUNT>"
    echo "Entered: $0 $1 $2"
    echo "Example: $0 /tinx-ai /tinx-ai-dataset"
    exit
fi

PATH_ROOT=$1
PATH_DATASET=$2

echo "Mounting Dataset"
${PATH_ROOT}/docker/azure-blobfuse-mount.sh "${PATH_ROOT}/docker/azure-blobfuse-config.yaml" "${PATH_DATASET}"

echo "Dataset - Generate train.txt and val.txt"
echo "Dataset - SRC: ${PATH_DATASET} DST: ${PATH_DATASET}"
python ${PATH_ROOT}/utils/generate_train_and_val_txt.py "${PATH_DATASET}/img-matting/TinxAI" "${PATH_DATASET}/img-matting/TinxAI"

echo "Dataset - Validate FG and Alpha pair exist"
# python ${PATH_ROOT}/utils/validate_fg_and_alpha_exist.py "${PATH_DATASET}/img-matting/TinxAI"

echo "Setting Environment Variables"
export CUDA_VISIBLE_DEVICES=0

echo "Ready for AI Experiment!"
Creating our container
As we created the utils files we can now simply run the below to build our container:
./container_build.shRunning our Training Job
Finally, we can run our training job by running the below:
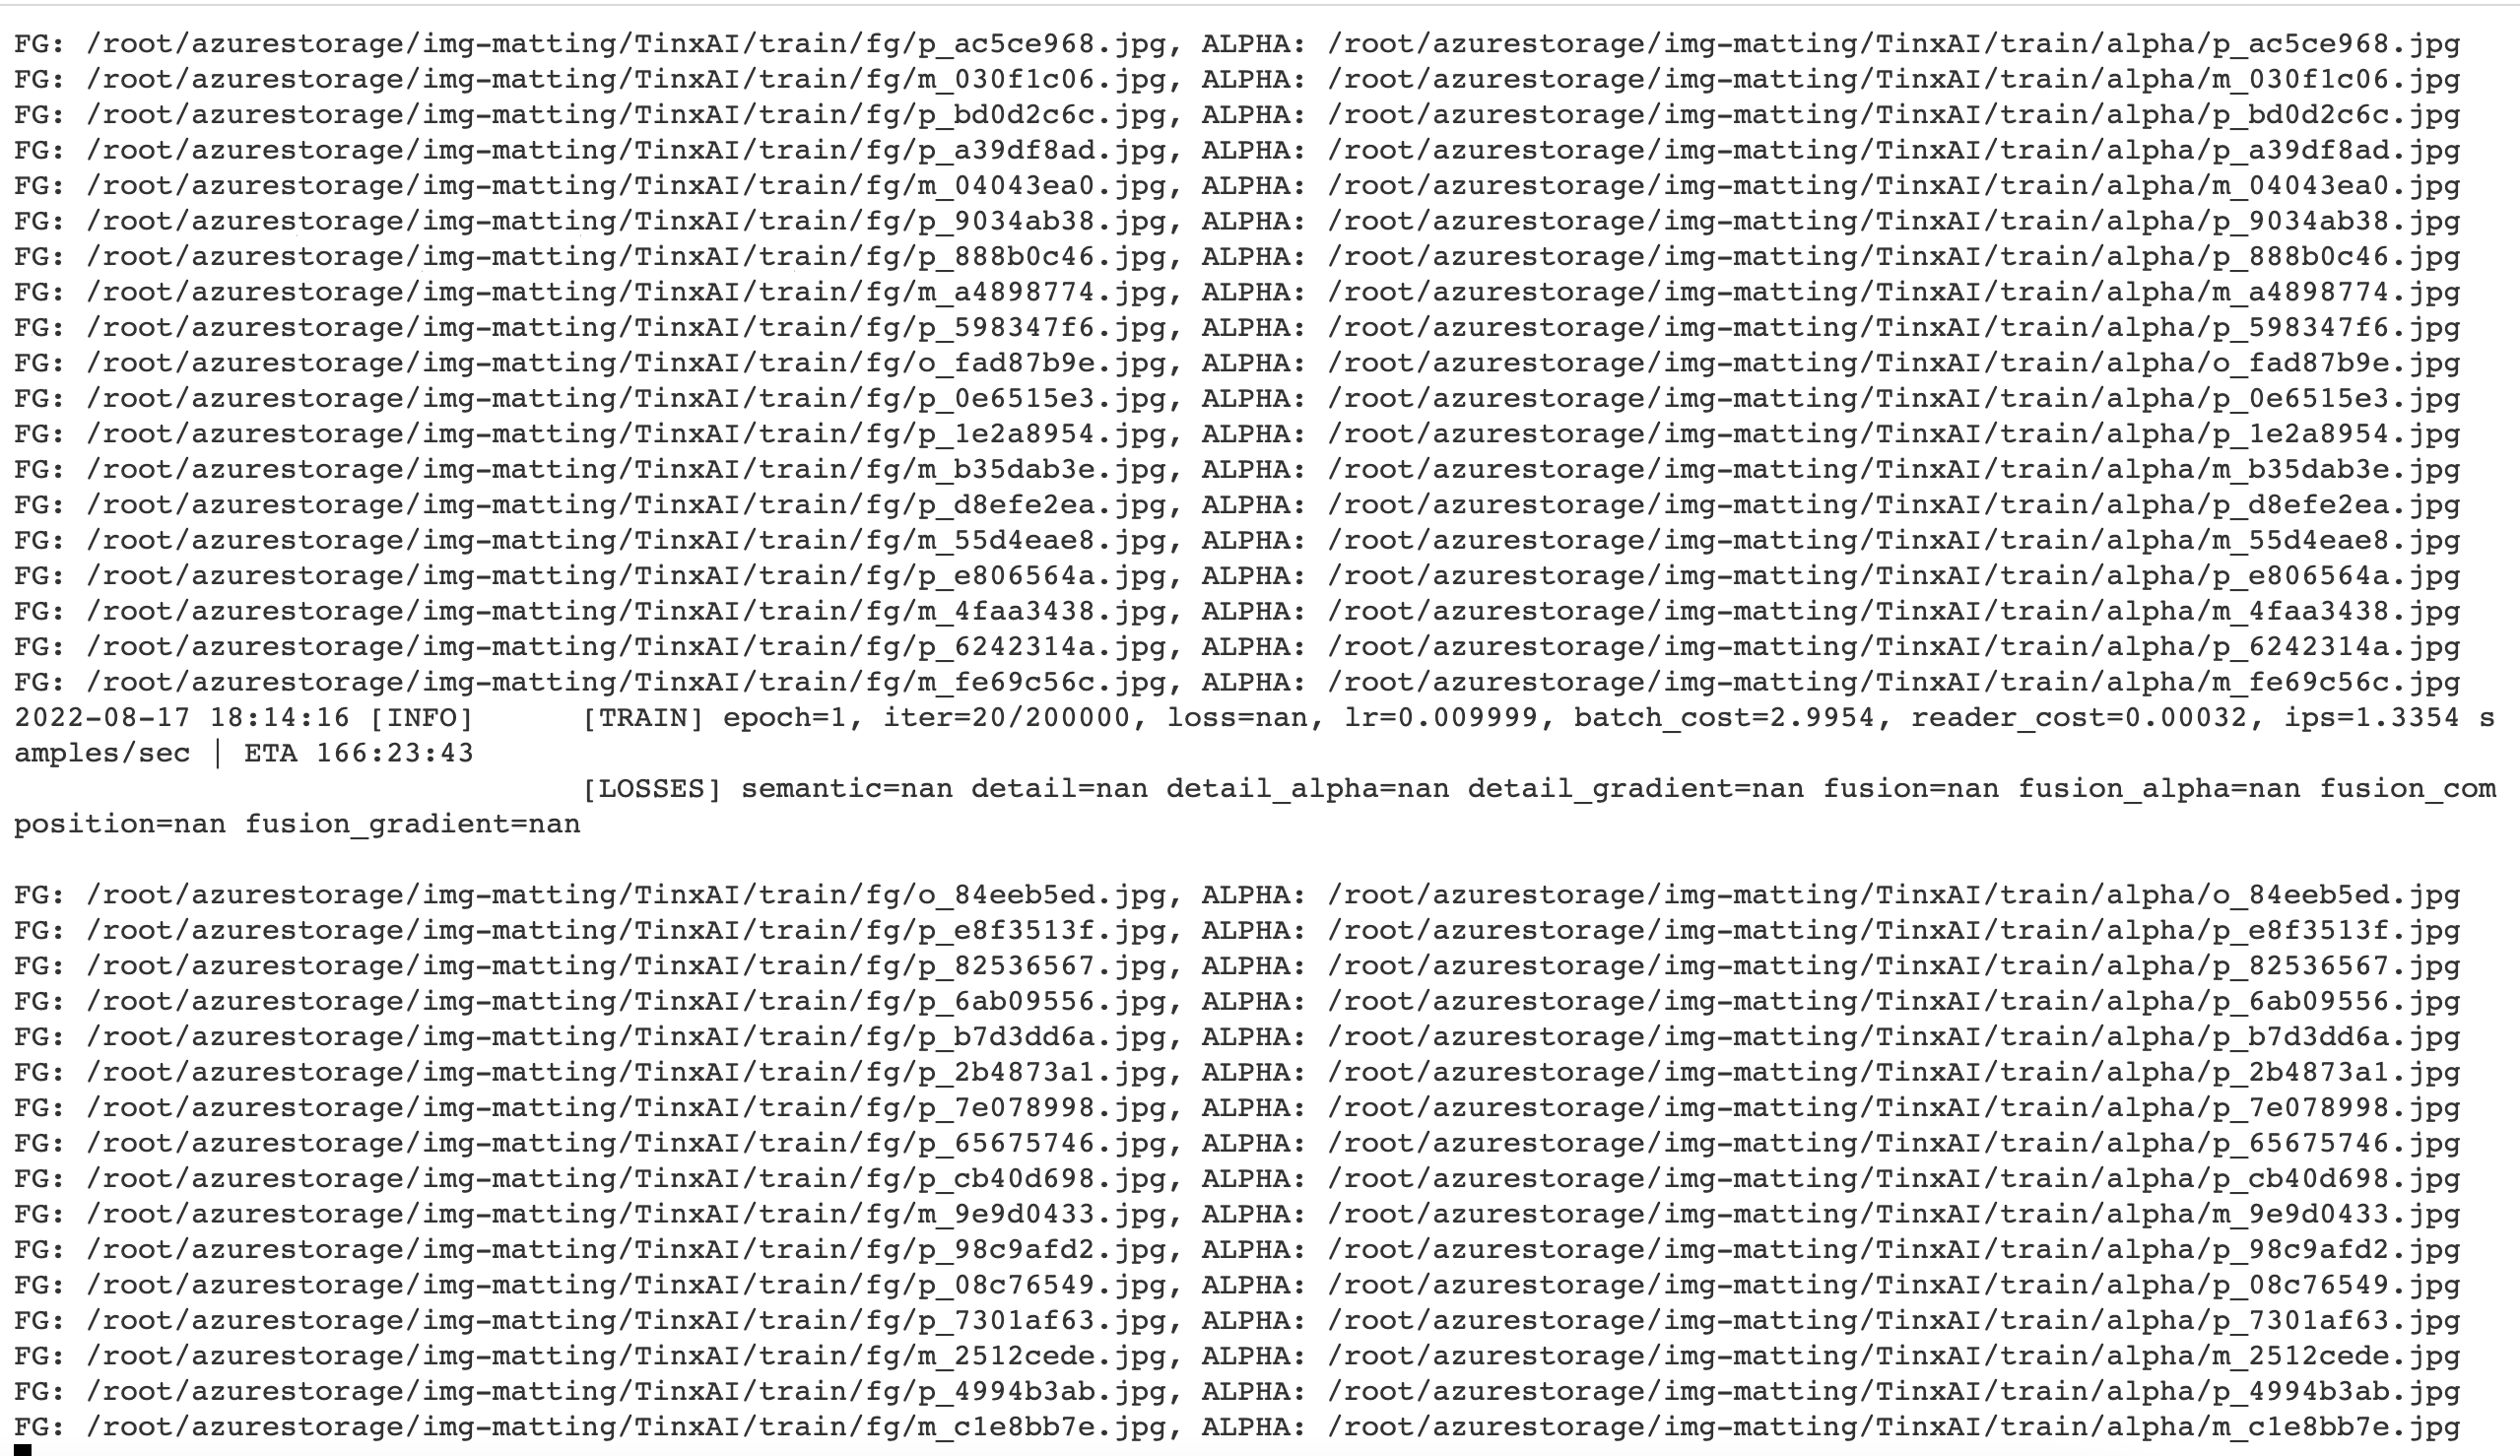
./container_run.shThis will start up the training process and we will see it log output in how far it got and which environment we are running on:
------------Environment Information-------------
platform: Linux-5.15.0-1014-azure-x86_64-with-glibc2.17
Python: 3.8.12 (default, Oct 12 2021, 13:49:34) [GCC 7.5.0]
Paddle compiled with cuda: True
NVCC: Build cuda_11.3.r11.3/compiler.29920130_0
cudnn: 8.2
GPUs used: 1
CUDA_VISIBLE_DEVICES: None
GPU: ['GPU 0: Tesla K80']
GCC: gcc (Ubuntu 9.4.0-1ubuntu1~20.04.1) 9.4.0
PaddleSeg: 2.6.0
PaddlePaddle: 2.3.1
OpenCV: 4.5.4
------------------------------------------------
Summary
Hopefully after reading this post, you will now be able to create and train your own custom model! As for learnings, there are many learnings yet to do, so in an upcoming post I hope to tackle:
- How we can test this model
- How we can optimize this model
- How we can run this model cross platform


Comments ()