
An introduction to Image Matting
What is Image Matting and how does it work? Learn more about it in this deep dive on the process and learn how you can do this yourself
With Tinx.ai I provide AI models towards my users that helps them speed up their workflows by creating models that are pre-build and pre-trained for a higher quality than the default models out there.
One of the models that I provide is Image Matting, but what is Image Matting actually?
Summary
In summary, Image Matting is the process of understanding a provided trimap where we have an unknown region of pixels and where we dedicate a Machine Learning model to understand if these unknown pixels belong to the foreground object or to the background object
Deep Dive on Image Matting
The summary above might not mean much, or might introduce certain unknown words, so let's make these clearer. In Image Matting we have certain tasks that have happen before we can get to the core task.
Its process typically looks like this:
- Provide an input image
- Segment the image: Typically, we do this to extract the salient object - (commonly referred to as the foreground object in background removal tasks). This will provide a rough cut-out of the image that we want to extract.
- Generate a trimap based on the segmented image: Here we will take object detected from step 2 and generate a border around it to provide to the image matting step
- Apply the Image Matting model
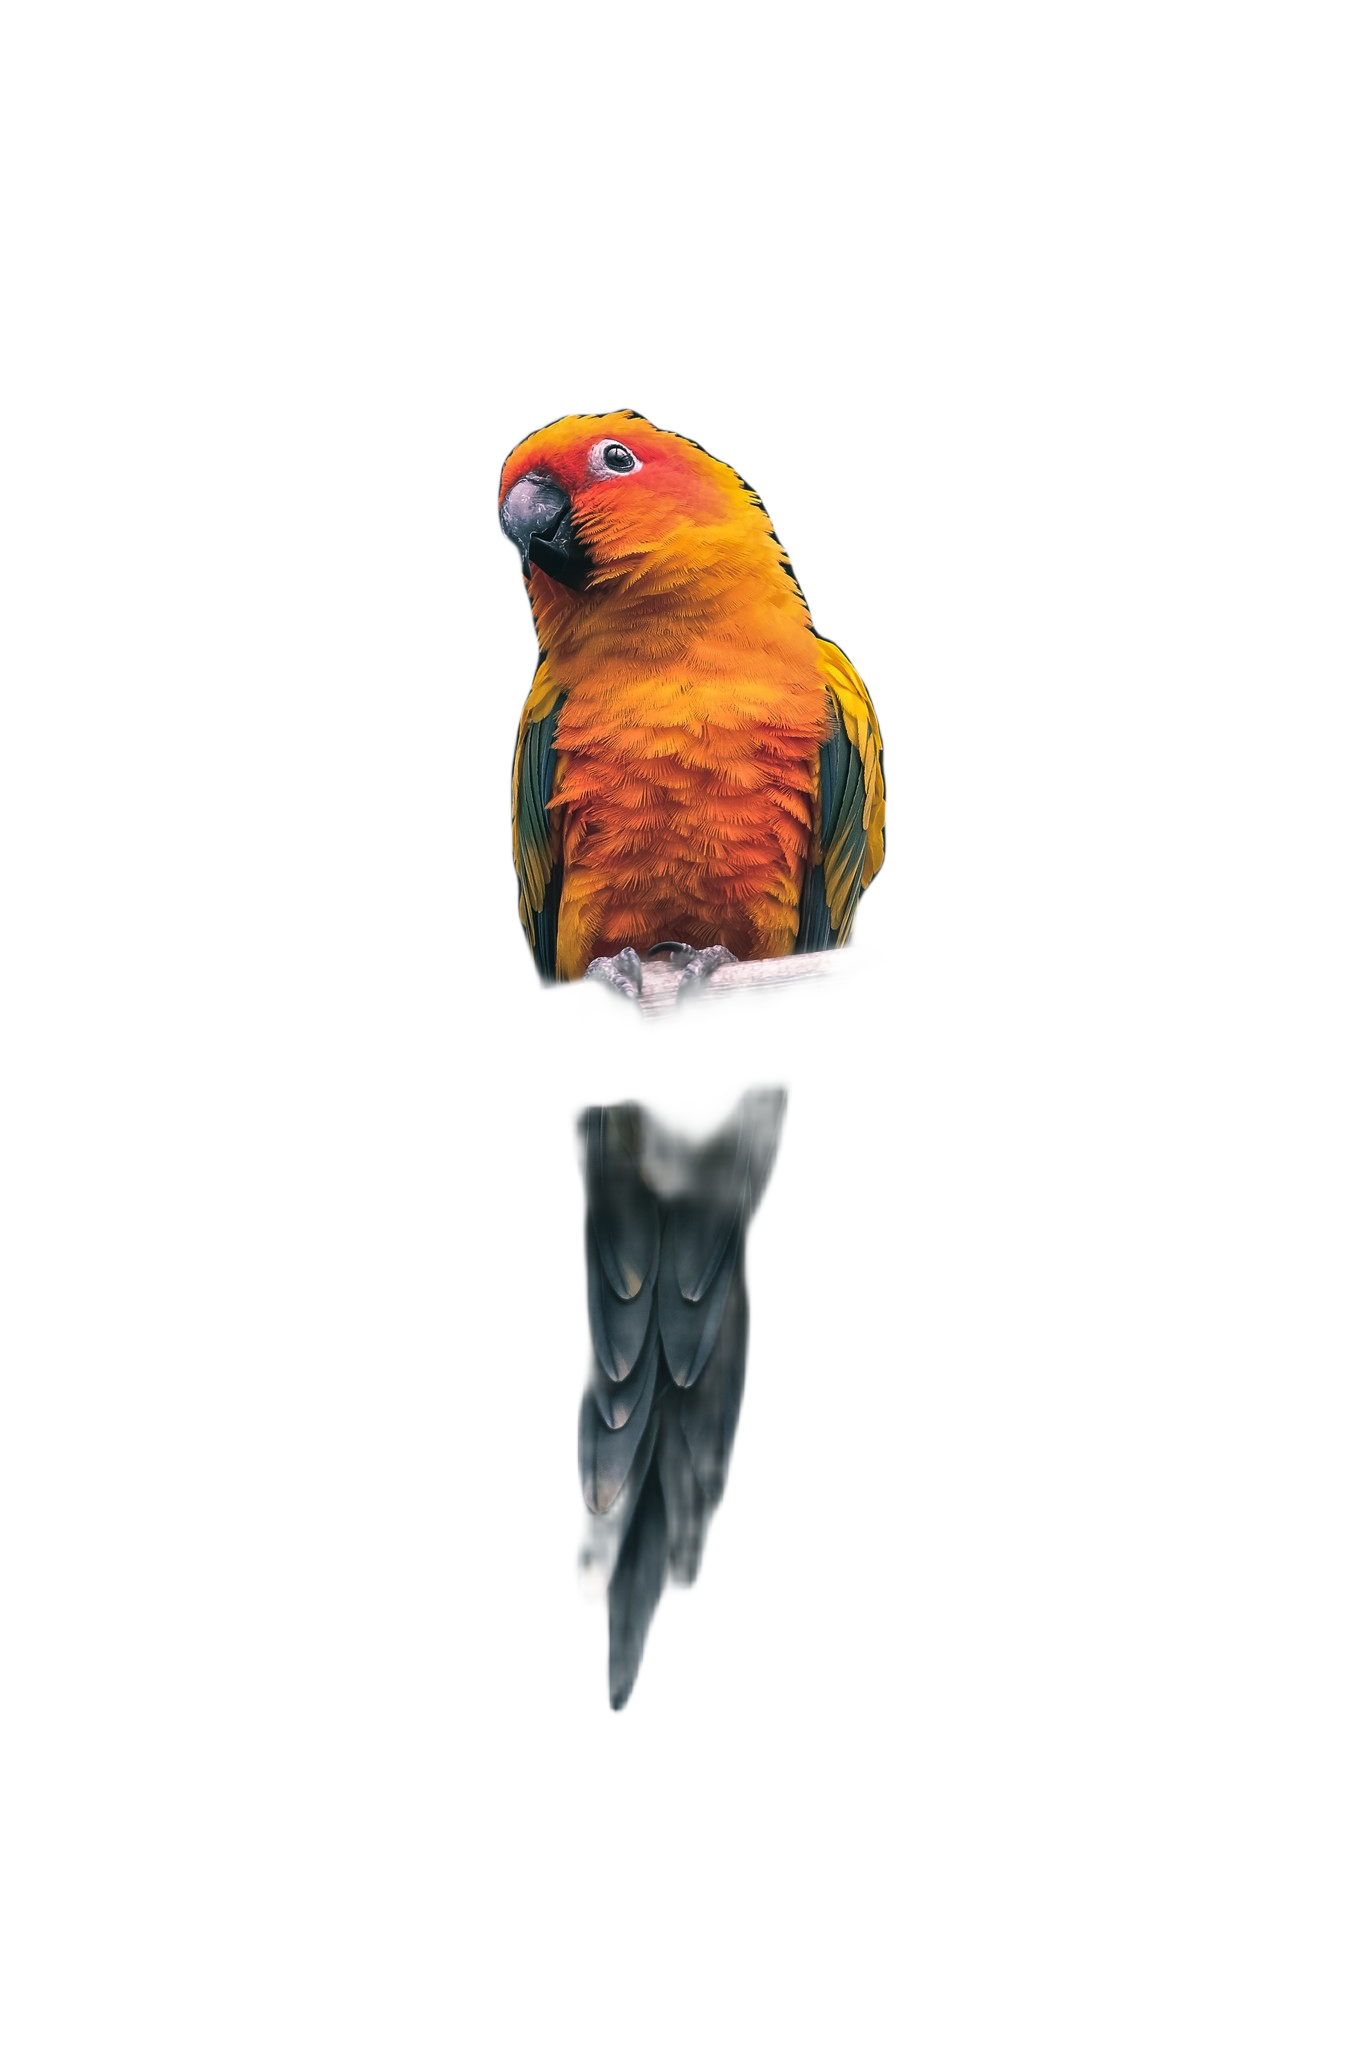
Let's continue with an example that we will use throughout this post; this is what we name our Original Image
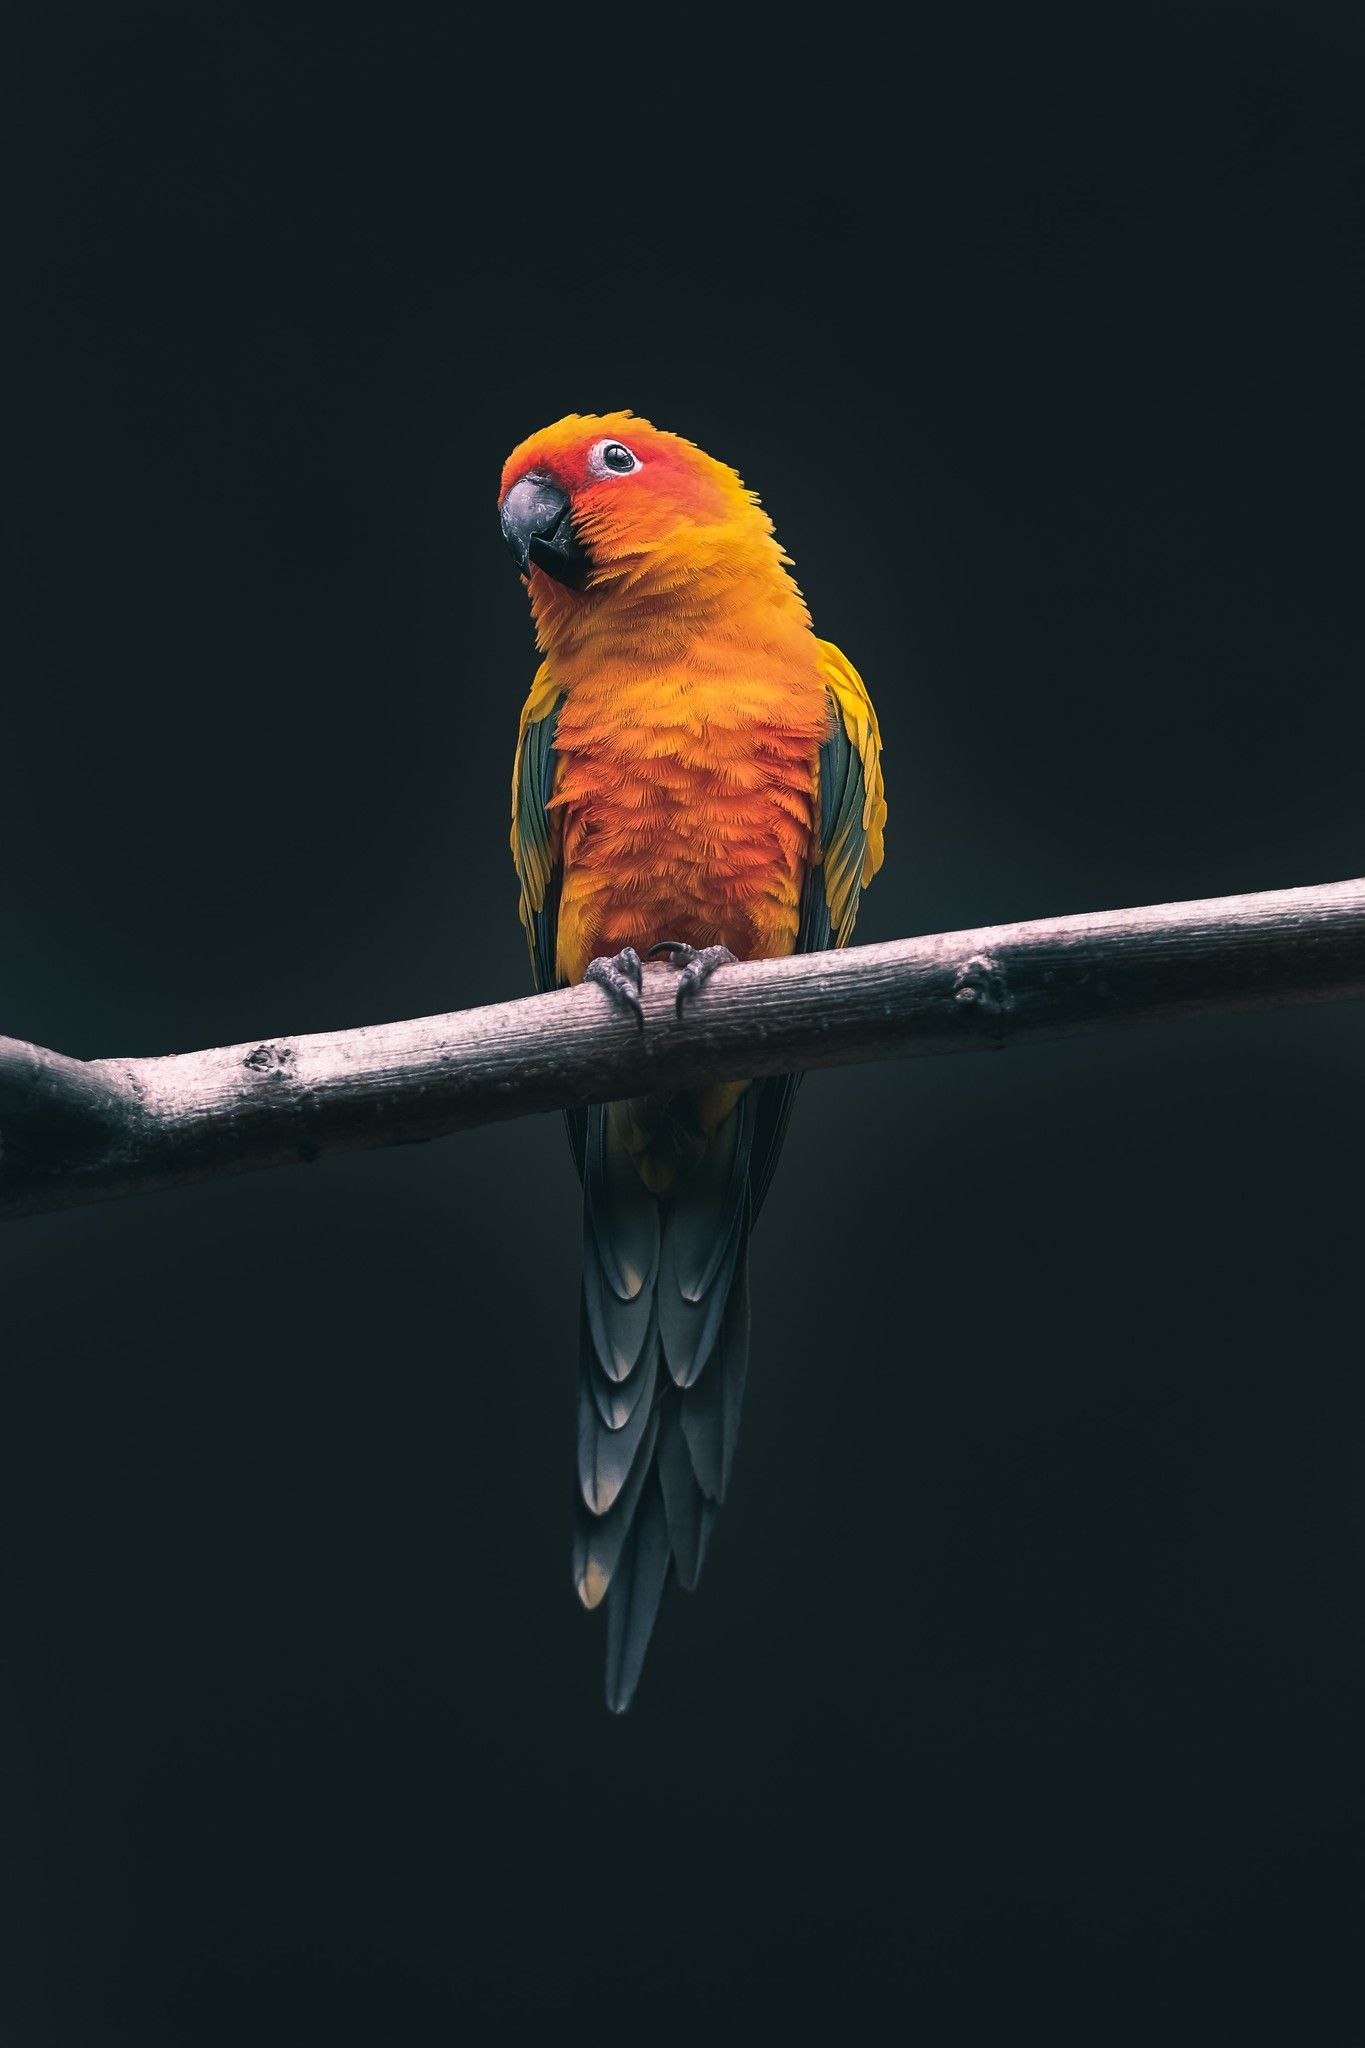
Image Segmentation or Image Salient Object Detection
On this original image we will now apply a segmentation to extract the bird in a rough format. These models (e.g.; SelfReformer, ...) are typically rougher in extracting the image we want, but they give an idea of what we need.
Applying this on our original image will result into a Segmentation Mask that we apply on our original image to receive a Salient Object or Segmented Object
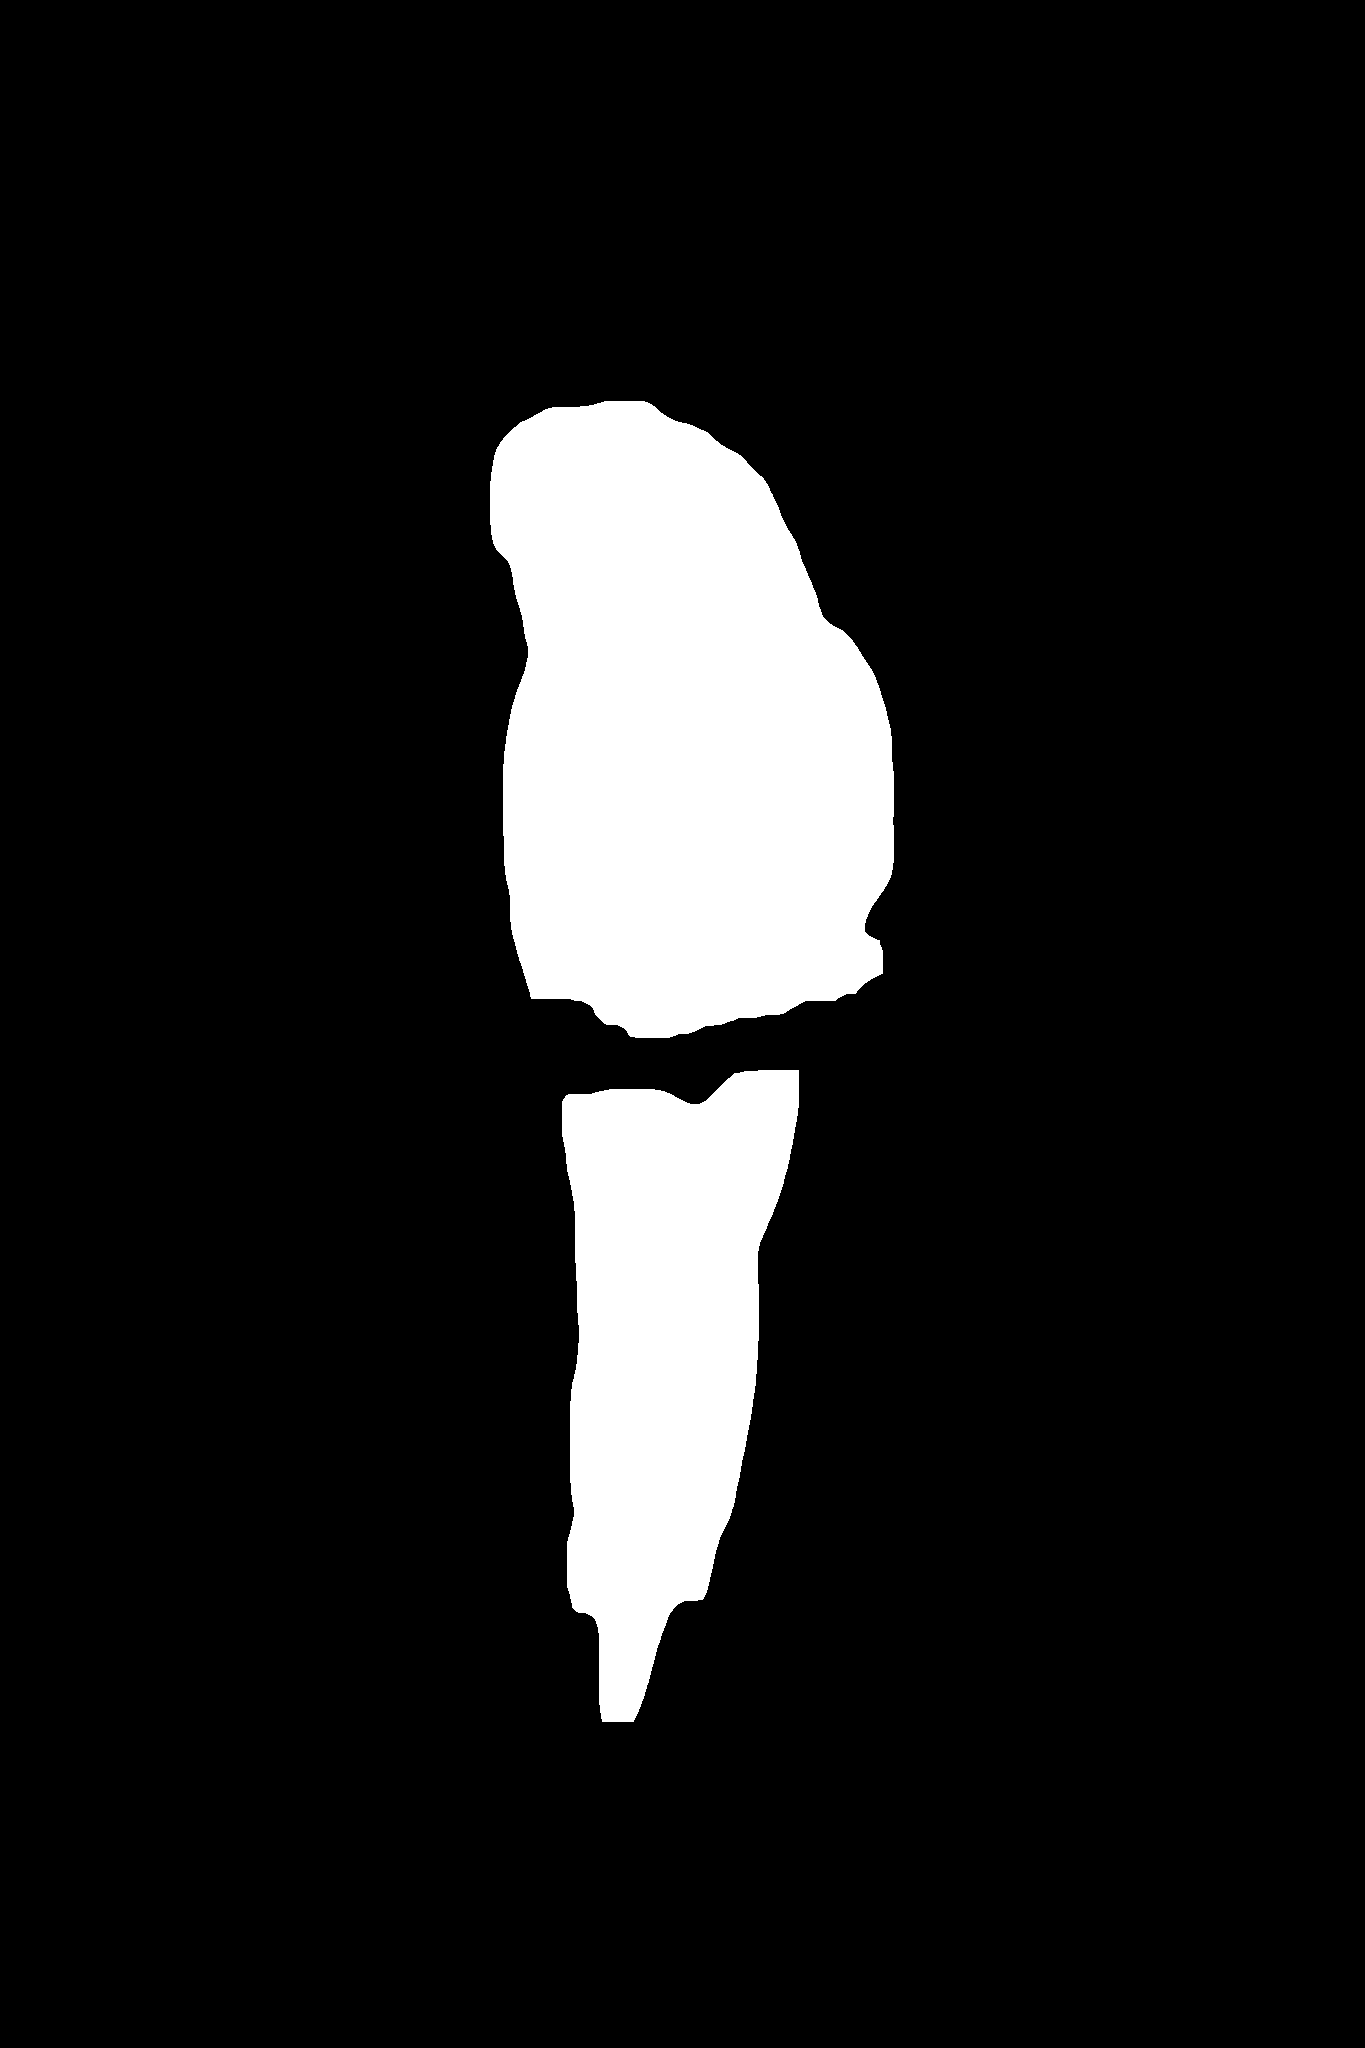
As you can clearly see on our resulting image, is that it is rough and does not clearly extract the feathers of our bird example. But it lets us continue towards creating a trimap.
Trimap Generation
We can now use the mask above to generate a trimap. One of the easiest methods to create such a trimap is to take the mask above and apply an erosion and dilation with opencv (see code below) to receive a refined mask. We fill in this erosion and dilation with a gray color (RGB value 128).
mask = cv2.imread(f'./mask.png', cv2.IMREAD_GRAYSCALE)

# Generate Trimap
def erode_and_dilate(mask, k_size, iterations):
    kernel = cv2.getStructuringElement(cv2.MORPH_ELLIPSE, k_size)

    eroded = cv2.erode(mask, kernel, iterations=iterations)
    dilated = cv2.dilate(mask, kernel, iterations=iterations)

    trimap = np.full(mask.shape, 128)
    trimap[eroded >= 254] = 255
    trimap[dilated <= 1] = 0

    return trimap

def generate_trimap(mask, threshold=0.05, iterations=3):
    threshold = threshold * 255

    trimap = mask.copy()
    trimap = trimap.astype("uint8")

    # Erode and dilate the mask
    trimap = erode_and_dilate(trimap, k_size=(7, 7), iterations=iterations)

    return trimap

trimap = generate_trimap(img_mask)

# Save Trimap
cv2.imwrite("./trimap.png", trimap)
After applying this we can see a result as below, where our mask is refined, and a gray color was added
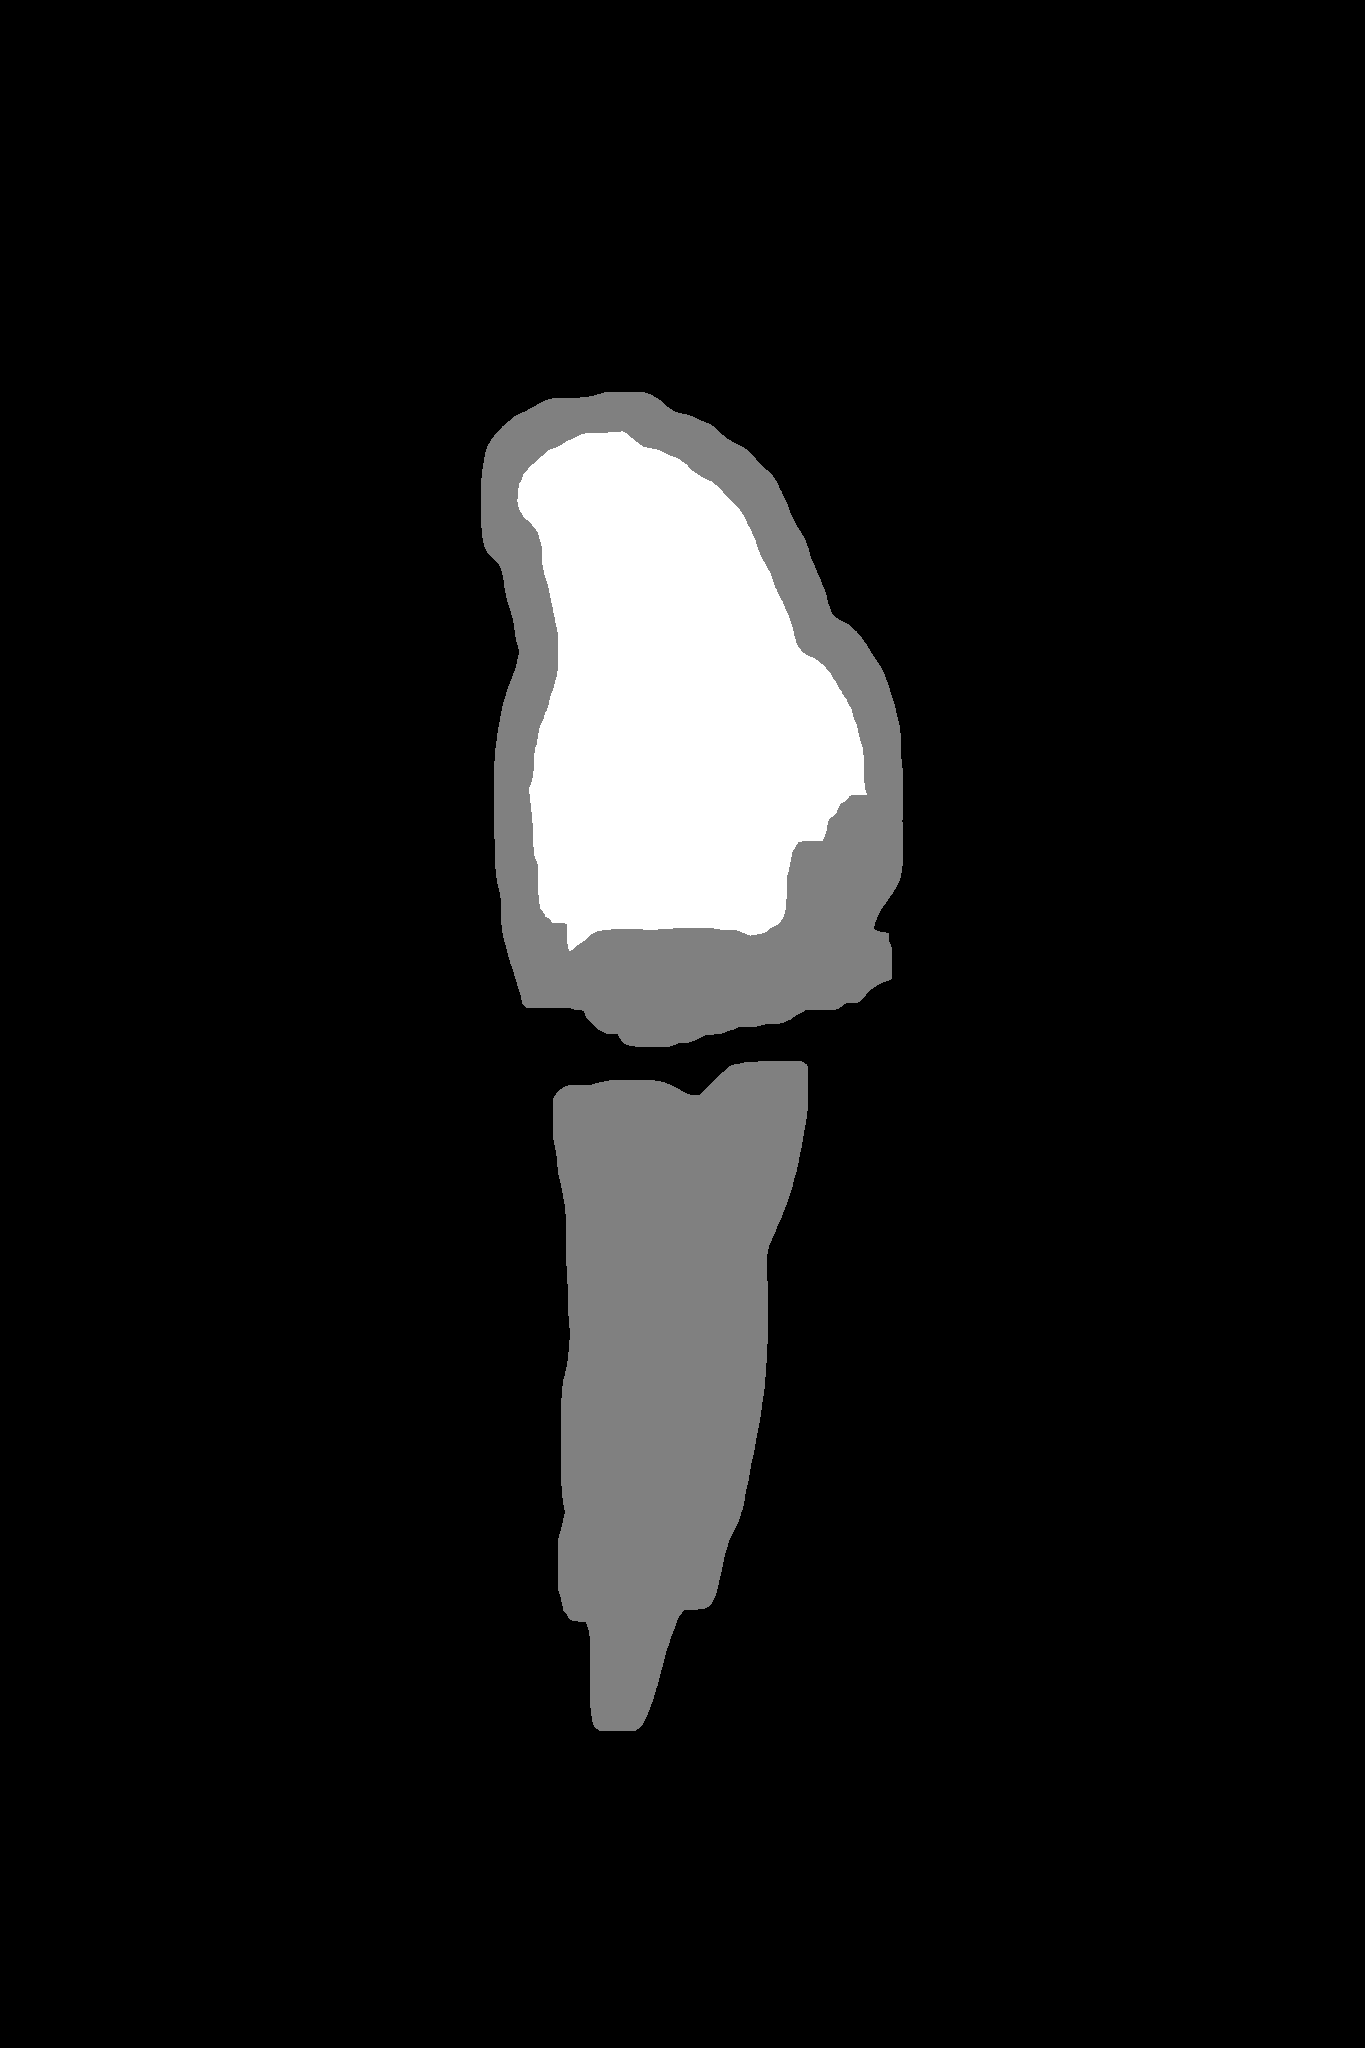
Image Matting
This input trimap can now be used in combination with our original image. These two will be the input towards are Image Matting model that takes both and generates a refined mask. Examples of state-of-the-art image matting models are PP-Matting, U2Net, MatteFormer or others.

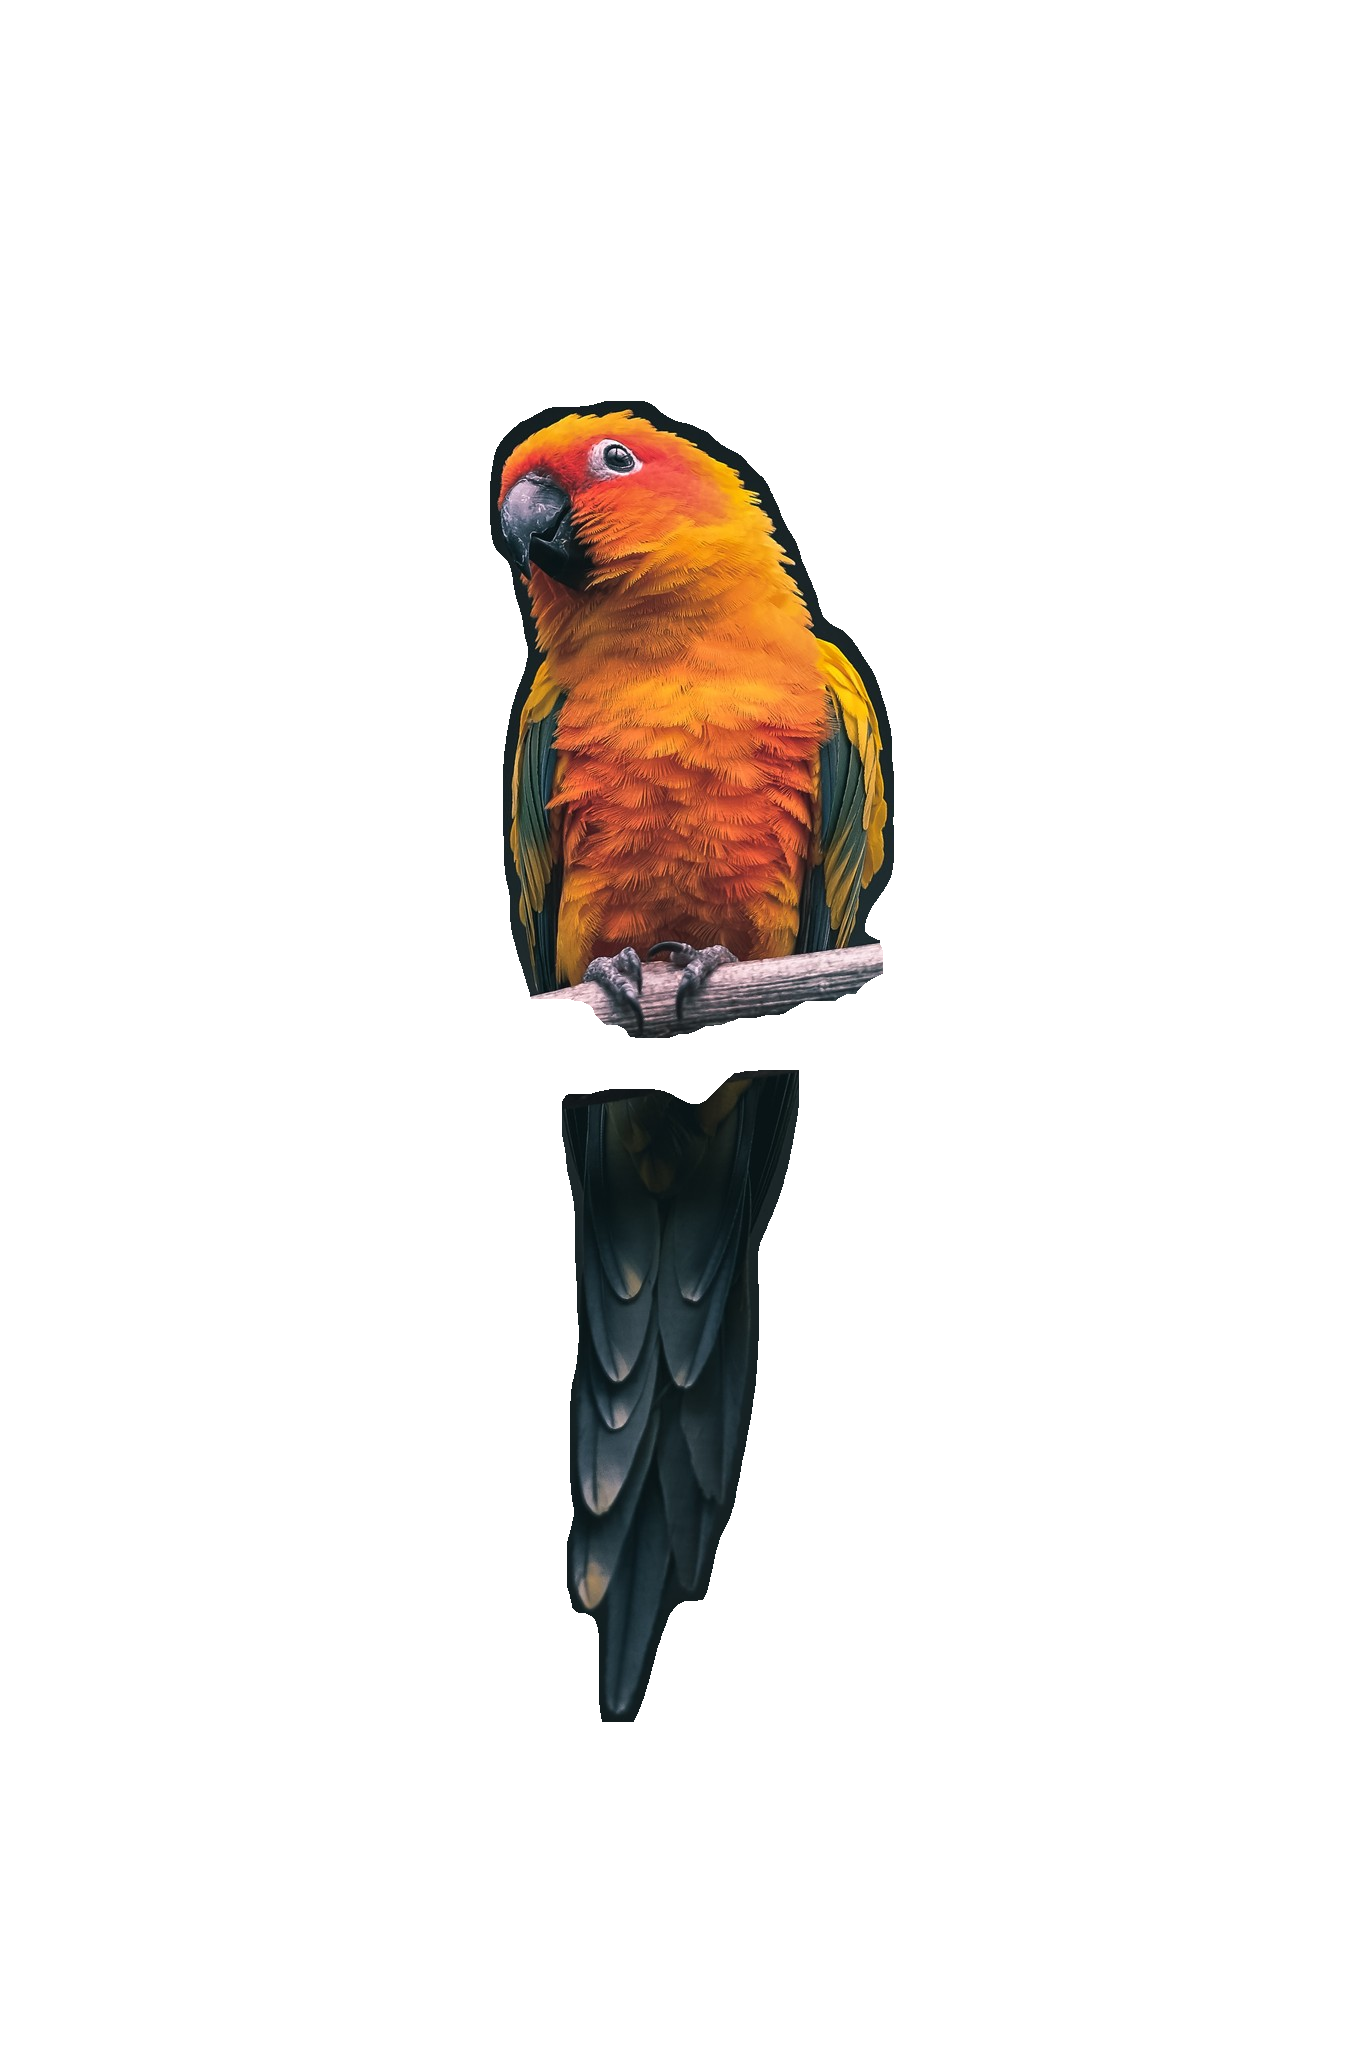
If we finally apply this mask to our original image, we will get a more refined result:
import cv2
import numpy as np

img = cv2.imread(f'./original.png')
mask = cv2.imread(f'./mask.png', cv2.IMREAD_GRAYSCALE)

cv2.imwrite("./result.png", np.dstack((img, mask)))
And our bird looks cleaner and more refined now. The only missing thing is the "stick" it was sitting on, but this depends on the quality of the model. The better trained our model, the salient object detected, or just changing. the architecture of our model will result in a better cut-out.


Comments ()