Streaming your DJI Mini 3 Pro Drone from RTMP to RTSP
Find out how you can stream your Drone RTMP feed to your PC, YouTube, Twitch or any other streaming platform

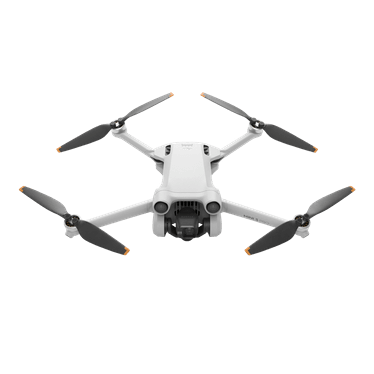
Technology is evolving faster than we can keep up, and DJI released an amazing piece of engineering! Their DJI Mini 3 Pro is simply wonderful, having been able to use it for the last couple of months, they were able to put the power of drones into the hands of amateurs such as myself. With just a few simple clicks you can take shots such as the below:

One of the other amazing features of this drone is that you can broadcast your footage live to an RTMP stream that you can share with anyone. So as any geek, we want to analyze this stream for live processing!
Updating your Drone to the latest version
If you are like me and didn't update your drone, ensure that it is at the latest version. I had to do this through the DJI Assistant 2 which you can find for your platform (Mac or Windows) through the link below.
As soon as this has been downloaded open it up and click the big blue "Upgrade Button" which brought me from 01.00.0150 to 01.00.0450 for the drone and 01.00.0300 to 01.02.0300 for the RC (for the release notes, click on the "Release Notes PDF on the link above)
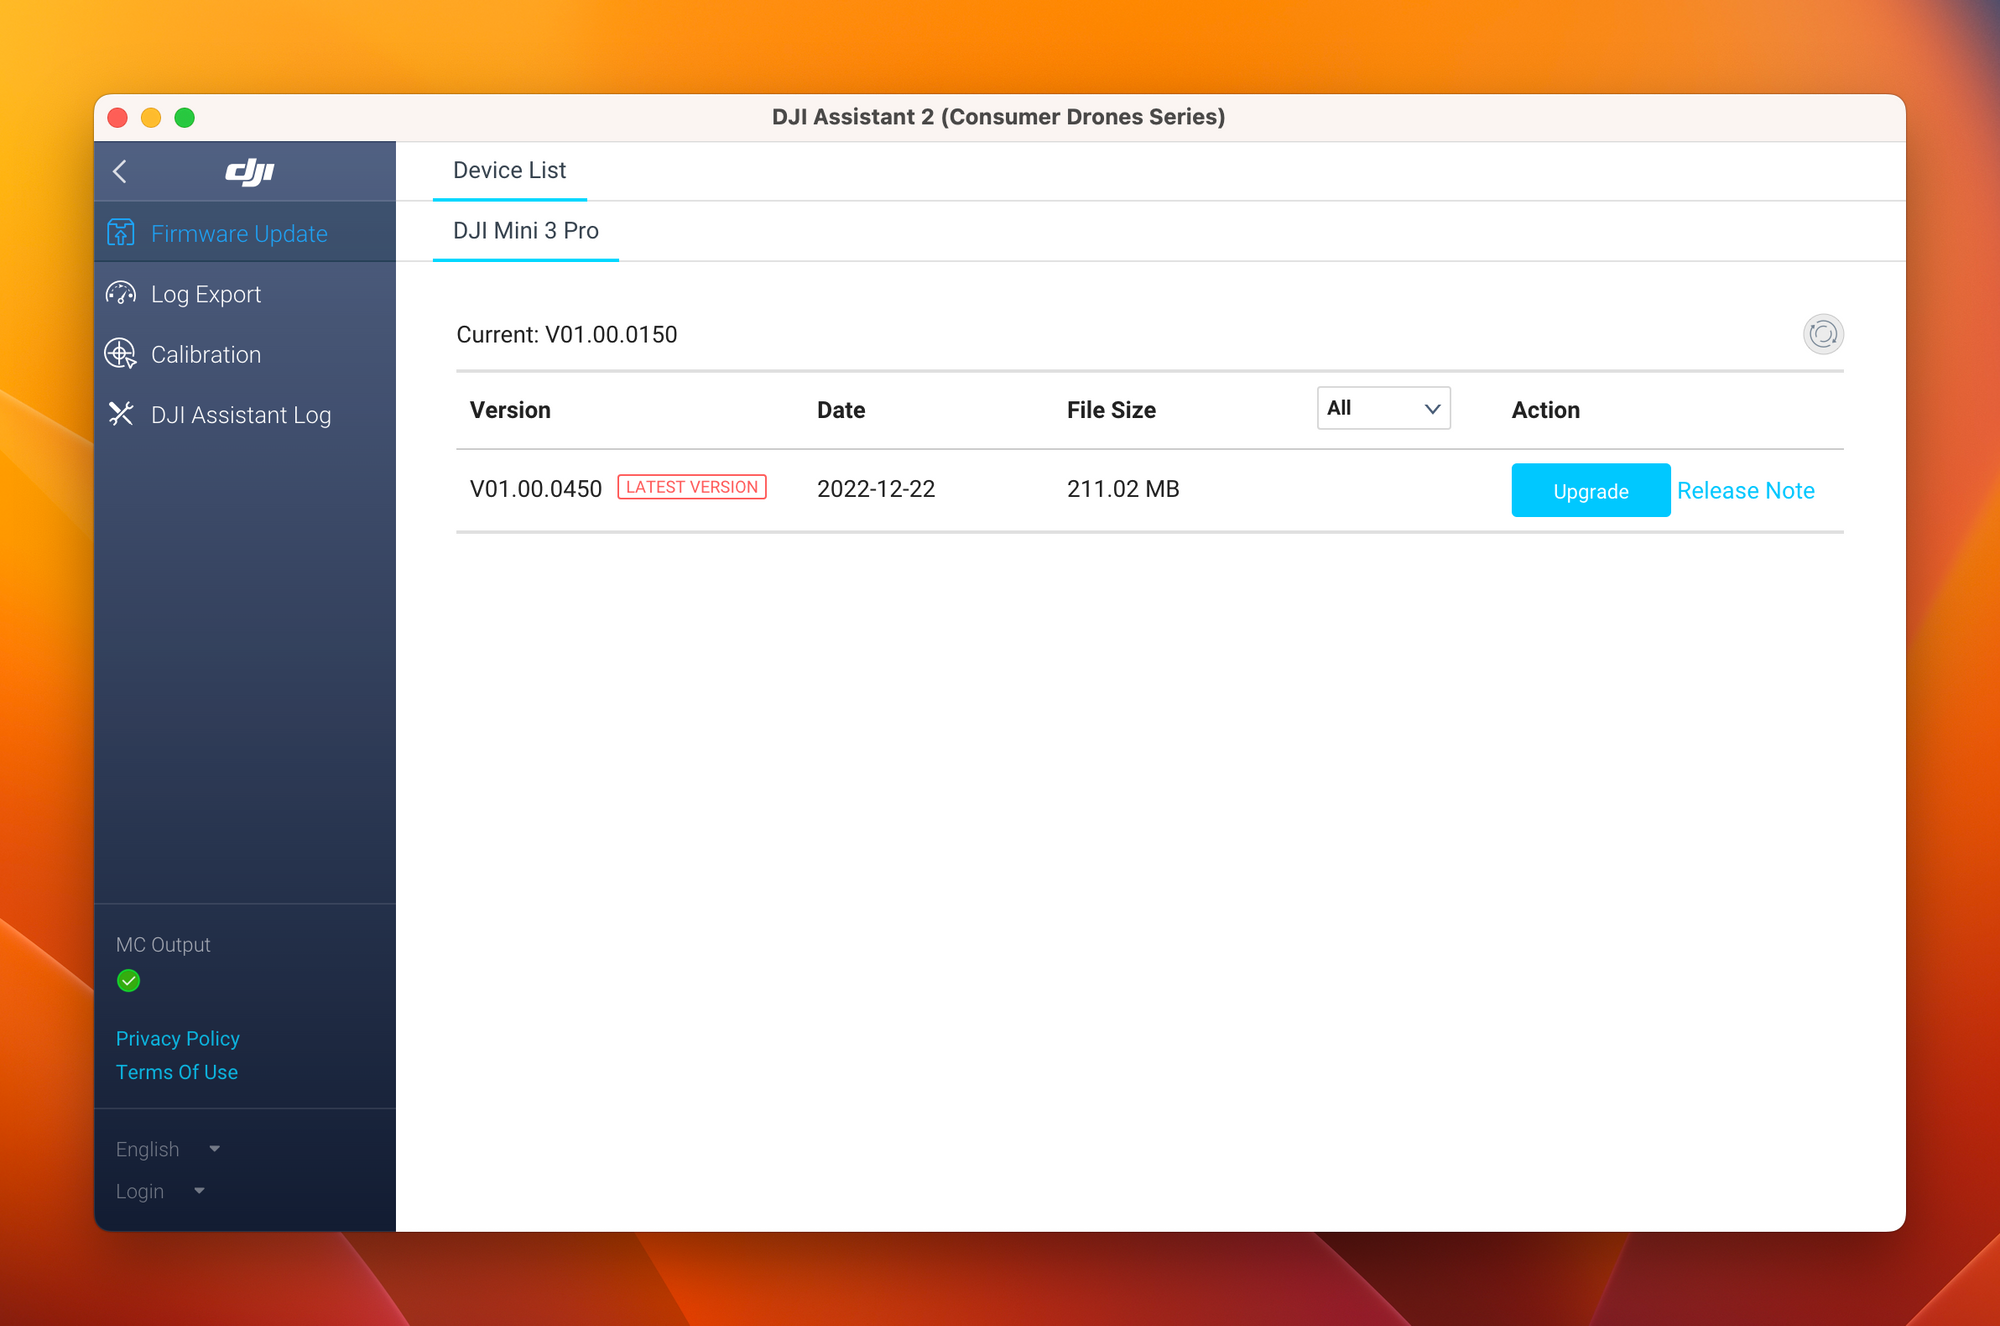
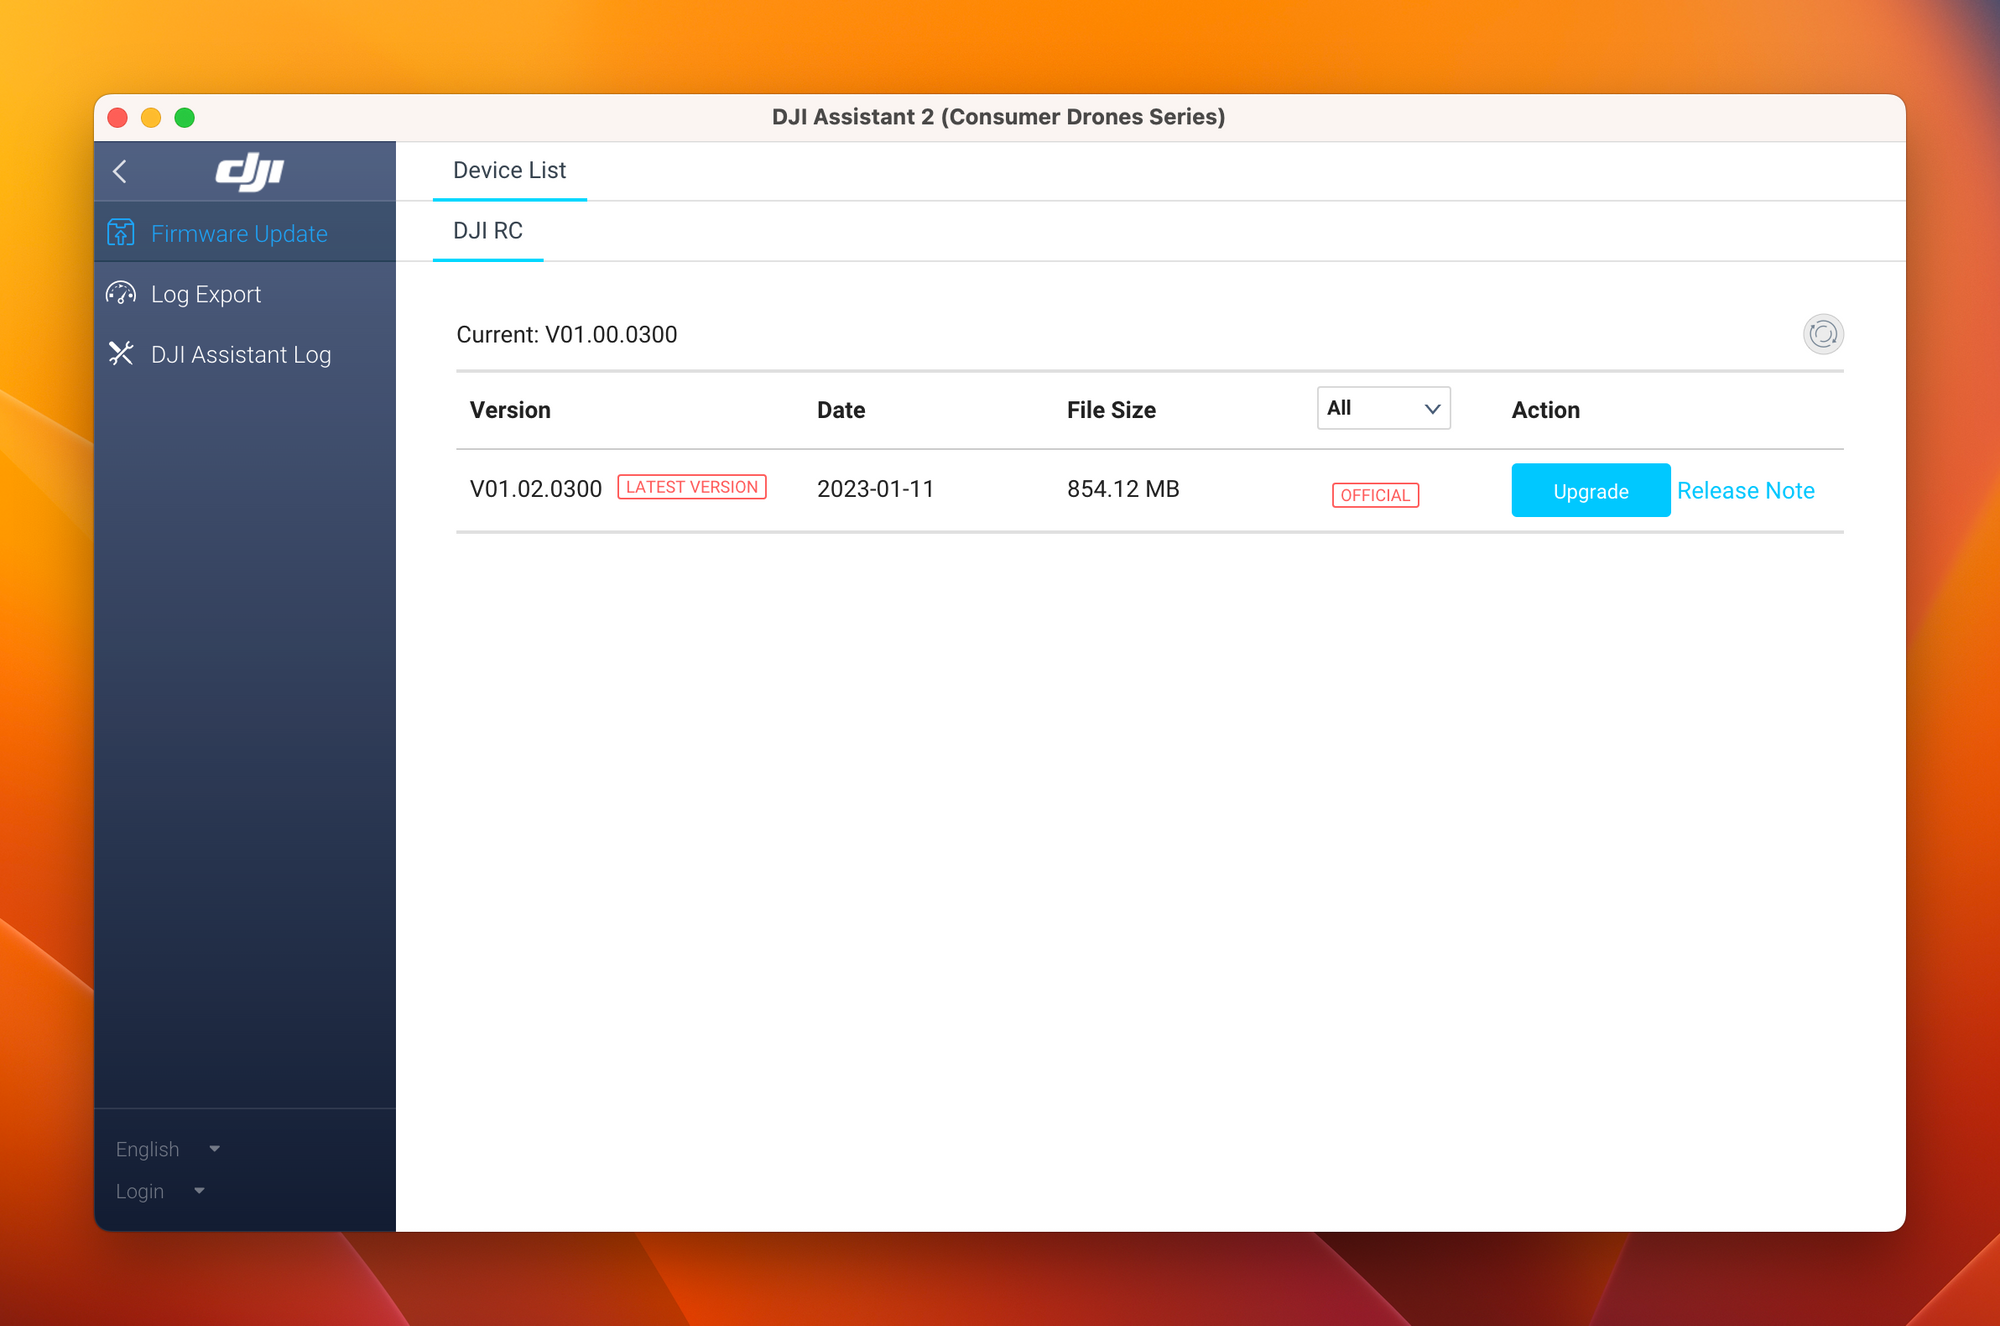
Note: I had to update through the DJI Assistant 2 app as the "Check for Updates" link gave a Server Error
Broadcasting to your PC
Ok, time for the real work once the drone has been updated! To get started, let's spin up the infrastructure to convert the RTMP stream to an RTSP one.
Creating a local RTMP to RTSP Server
For converting the RTMP stream to an RTSP stream, we can utilize an existing docker container from aler9 - https://github.com/aler9/rtsp-simple-server
Now we can simply run the below to start the container:
docker run --rm -it --network=host aler9/rtsp-simple-server
This will output that servers are started for the supported protocols. We will use port :1935 for our RTMP stream to convert it to an RTSP one.
Status: Downloaded newer image for aler9/rtsp-simple-server:latest
2023/02/05 16:25:02 INF rtsp-simple-server v0.21.2
2023/02/05 16:25:02 INF [RTSP] listener opened on :8554 (TCP), :8000 (UDP/RTP), :8001 (UDP/RTCP)
2023/02/05 16:25:02 INF [RTMP] listener opened on :1935
2023/02/05 16:25:02 INF [HLS] listener opened on :8888
2023/02/05 16:25:02 INF [WebRTC] listener opened on :8889 (HTTP)
Getting our Local IP
Before we can configure our drone, we need to get the IP Address for our RTMP stream. On Mac (or Linux) we can run ifconfig | grep 192.168 to get this.
The resulting address will thus be rtmp://YOUR_IP:1935 e.g., rtmp://192.168.1.59:1935
Note: we can configure this to work through a remote proxy by using a tunneling software such as cloudflared
Connecting our drone to the RTMP server
We convert it to RTSP as this is a more common format in a VMS (Video Management System).
Connect your drone to the controller and go to the Camera view. There you find on the right top three small dots. Click it and navigate to "Transmission".
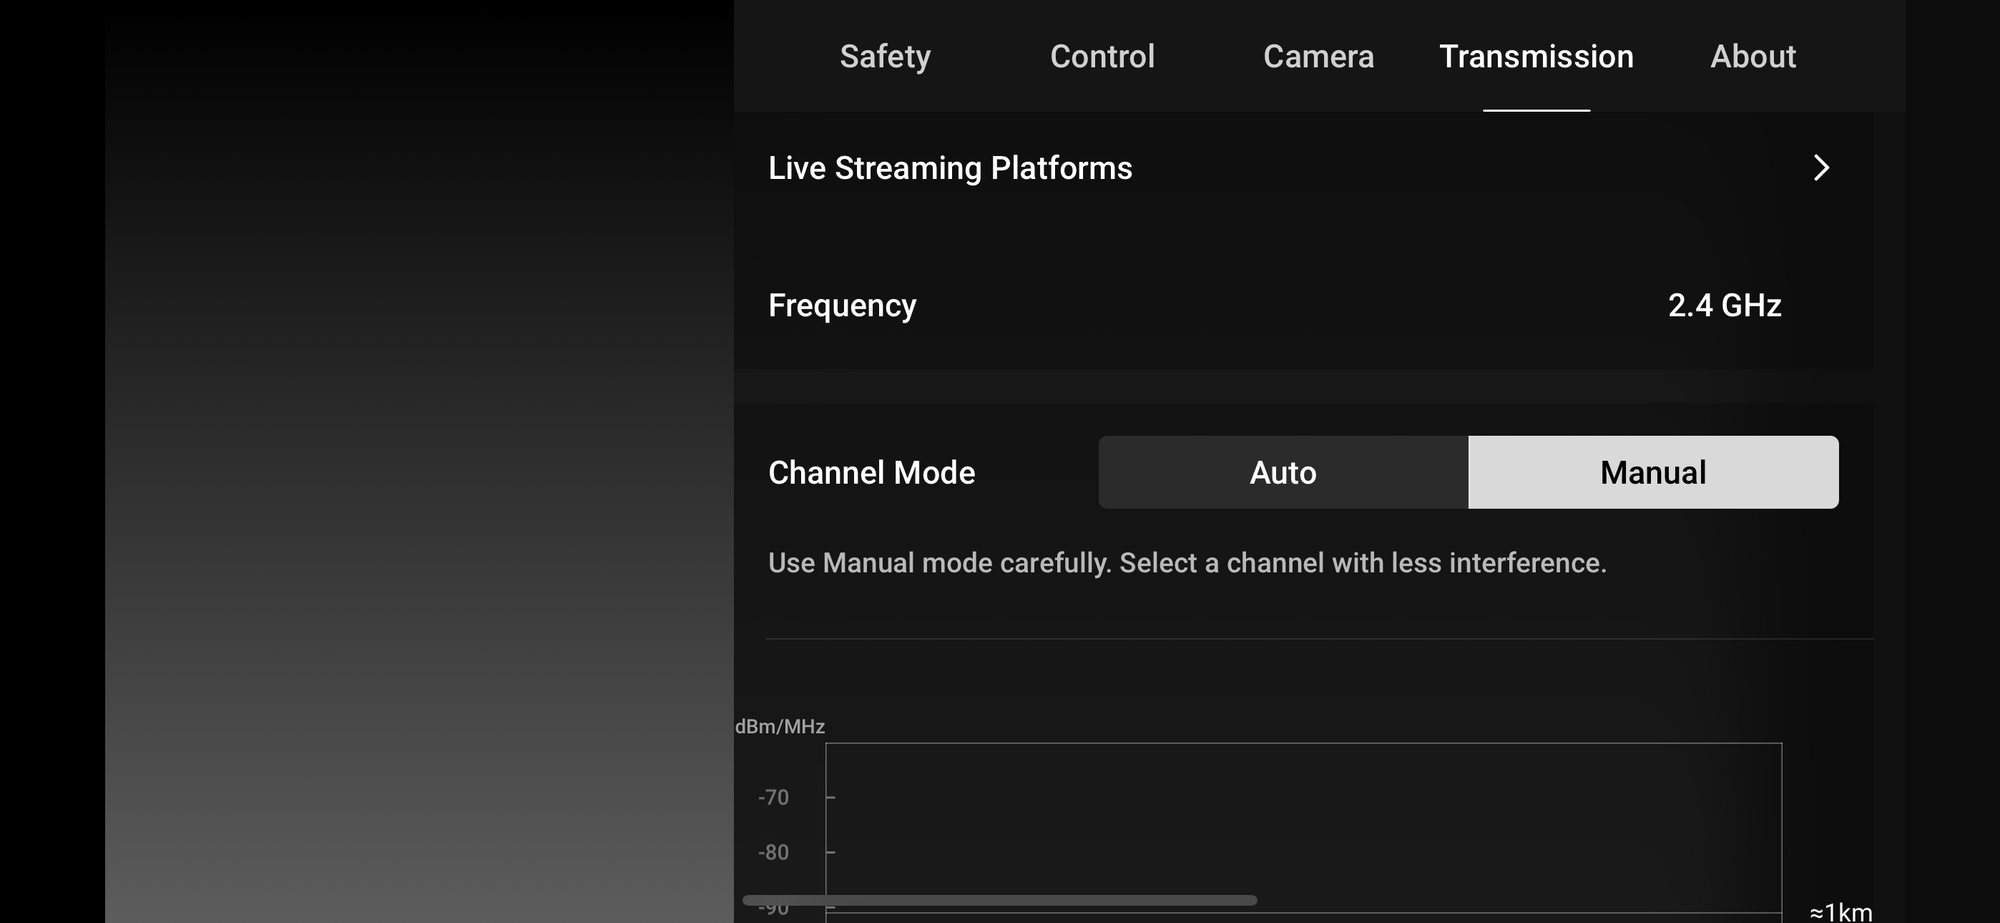
Here we select the "RTMP" feature.
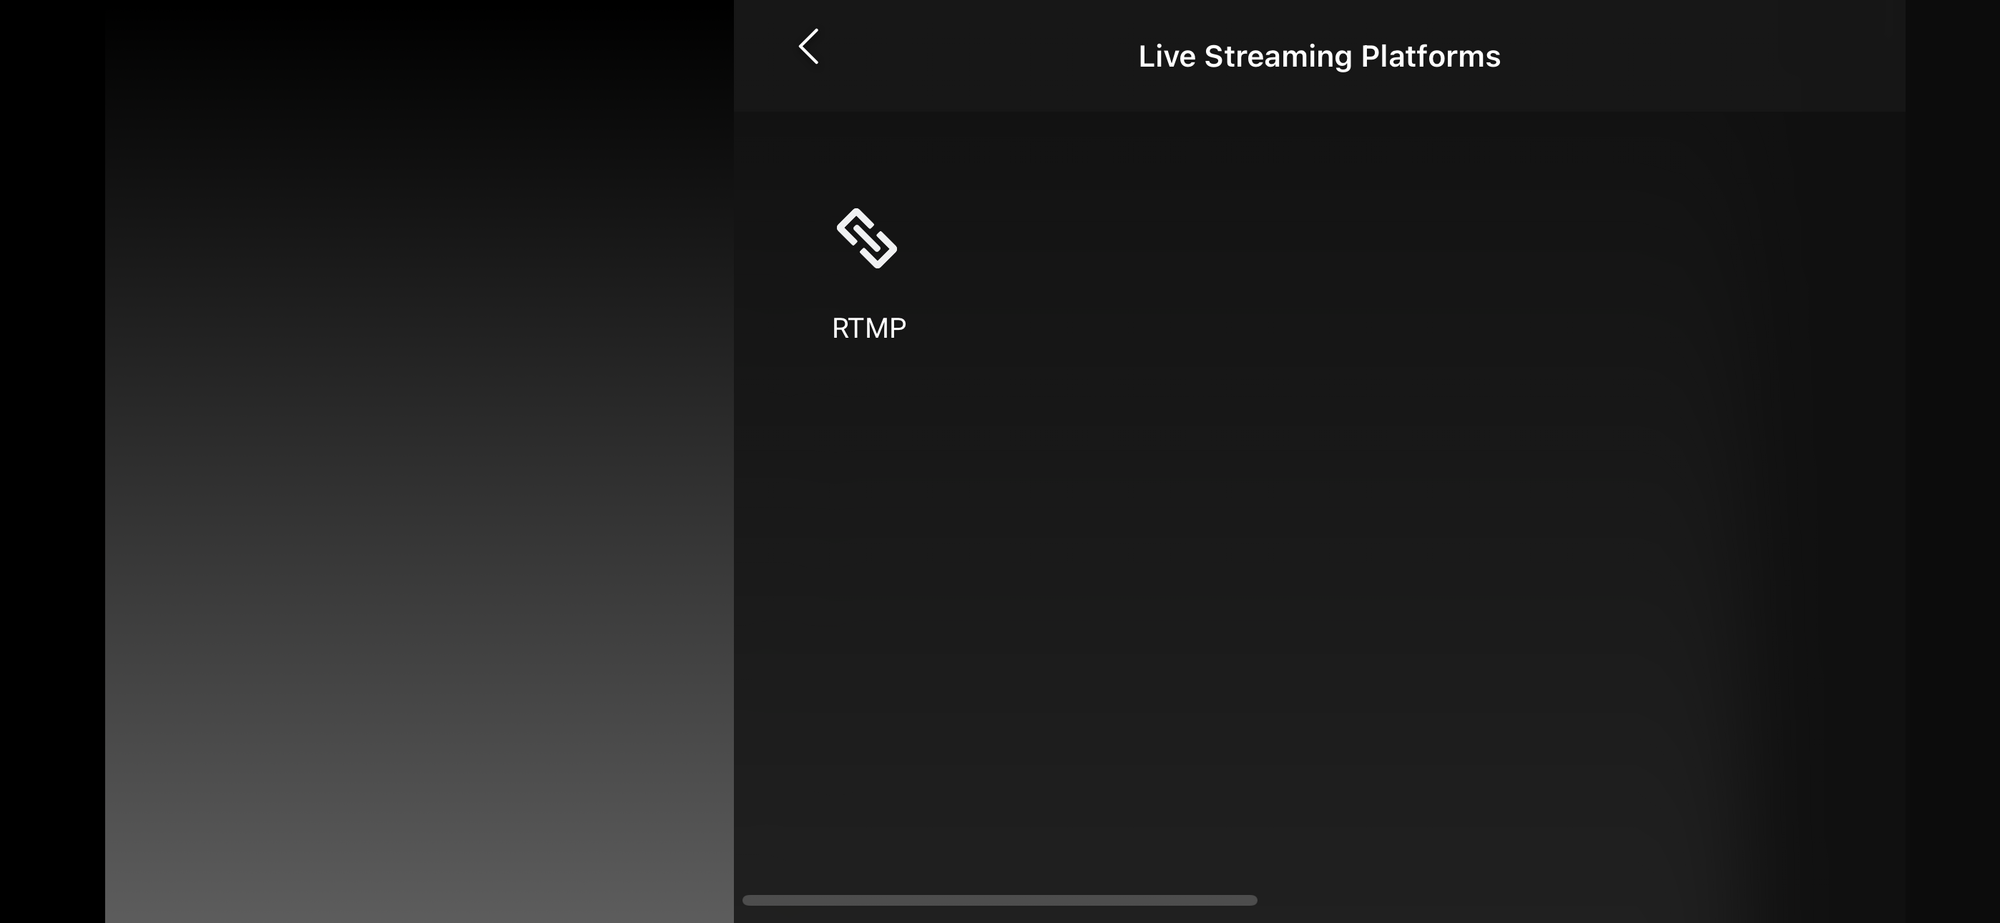
And fill in our URL to send the stream to. Since the Drone streams to the device and the device to the RTMP we will have to lowest latency possible.
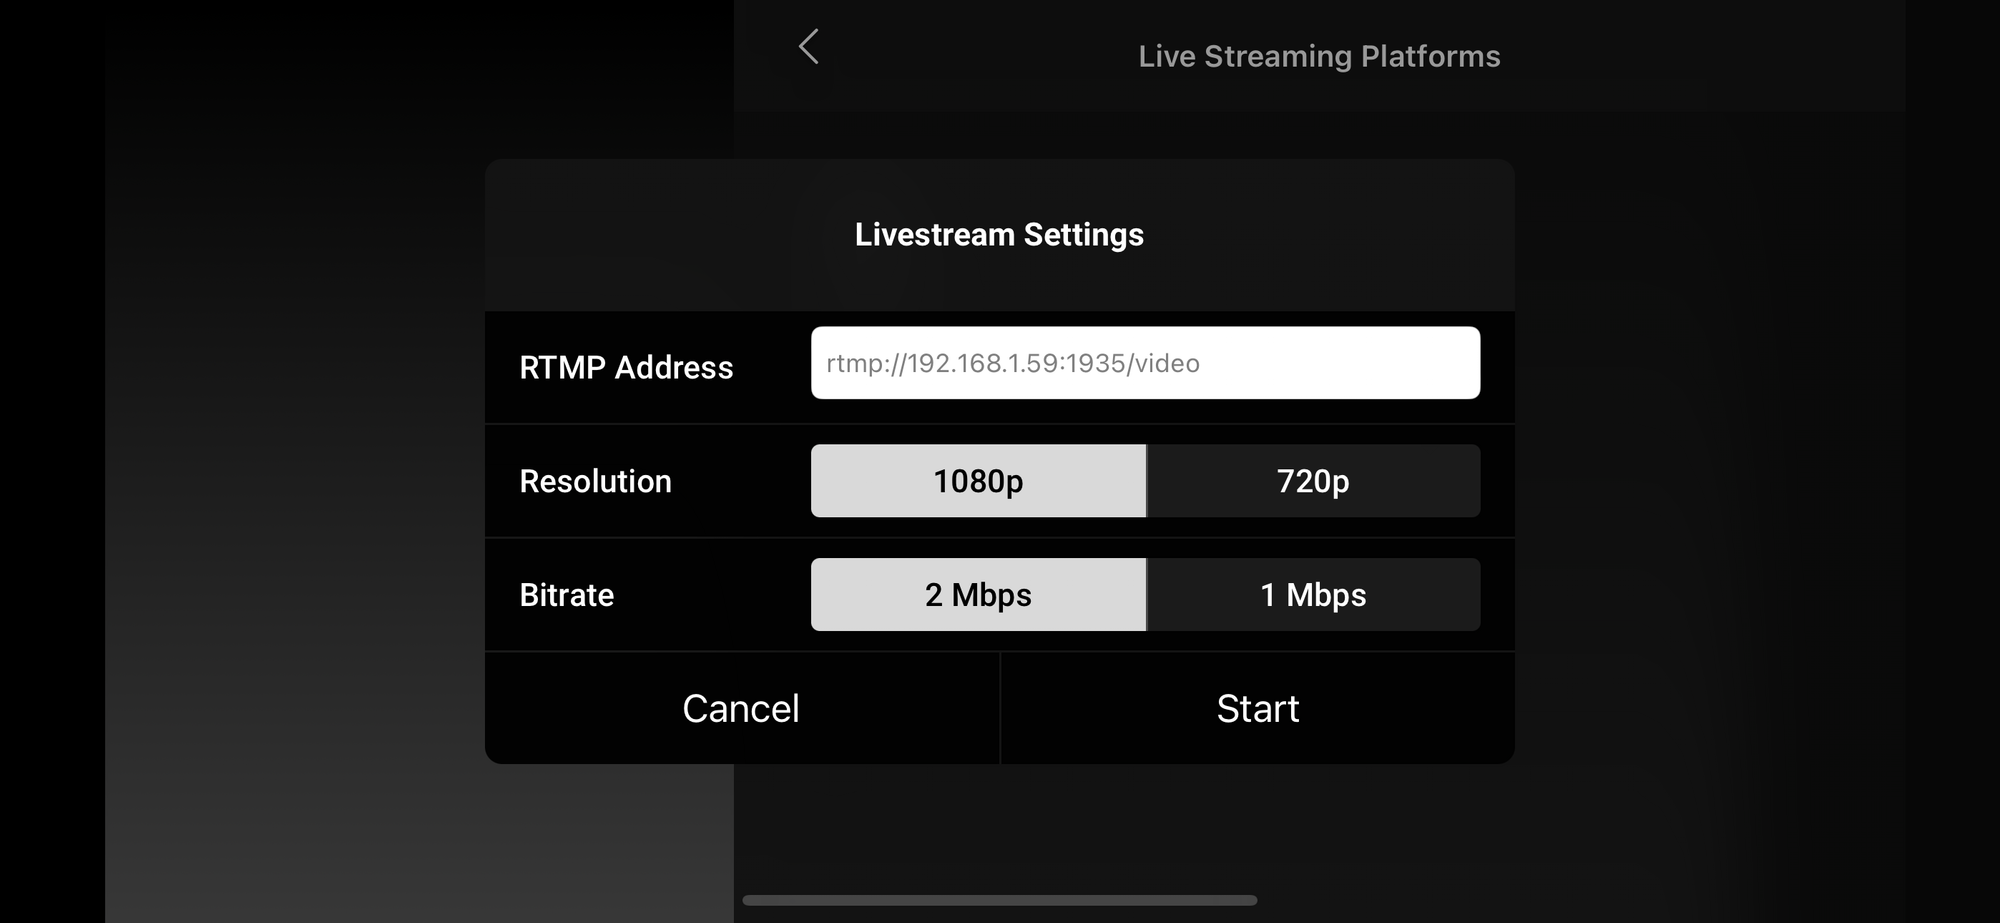
When we now start this stream and open it on our PC we can see everything coming in and are ready for a demonstration!
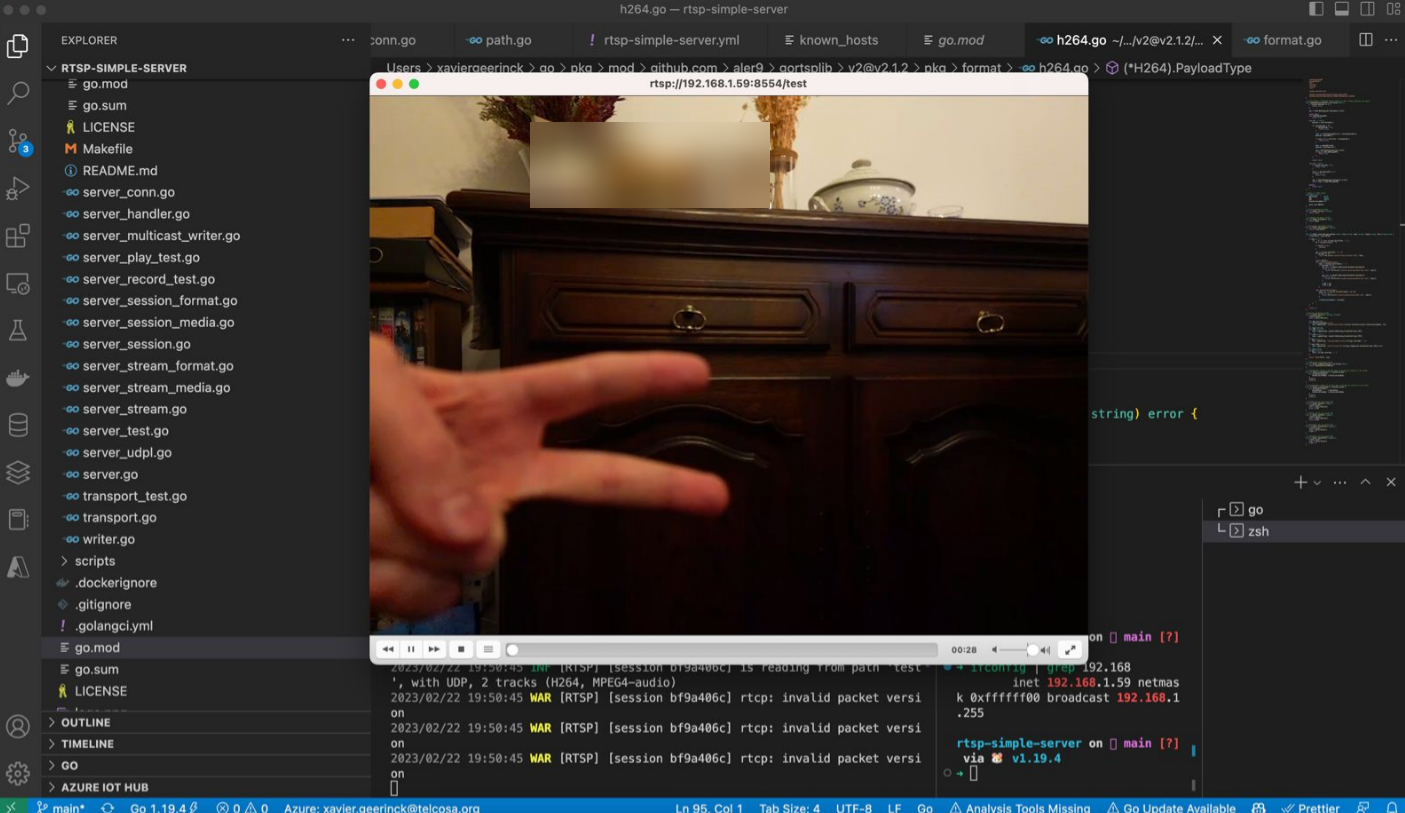
Demo
Below you can find a recording I did to test out the Frames per Second after overlaying a YOLO model on top of it processing the incoming buffer as quickly as possible.
Summary
Drones are amazing and the software is advanced enough these days to enable interesting capabilities. What do you think of this? Let me know in the comments below!


Comments ()