
Installing Jetson Mate with 4 NVIDIA Xavier Modules
Learn how to create your own local AI cluster and install Kubernetes on it with the Jetson Mate and 4x NVIDIA Xavier modules

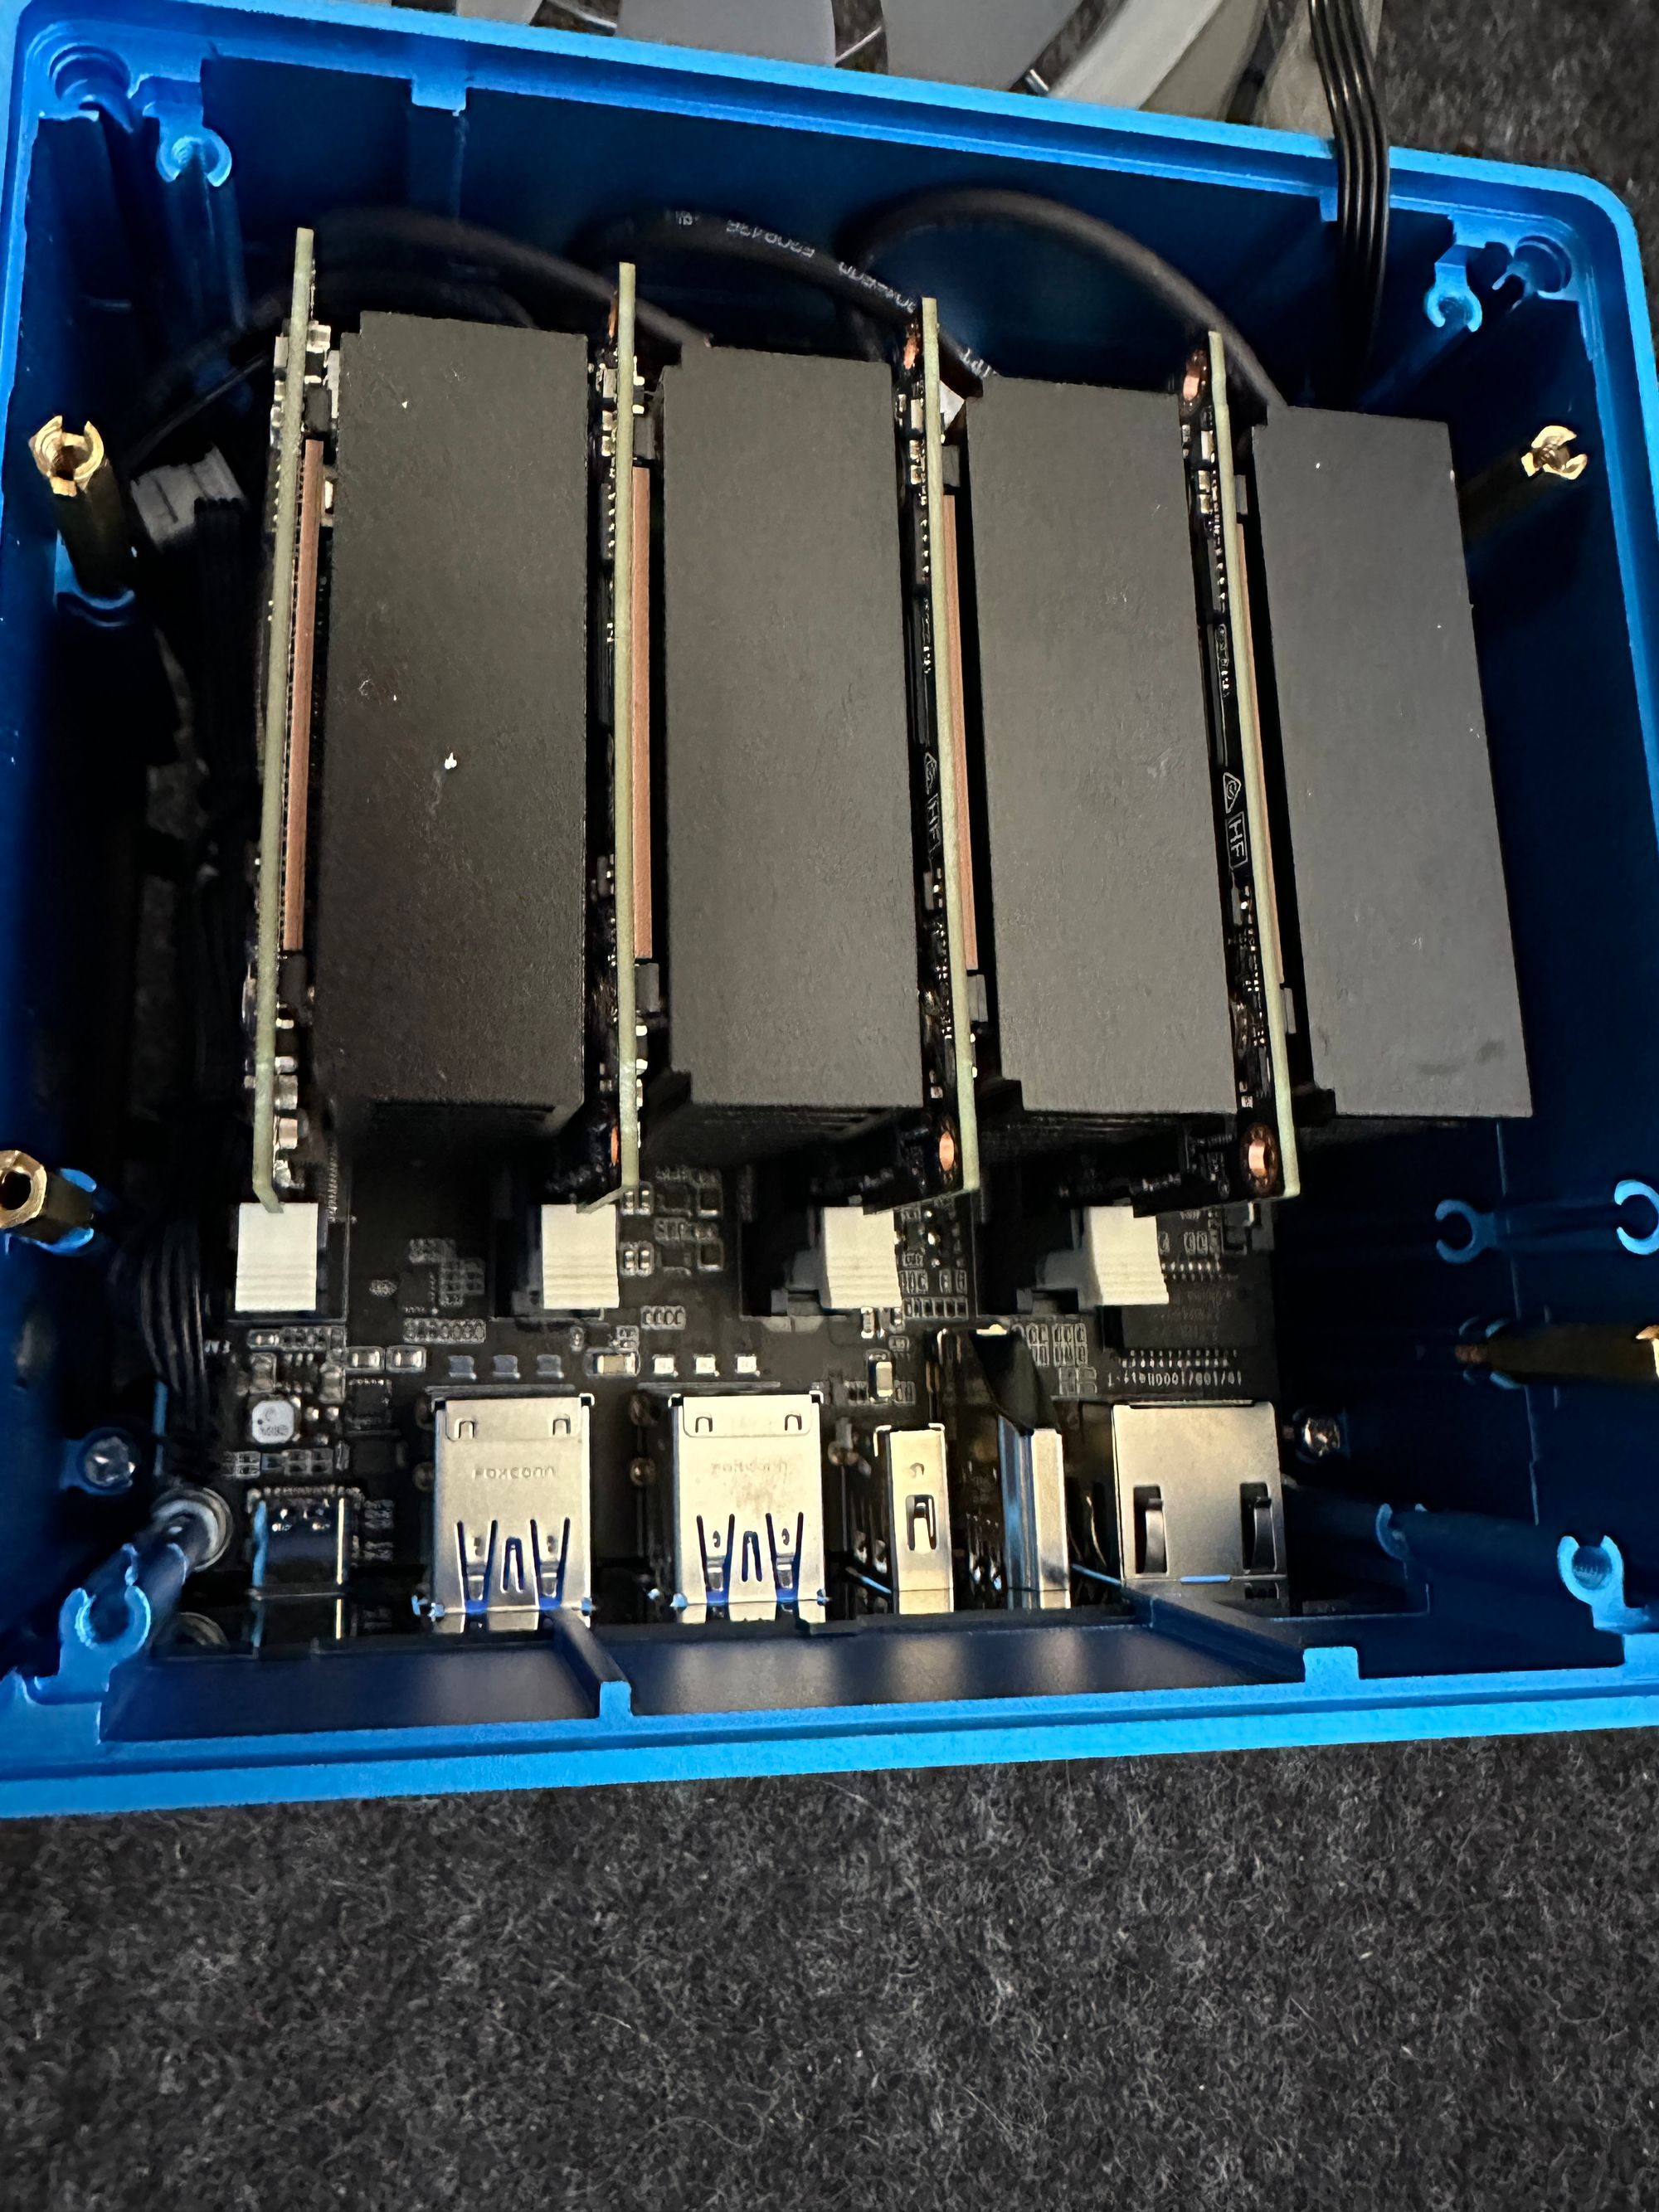
For my own AI cluster, I decided to go with the Jeston Mate from Seeed Studio. It is a powerful cluster that is portable and allows me to do demonstrations as well with it.
⚠️ as you can find in the summary, the entire process of setting this up took around 2 days for me to figure out. If starting from scratch, I would recommend checking out my other post for Mac M1 nodes! (easier + cheaper == win)

Flashing our Nvidia Xavier Modules
💡 Expect a couple of hours for this process
The Jetson Mate out of the box is delivered as an empty computer. To continue with it, we need to first provision an OS with it. To get started, we link the the Seeed Wiki that provides easy pointers for us.
 Baozhu Zuo
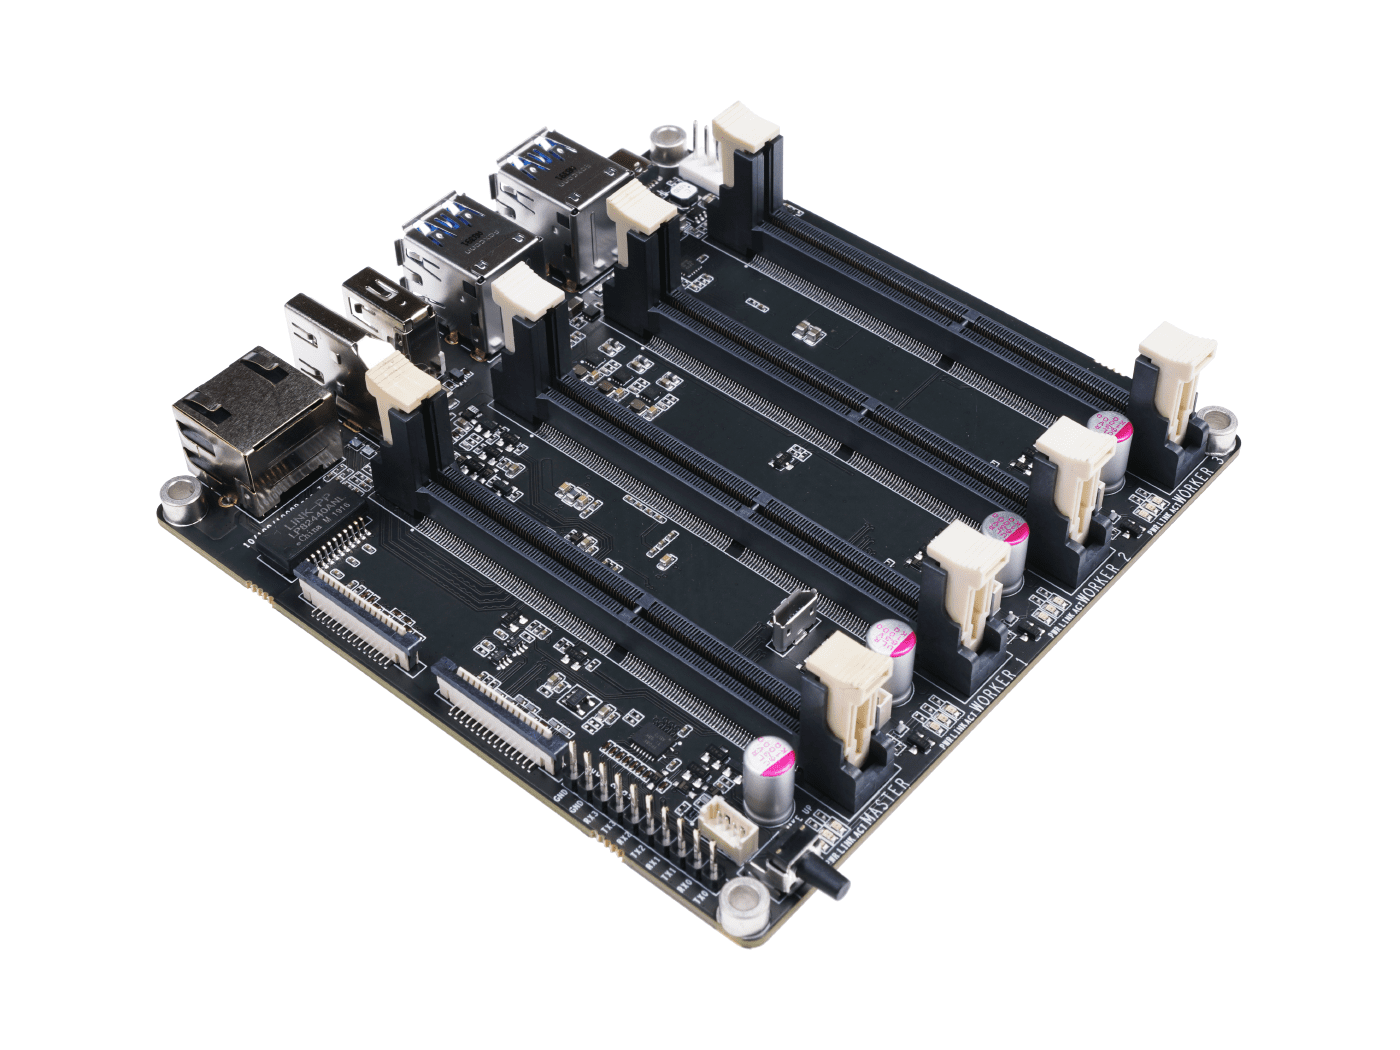
⚠️ Be warned, what sounds as an easy thing to do is quite cumbersome. Because, boy was I wrong, getting this up and running took me way longer than expected due to WSL / Windows Setup and Disk Space Issues
Important to understand before we begin is that we will NOT be able to install everything with the SDK Manager as the disk space is not enough (We have ~14GB available). We will install as much as possible and clean up the device later so we end up with ~5GB left.
For a setup process, the following outlines of how I flashed each of the modules:
Opening the NVIDA SDK Manager
- [WSL] Install NVIDIA SDK Manager and ensure
usbipis available on WSL andusbipdis available on Windows - [WSL] Open the SDK Manager with
sdkmanagerthis will open the SDK Manager on Windows - [SDK Manager] Login
Putting a module into Recovery Mode
- [Jetson Mate] Put a jumper between the BOOT and GND pins
- [Jetson Mate] Plug-in a module in the master DIM (just beside the ethernet port)
- [Jetson Mate] Power the Jetson Mate carrier board
- [Jetson Mate] Click the physical "wake" button on the back
- [Jetson Mate / Windows] The module will now boot into recovery and windows should recognize an "APX" device
- [Windows] Forward the bus by using
usbipd wsl listfinding the BUSID and then forwarding the bus throughusbipd wsl attach -d DISTRONAME -a --busid BUSID
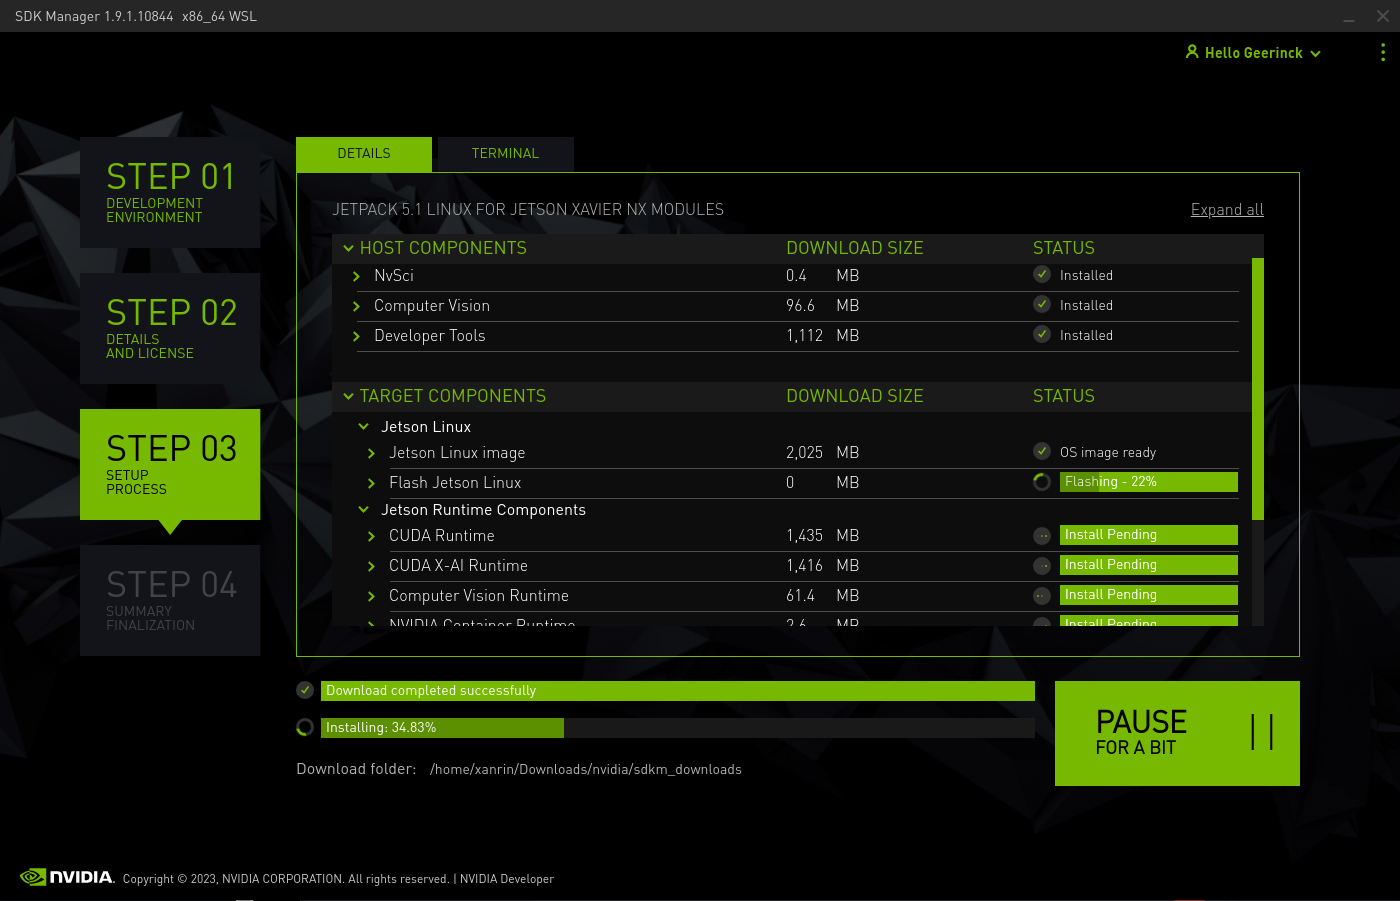
Flashing the Firmware
- [SDK Manager] Configure the module and settings, make sure NOT to select "Deepstream"
- [SDK Manager] Wait (typically ~60mins for a full module) and follow the steps outlined. When the pop-up appears, select "Manual Mode" and just continue, everything should be set to go
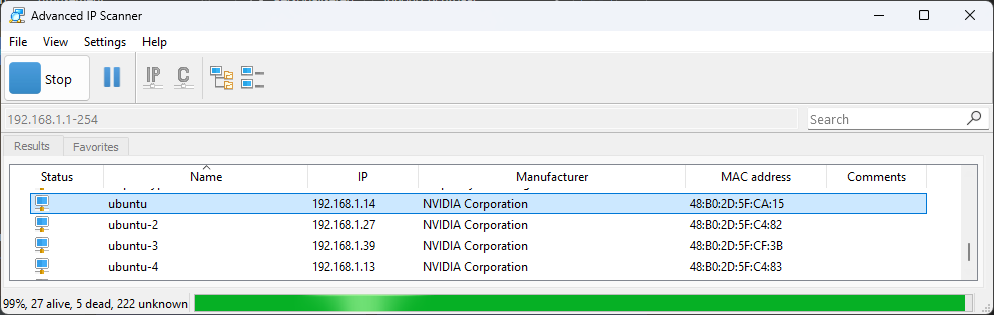
- [Host] Once the SDK Manager pops up again for the Runtime installation, I used Ethernet. To find out the IP, simply connect with
ssh [email protected]on your Host machine and runip a | grep 192.168to find the IP.
Repeat the above for all your modules
Cleaning up Jetpack
Now we are done with flashing, we will notice that no disk space is left... this is sadly enough due to the usage of just 16GB storage and no possibility to add extra storage. To resolve this, we can clean-up the system a bit. So go into each node and run the following, which will remove the GUI, some unused applications and others.
💡 If you can't install packages, check what has been created in/etc/apt/sources.list.dwhich should only containnvidia-l4t-apt-source.list
# https://elinux.org/Jetson/FAQ/BSP/RootFS_Reduction#Remove_installed_deb_packages

# Removing local repo installation
sudo apt remove cuda-repo-l4t-11-4-local
sudo apt remove --purge cuda-samples*

# Finding biggest packages
dpkg-query -Wf '${Installed-Size}\t${Package}\n' | sort -rn

# Removing Deb Installation Packages
sudo apt clean
sudo rm /etc/apt/sources.list.d/*
sudo rm -rf /var/cuda-repo-10-0-local-10.0.326/ /var/visionworks-repo/ /var/visionworks-sfm-repo/ /var/visionworks-tracking-repo

# Removing Ubuntu Desktop and Accessories
sudo apt-get purge gnome-shell
sudo apt-get purge docker*
sudo apt-get purge chromium-browser thunderbird fonts-noto-cjk  libreoffice-common  containerd  snapd
sudo apt-get remove --purge python* libpython*
sudo apt-get purge libwebkit2gtk-4.0-37  libqt5webkit5  ubuntu-wallpapers-bionic freepats  libreoffice-writer libicu60  libreoffice-calc vim-runtime libflite1  libperl5.26 libmozjs-52-0 humanity-icon-theme samba-libs kwin-data perl-modules-5.26 light-themes libjavascriptcoregtk-4.0-18 chromium-browser-l10n
sudo apt-get purge libvisionworks libvisionworks-sfm-dev libvisionworks-sfm-repo
sudo apt-get autoremove

# Removing Samples
cd /usr/src && sudo rm -rf cudnn_samples_* linux-headers-4.9.140-tegra-ubuntu18.04_aarch64 linux-headers-4.9.140-tegra-linux_x86_64  tensorrt nvidia
rm -rf /home/nvidia/VisionWorks-SFM-0.90-Samples

# Removing MISC
sudo apt remove thunderbird libreoffice-* -y

# Cleaning
sudo apt autoremove -y
sudo apt clean
When we finally run df -h we can see some space available at least:
Filesystem      Size  Used Avail Use% Mounted on
/dev/mmcblk0p1   14G  8,7G  4,4G  67% /
none            3,4G     0  3,4G   0% /dev
tmpfs           3,4G     0  3,4G   0% /dev/shm
tmpfs           686M   27M  660M   4% /run
tmpfs           5,0M  4,0K  5,0M   1% /run/lock
tmpfs           3,4G     0  3,4G   0% /sys/fs/cgroup
tmpfs           686M   16K  686M   1% /run/user/124
tmpfs           686M  4,0K  686M   1% /run/user/1000
At this stage we won't bother too much about extra disk space, we can configure remote volumes for all our container needs later and expose them over the USB interface (or even over Ethernet)
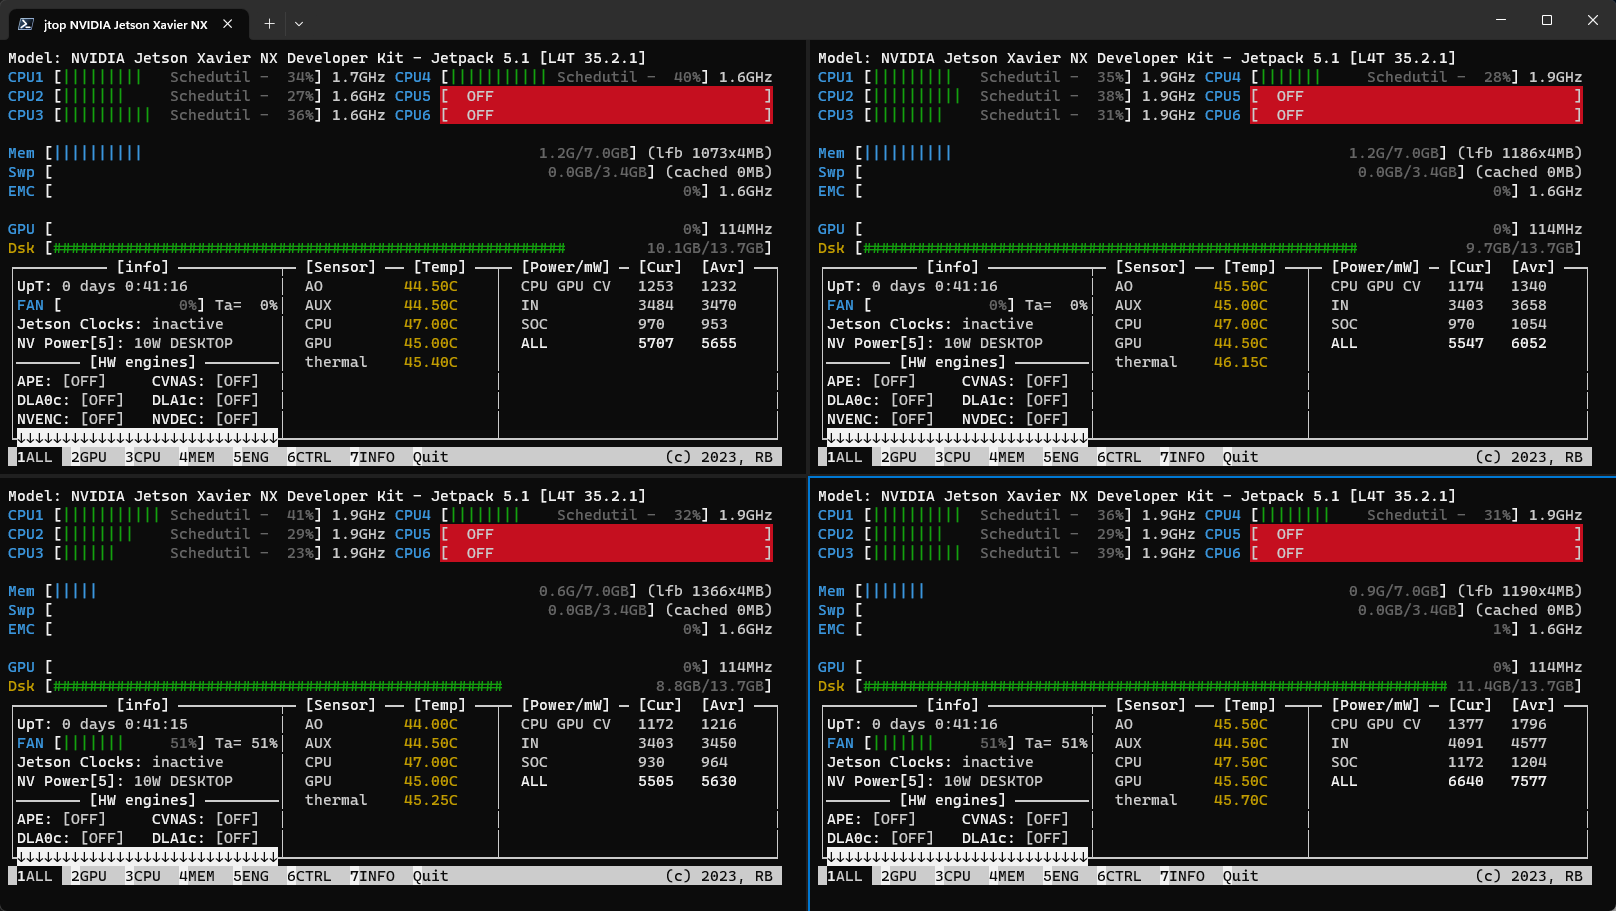
Installing JTOP
Finally, I installed jetson-stats on each module (jtop) to provide deeper insights of what the node is doing.
sudo apt update; sudo apt install python3-pip
sudo -H python3 -m pip install -U jetson-stats
Summary
Some hours (or even days) passed, and we can finally get started on the real work! Installing Kubernetes on the Jetson Mate device.
Now, Installing Kubernetes is something I will cover in another blog as I have a surprise coming 😉!


Comments ()