
Getting Nvidia SDK Manager to work with WSL
Learn how to configure the Nvidia SDK Manager to work on Windows through WSL

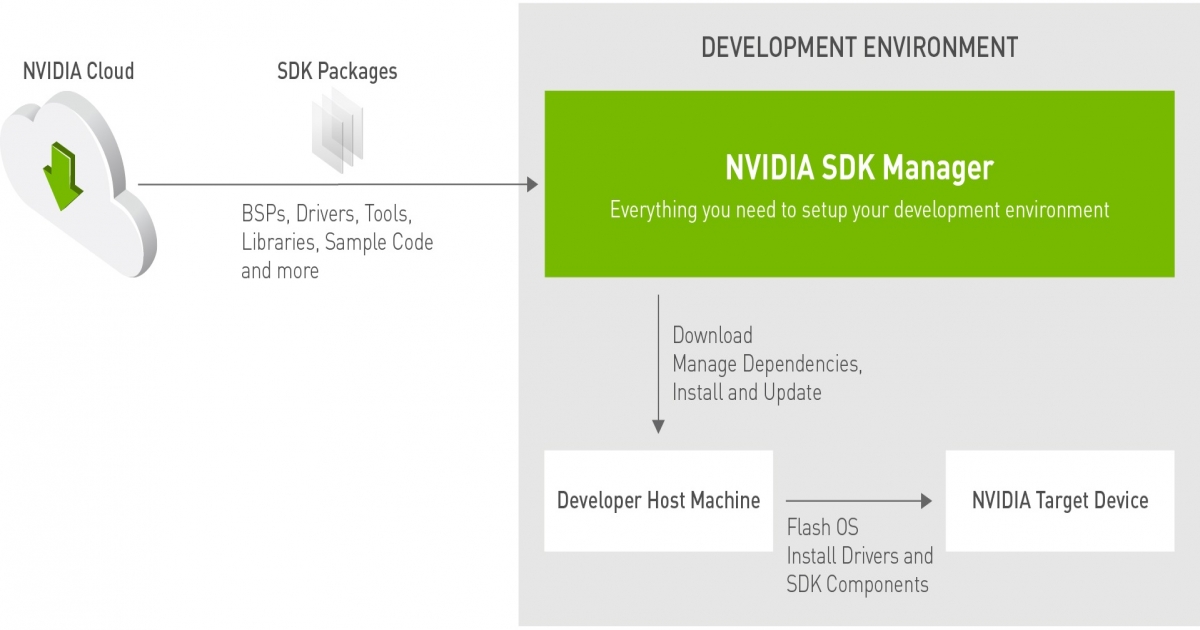
Something I am using increasingly is the Nvidia SDK Manager. This SDK Manager enables you to flash Nvidia Devices (Jetson Nano, Jetson Xavier, ...) quite easily.
Now the main disadvantage with this SDK Manager is that it is Linux only and requires an AMD64 compatible architecture. Let that be just the thing I don't have 😅 (Macbook Pro M1 & Windows user here). We could create a bootable USB drive and have Ubuntu running from it, but here as well, I am using the "Keychron" keyboard which is non-compatible with a BIOS... so, it's either buy a new keyboard or find a workaround.
Luckily for us, Nvidia released version 1.9.1 of their SDK Manager which promises to add "WSL Support", offering a solution that could work on our Windows machine! So, let's try it out!!
Getting WSL Ready
⚠️ Ubuntu 22.04 is supported, but I recommend 20.04 as some of the images are not yet available on 22.04
Before we can get started, we need to get WSL ready. Install WSL and boot it up, then follow the below to install some dependencies:
sudo apt install libxshmfence1 libglu1
sudo apt install libnss3-dev libgdk-pixbuf2.0-dev libgtk-3-dev libxss-dev
Installing the SDK Manager
Now we can install the SDK Manager, go to the NVIDIA website and download the sdk manager through the Ubuntu CLI.
💡 I can't include the exact steps here as Nvidia has an authorization wall behind its website
Once it has been installed, we should be able to use sdkmanager in the CLI which opens up the SDK Manager on Windows!

In this screen, use the QR Code on the right top! Once you are logged in, you should be able to see your devices.
Connecting our Device
As shown on the documentation page of the Jetson Mate, we need to put a jumper on BOOT to GND and then boot our device while connected over Micro USB. if done successfully, this will boot into APX Mode (NVIDIA USB Recovery Mode) and Windows should recognize it as an APX Device
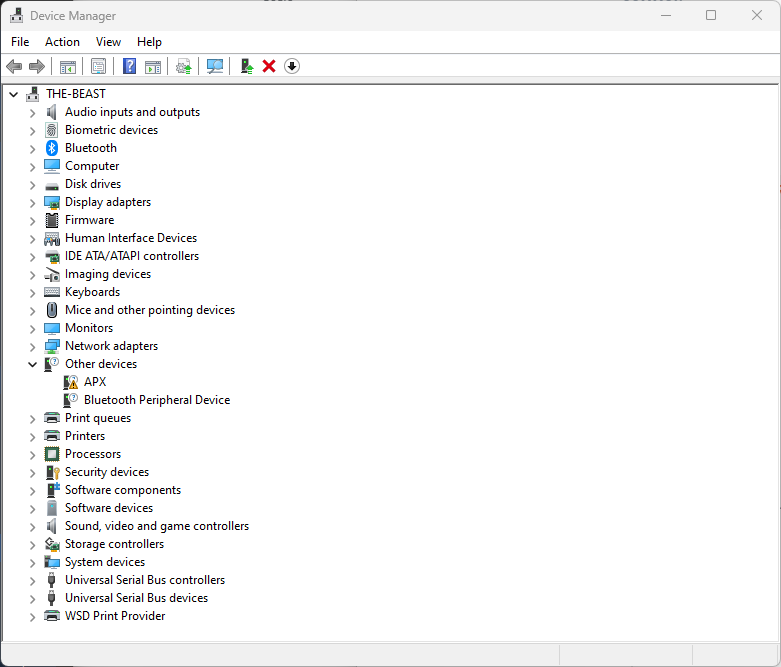
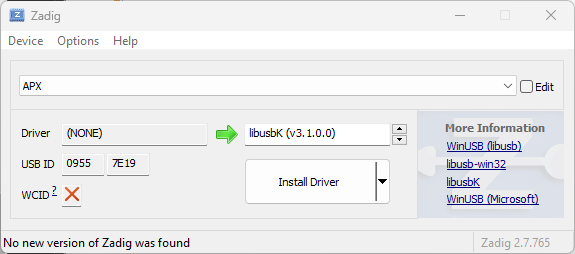
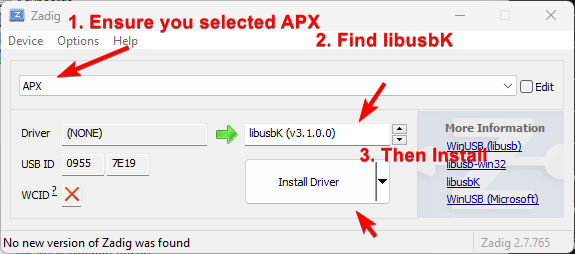
We can ensure this device is recognized by installing the Zadig tool that allows us to use a generic driver (e.g., libusbK)

Allowing USB Device Passthrough to WSL
Now WSL does not recognize local plugged in devices. Luckily for us, we can share the connected USB devices through a tool: https://github.com/dorssel/usbipd-win.
Configuring Host (Windows)
On your host machine, simply run winget install usbipd and restart your entire terminal application. You should now have access to the usbipd command.
Configuring WSL (Ubuntu)
To set up usbip on your WSL machine, run the following:
sudo apt update
sudo apt install linux-tools-virtual hwdata
sudo update-alternatives --install /usr/local/bin/usbip usbip `ls /usr/lib/linux-tools/*/usbip | tail -n1` 20
Now you should be able to run usbip on it.
Forwarding the APX Device to WSL
We can now forward the USB device, for that run usbipd wsl list which will provide you with the list of usb devices that we can connect. Then run usbipd wsl attach -a --busid BUS_ID where the Device ID is the APX one.
This will print:
usbipd: info: Using default WSL distribution 'Ubuntu'; specify the '--distribution' option to select a different one.
usbipd: info: Starting endless attach loop; press Ctrl+C to quit.
Attached
Now open up the WSL terminal and enter lsusb which will print
Bus 002 Device 001: ID 1d6b:0003 Linux Foundation 3.0 root hub
Bus 001 Device 002: ID 0955:7e19 NVIDIA Corp. APX
Bus 001 Device 001: ID 1d6b:0002 Linux Foundation 2.0 root hub
Showing that we can access the device!
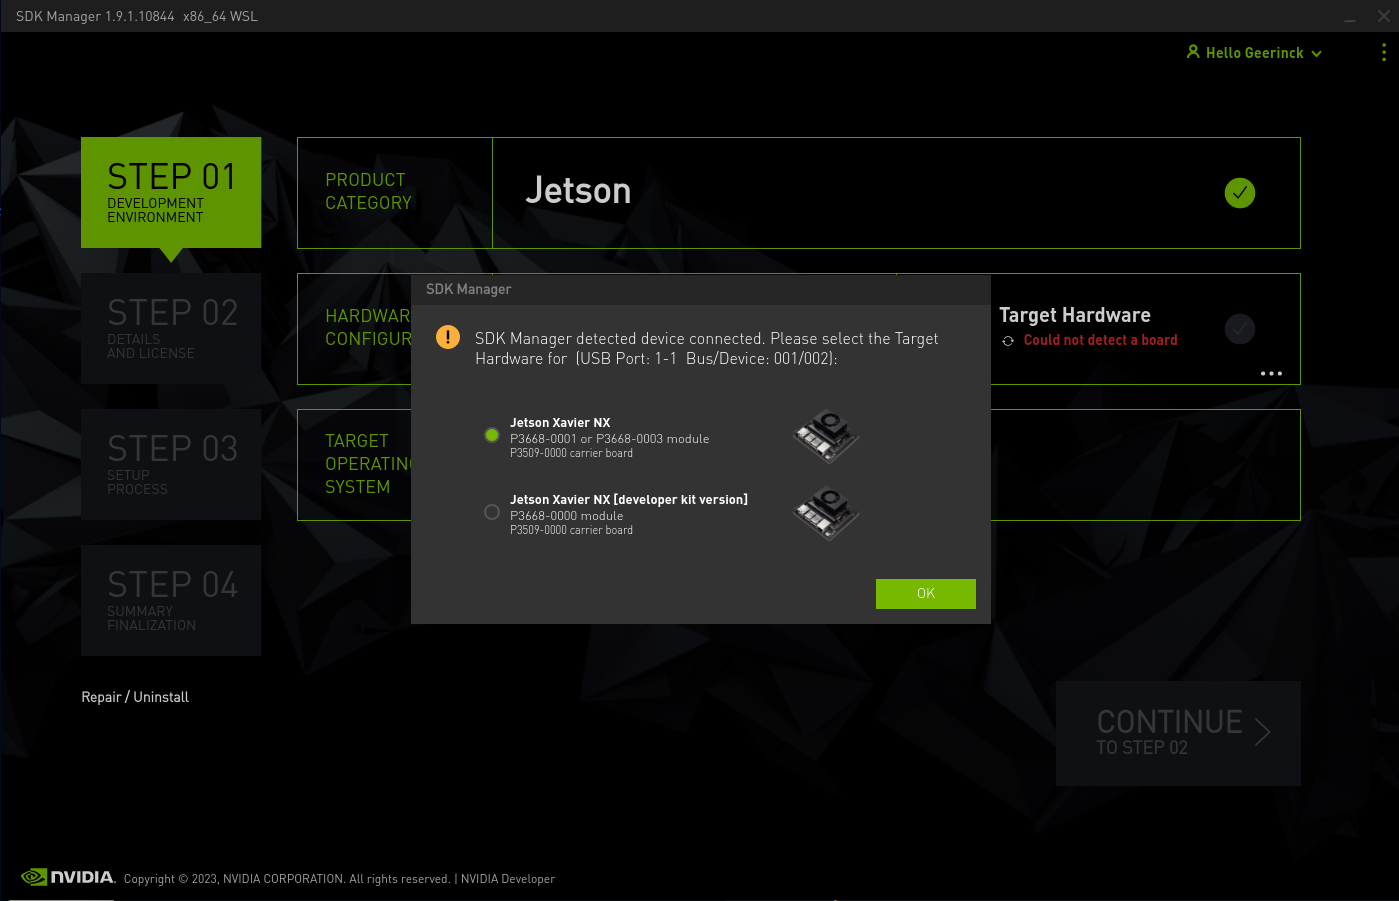
Flashing our Device
Now simply open up the Nvidia SDK Manager and continue from there!
Summary
It's quite cumbersome to get the NVIDIA SDK Manager to work on Windows. However, I hope to have shed some light on how you can do this yourself and start flashing the SDKs from your Windows machine.


Comments ()