
Setting up Cloudflare Tunnels
I am working on a Mobile Application (spoiler) that I am developing through React-Native and Expo.
Now to develop this application, I want the mobile app to connect to my backend and frontend seeing that I need to implement authentication (that already gets handled by Tinx.ai in the backend)
Up until now I was utilizing loca.lt instead of the popular ngrok as it allowed me to simply run lt --port 8000 --subdomain my-domain and provide me an URL to work with.
This worked perfectly, but had 2 optimizations that I wanted to do:
- Google was not happy as the redirect URL was not owned by me (it is hosted under loca.lt)
- The custom subdomains had a small timeout after disconnect, which made it harder to restart them.
Which is why I wanted to look at alternatives and came across Cloudflare Tunnels
Installing Cloudflared
First get started by installing the Cloudflare CLI tool by downloading it
As I installed this on the WSL environment I could run:
# Download the latest version
curl -L --output cloudflared.deb https://github.com/cloudflare/cloudflared/releases/latest/download/cloudflared-linux-amd64.deb

# Install the package
sudo dpkg -i cloudflared.deb
Cloudflared Login
Next up, login to your account by running
cloudflared tunnel login
This will let you open an URL and authorize cloudflared for a specific zone.
Configuring your Tunnel
Now the most important step, let's create a tunnel and route the traffic to it.
Start of by creating a tunnel:
cloudflared tunnel create my-tunnel
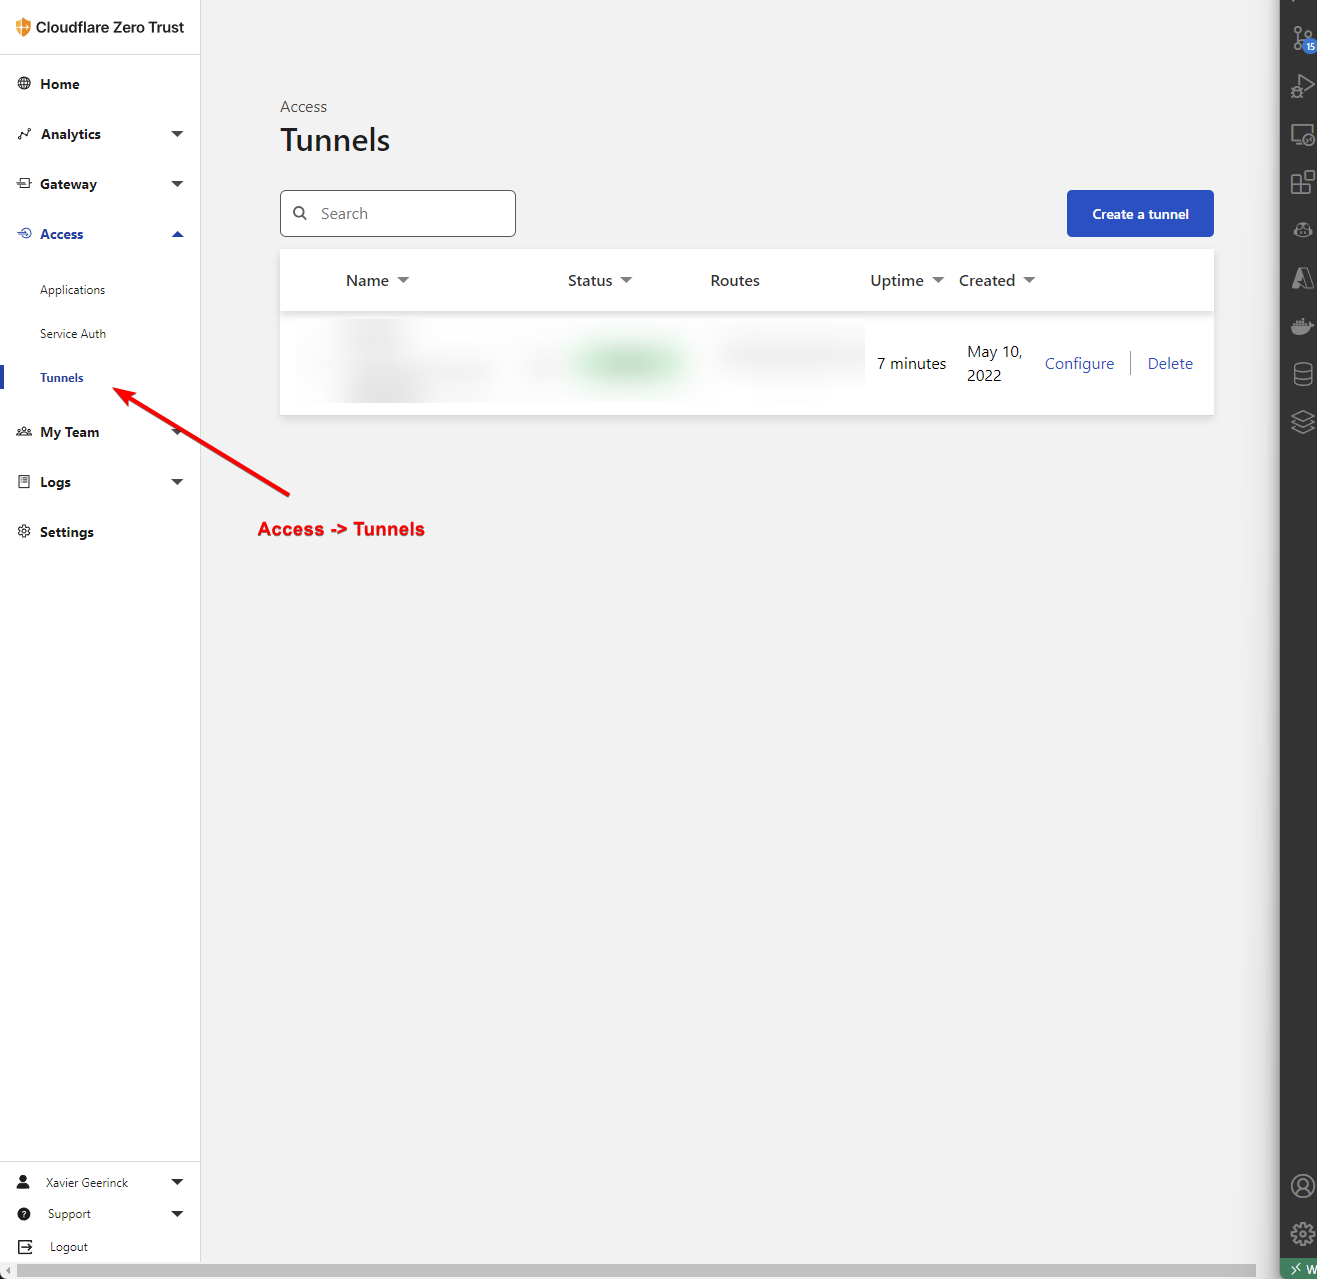
The tunnel is now created and will be visible on the Cloudflare Zero Trust dashboard:
Once the tunnel is created, route traffic to it:
# my-tunnel: the tunnel name we created
# my.domain.com: the domain we want to connect to
cloudflared tunnel route dns my-tunnel my1.domain.com
cloudflared tunnel route dns my-tunnel my2.domain.com
Before we can start it we need to configure cloudflared its configuration file situated at ~/.cloudflared/config.yml:
# Get the tunnel id by running `cloudflared tunnel list`
tunnel: YOUR_TUNNEL_ID
credentials-file: /home/YOUR_USER/.cloudflared/YOUR_TUNNEL_ID.json
warp-routing:
  enabled: true
ingress:
 - hostname: my1.domain.com
   service: http://localhost:3000
 - hostname: my2.domain.com
   service: http://localhost:8000
 - service: http_status:404
Starting your Tunnel
First run the below to configure a larger UDP buffer size
sudo sysctl -w net.core.rmem_max=2500000
Finally, you can start your tunnel by running:
# my-tunnel: the tunnel name we created
cloudflared tunnel run my-tunnel


Comments ()