
Autonomously Landing a Lunar Lander with an Xbox Controller Robotic Arm - Part 1
Creating an Xbox Robot Arm is something that I've been wanting to do ever since I saw the post by Kevin Drouglazet who was able to utilize an Xbox Controller with an arm he created and was so friendly to publish the design files for (I am definitely not a hardware designer 😅) - thanks for that Kevin!
Another reason why I wanted to do this is to have more practical knowledge and hands-on experience in the Reinforcement Learning domain. Since with this Robot Arm, I saw the potential to learn physical action control which will translate in world changes that can be virtual, opening up the realm of possibilities for use cases.
To make this post more understandable, I decided to do an in-depth coverage over multiple articles. In the first part I will detail how this Robotic Arm extension was built and how you can make the robot arm control the right tuhmbstick when you are moving with the left thumbstick. While in the second part, I will go deeper on how we are then able to utilize a Unity Environment and train it to eventually be controlled by the robotic arm.
What we will create
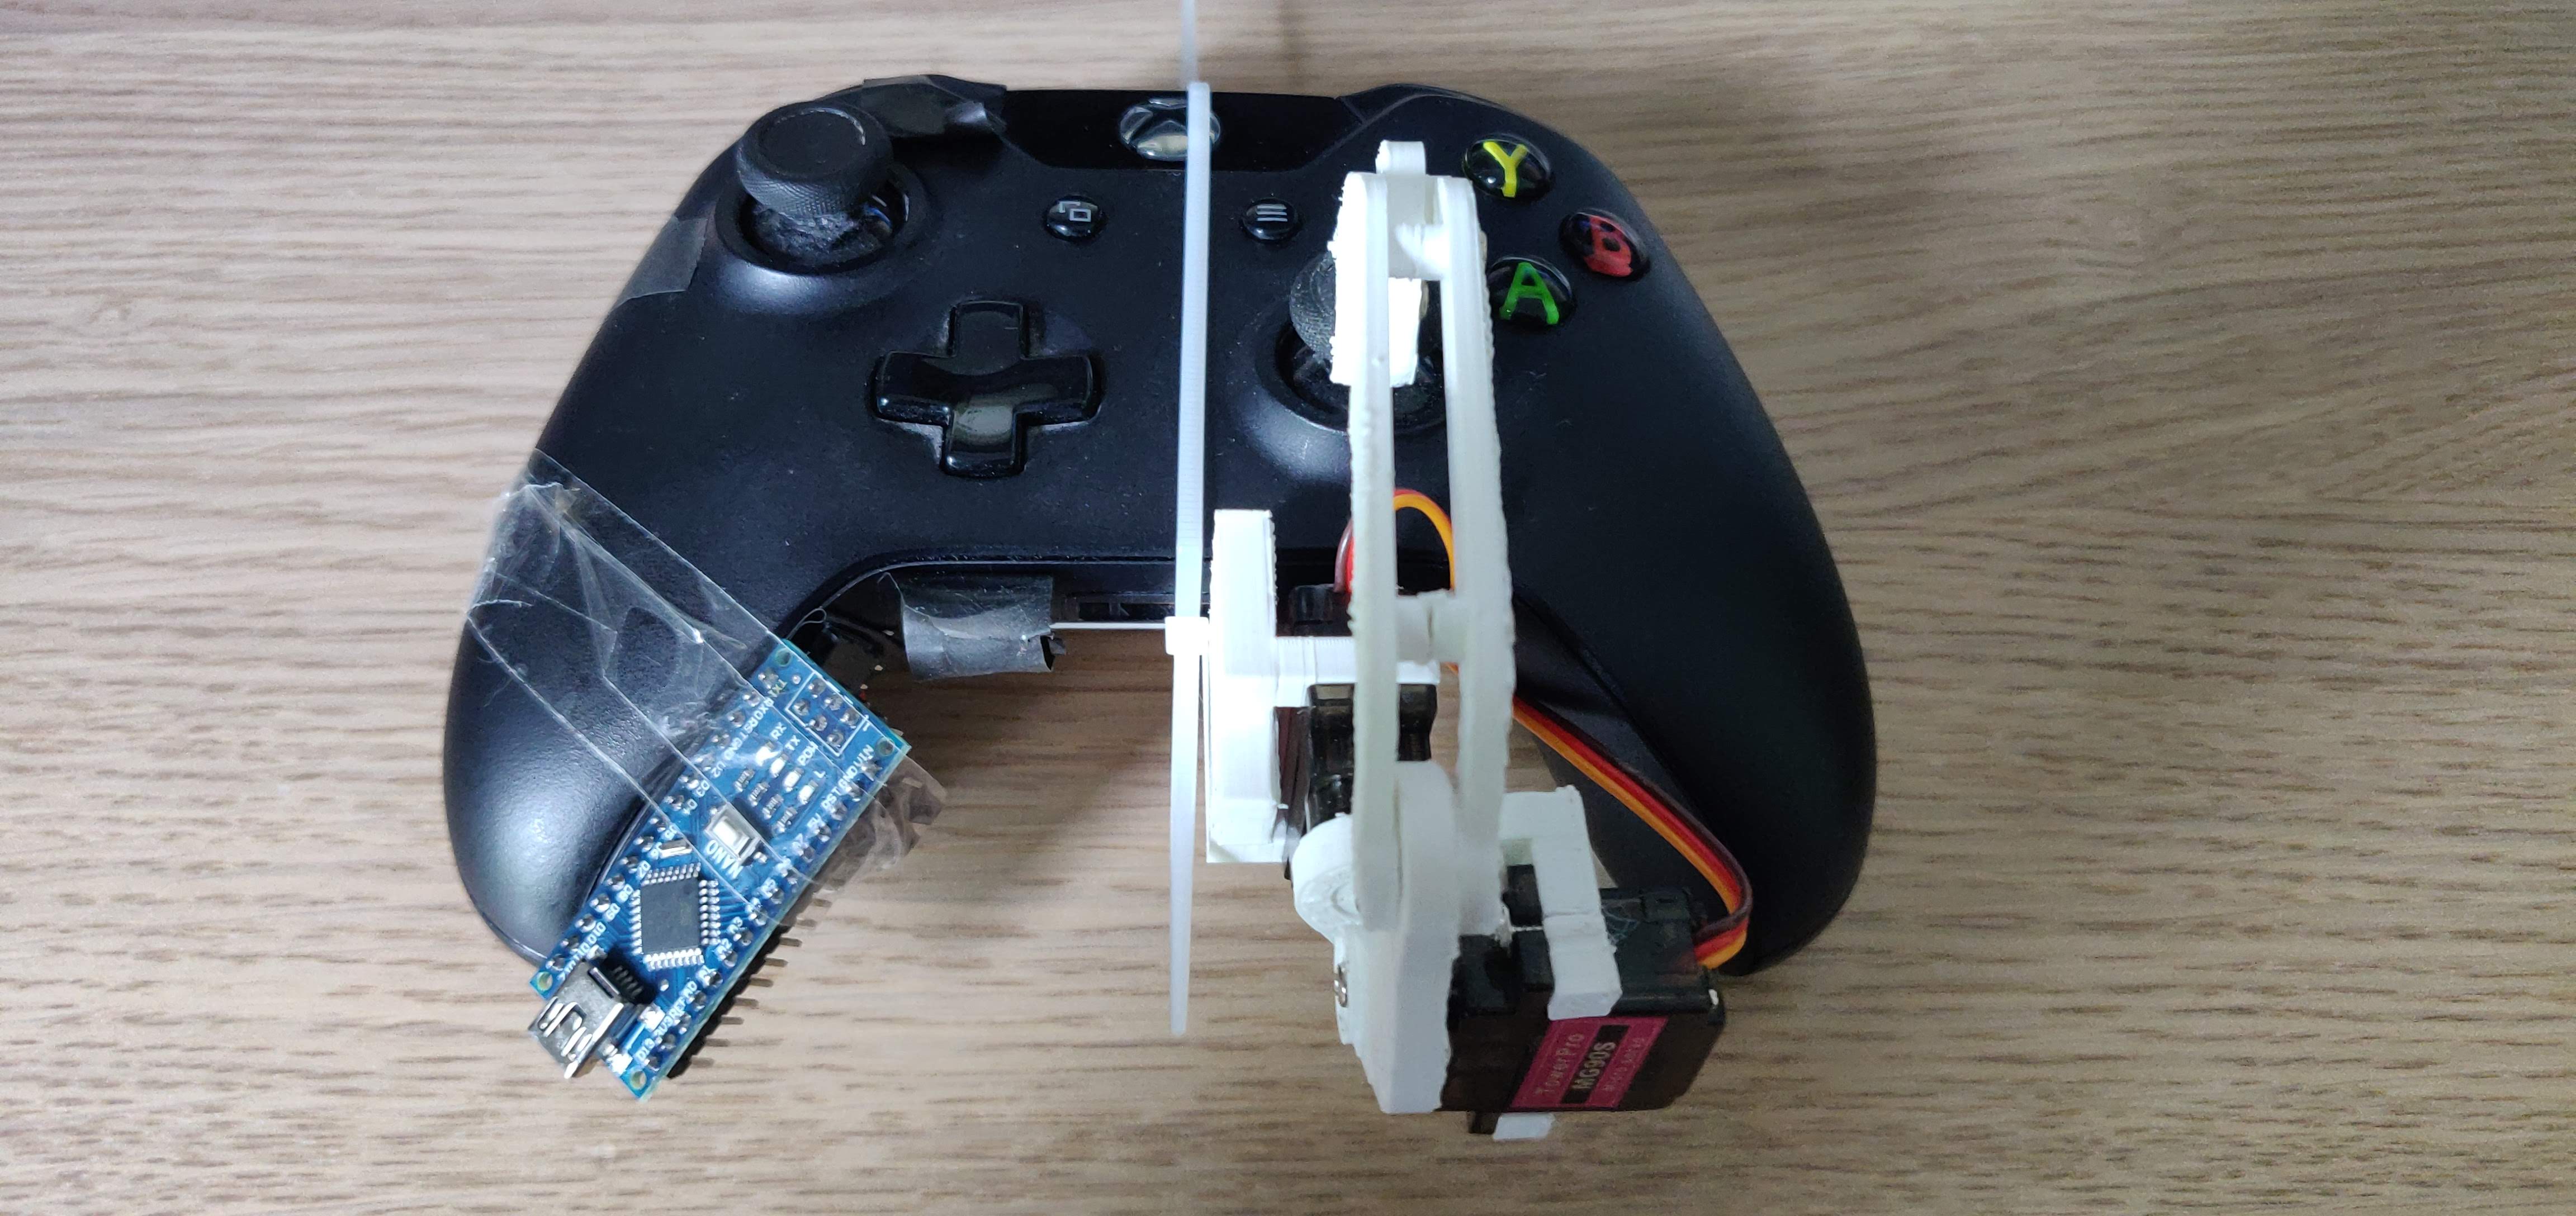
The end-goal that we want to achieve is the following:
Creating the Robot Arm
Note: Seeing that the assembly was well explained by Kevin his post, I decided to shorten this part and put more focus on the software after this section.
Parts
Let's start off with the parts required for this build. In total I paid around \$75.00 for this build (\$20.00 without the Xbox controller)
- Arduino Nano (~ \$1.89)
- 2x MG-90S servos (~ \$4.30)
- 2x MR105ZZ Ball Bearings (5 x 10 x 4mm) (~ \$3.99 for 20)
- 10x M2x10mm self tapping screw
- Zip Ties (~ \$2.83 for 50)
- Wires (~ \$2.00)
- Dupont Connectors (~ \$5.00 for a box)
- Xbox Controller (~ \$55.00)
Printing
For printing we can utilize the provided STL files and load them into our 3D printing software.
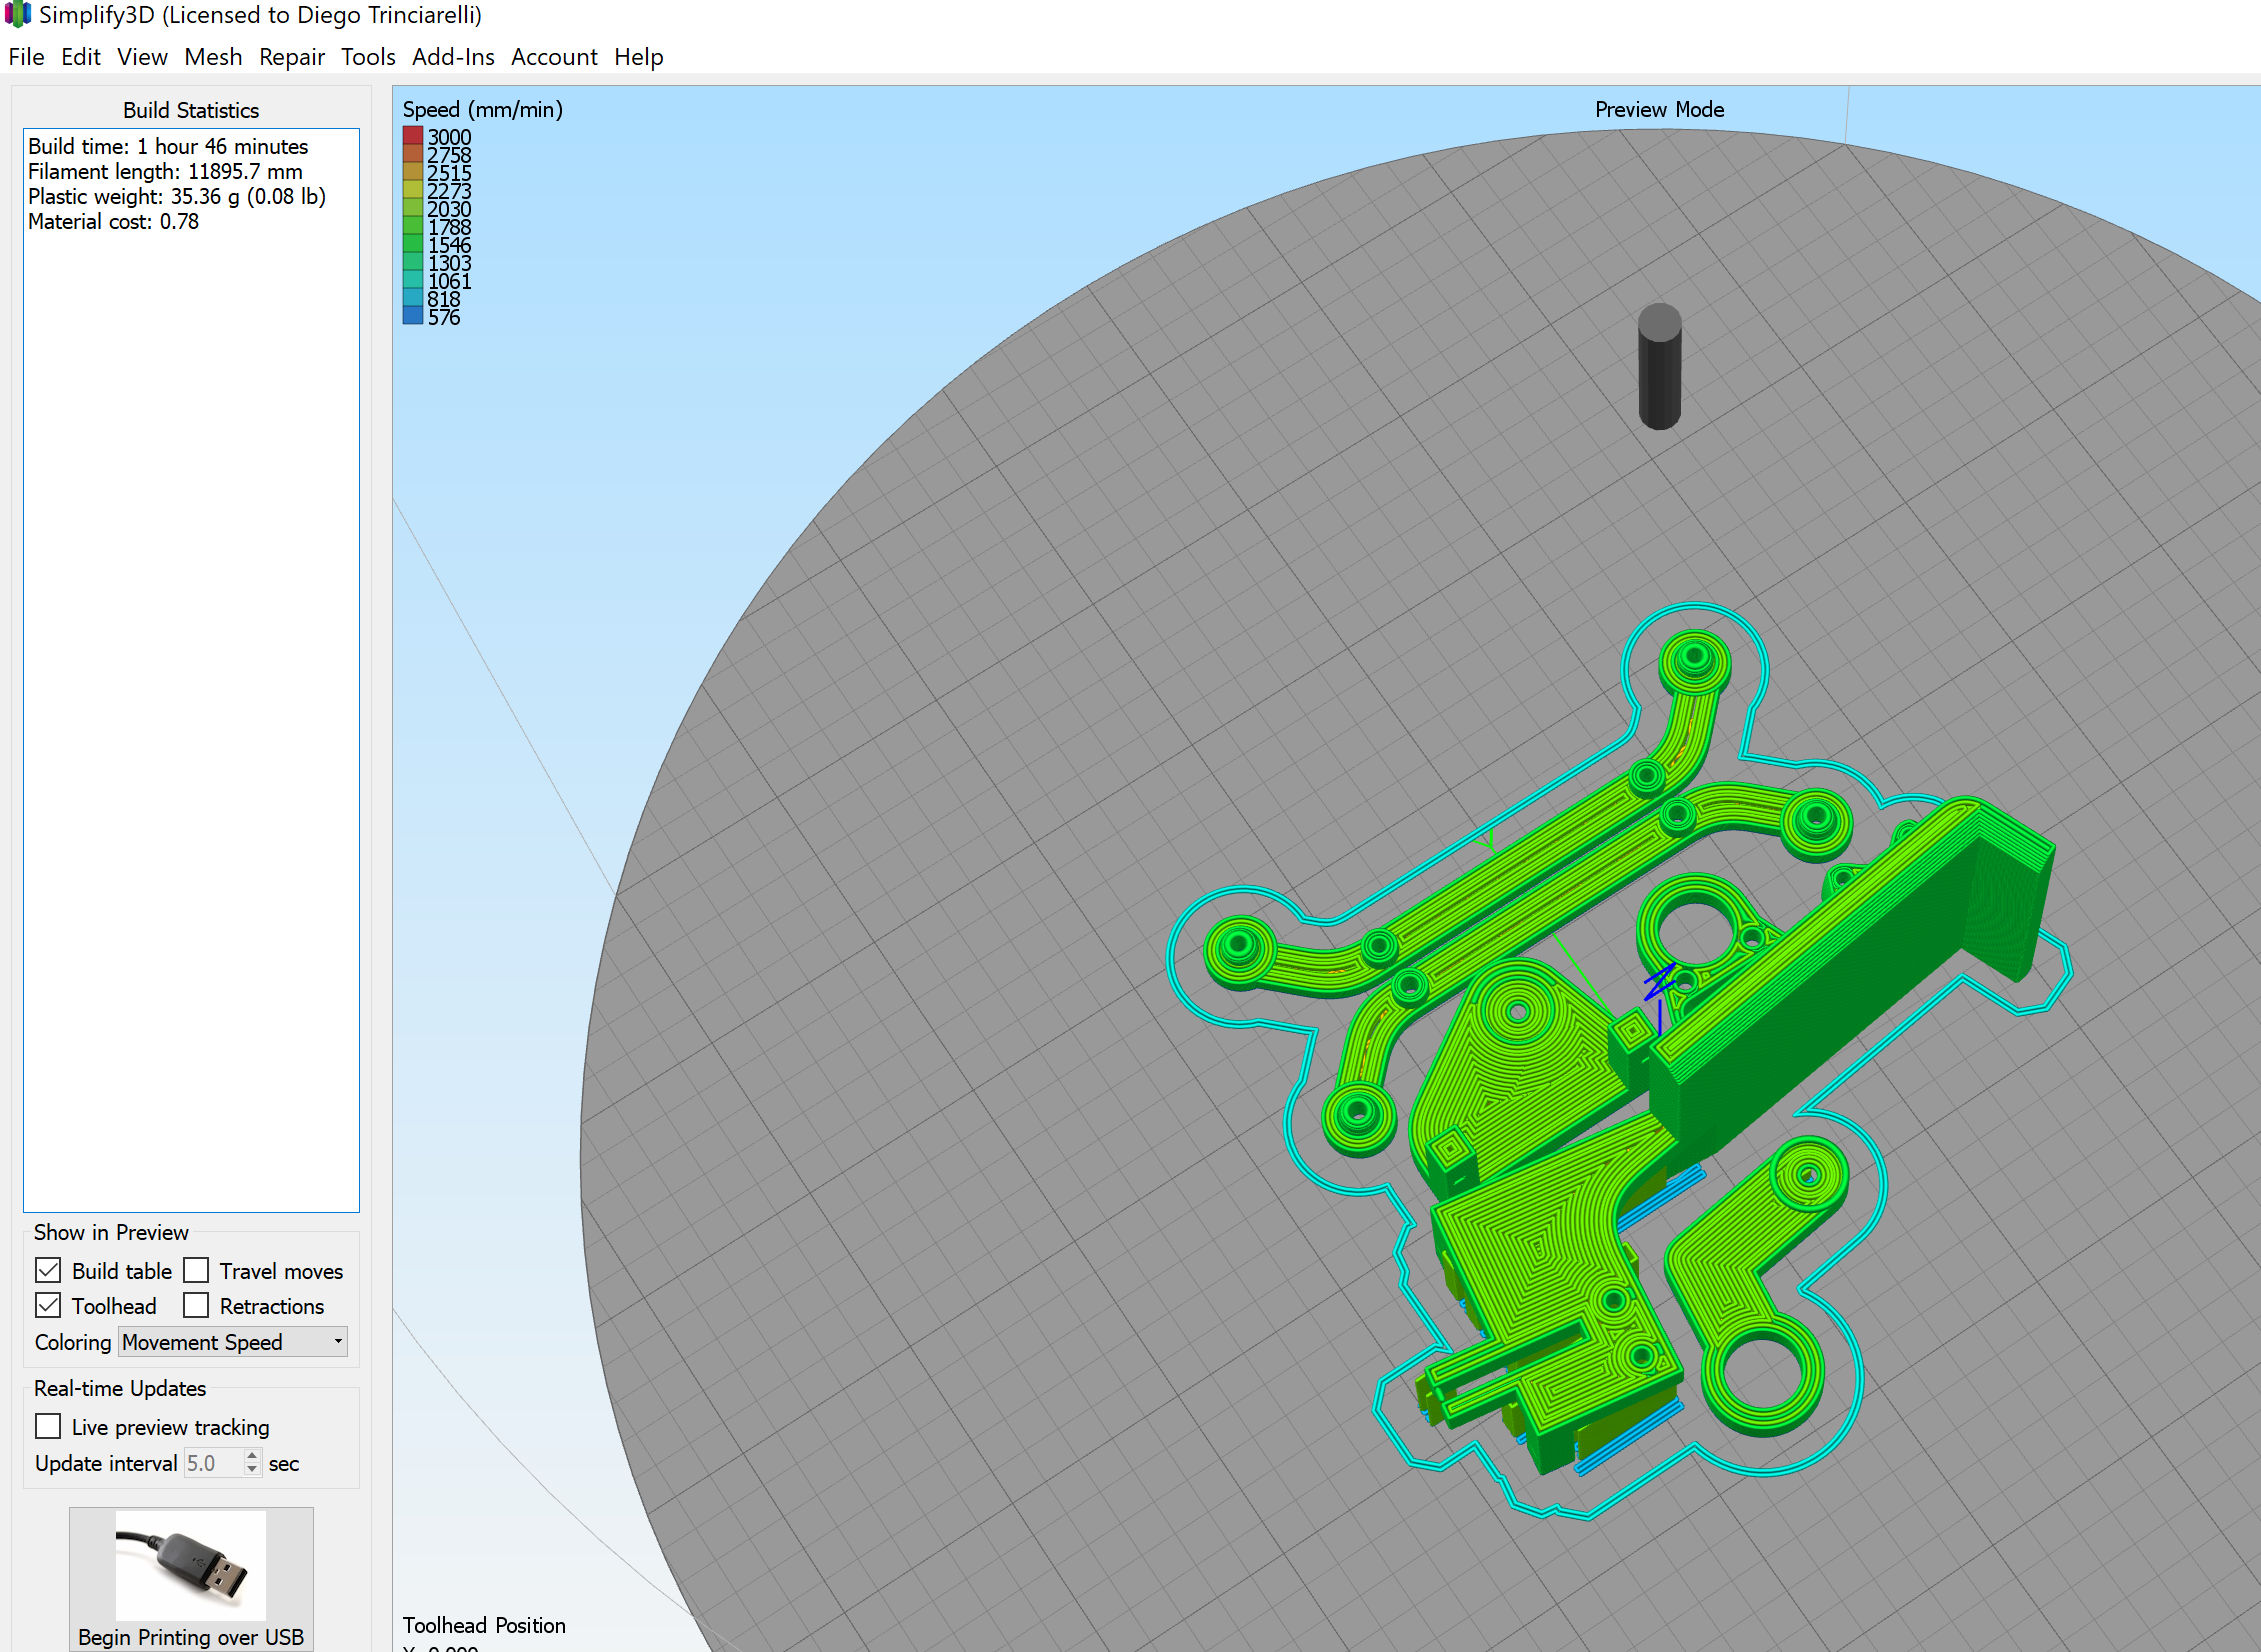
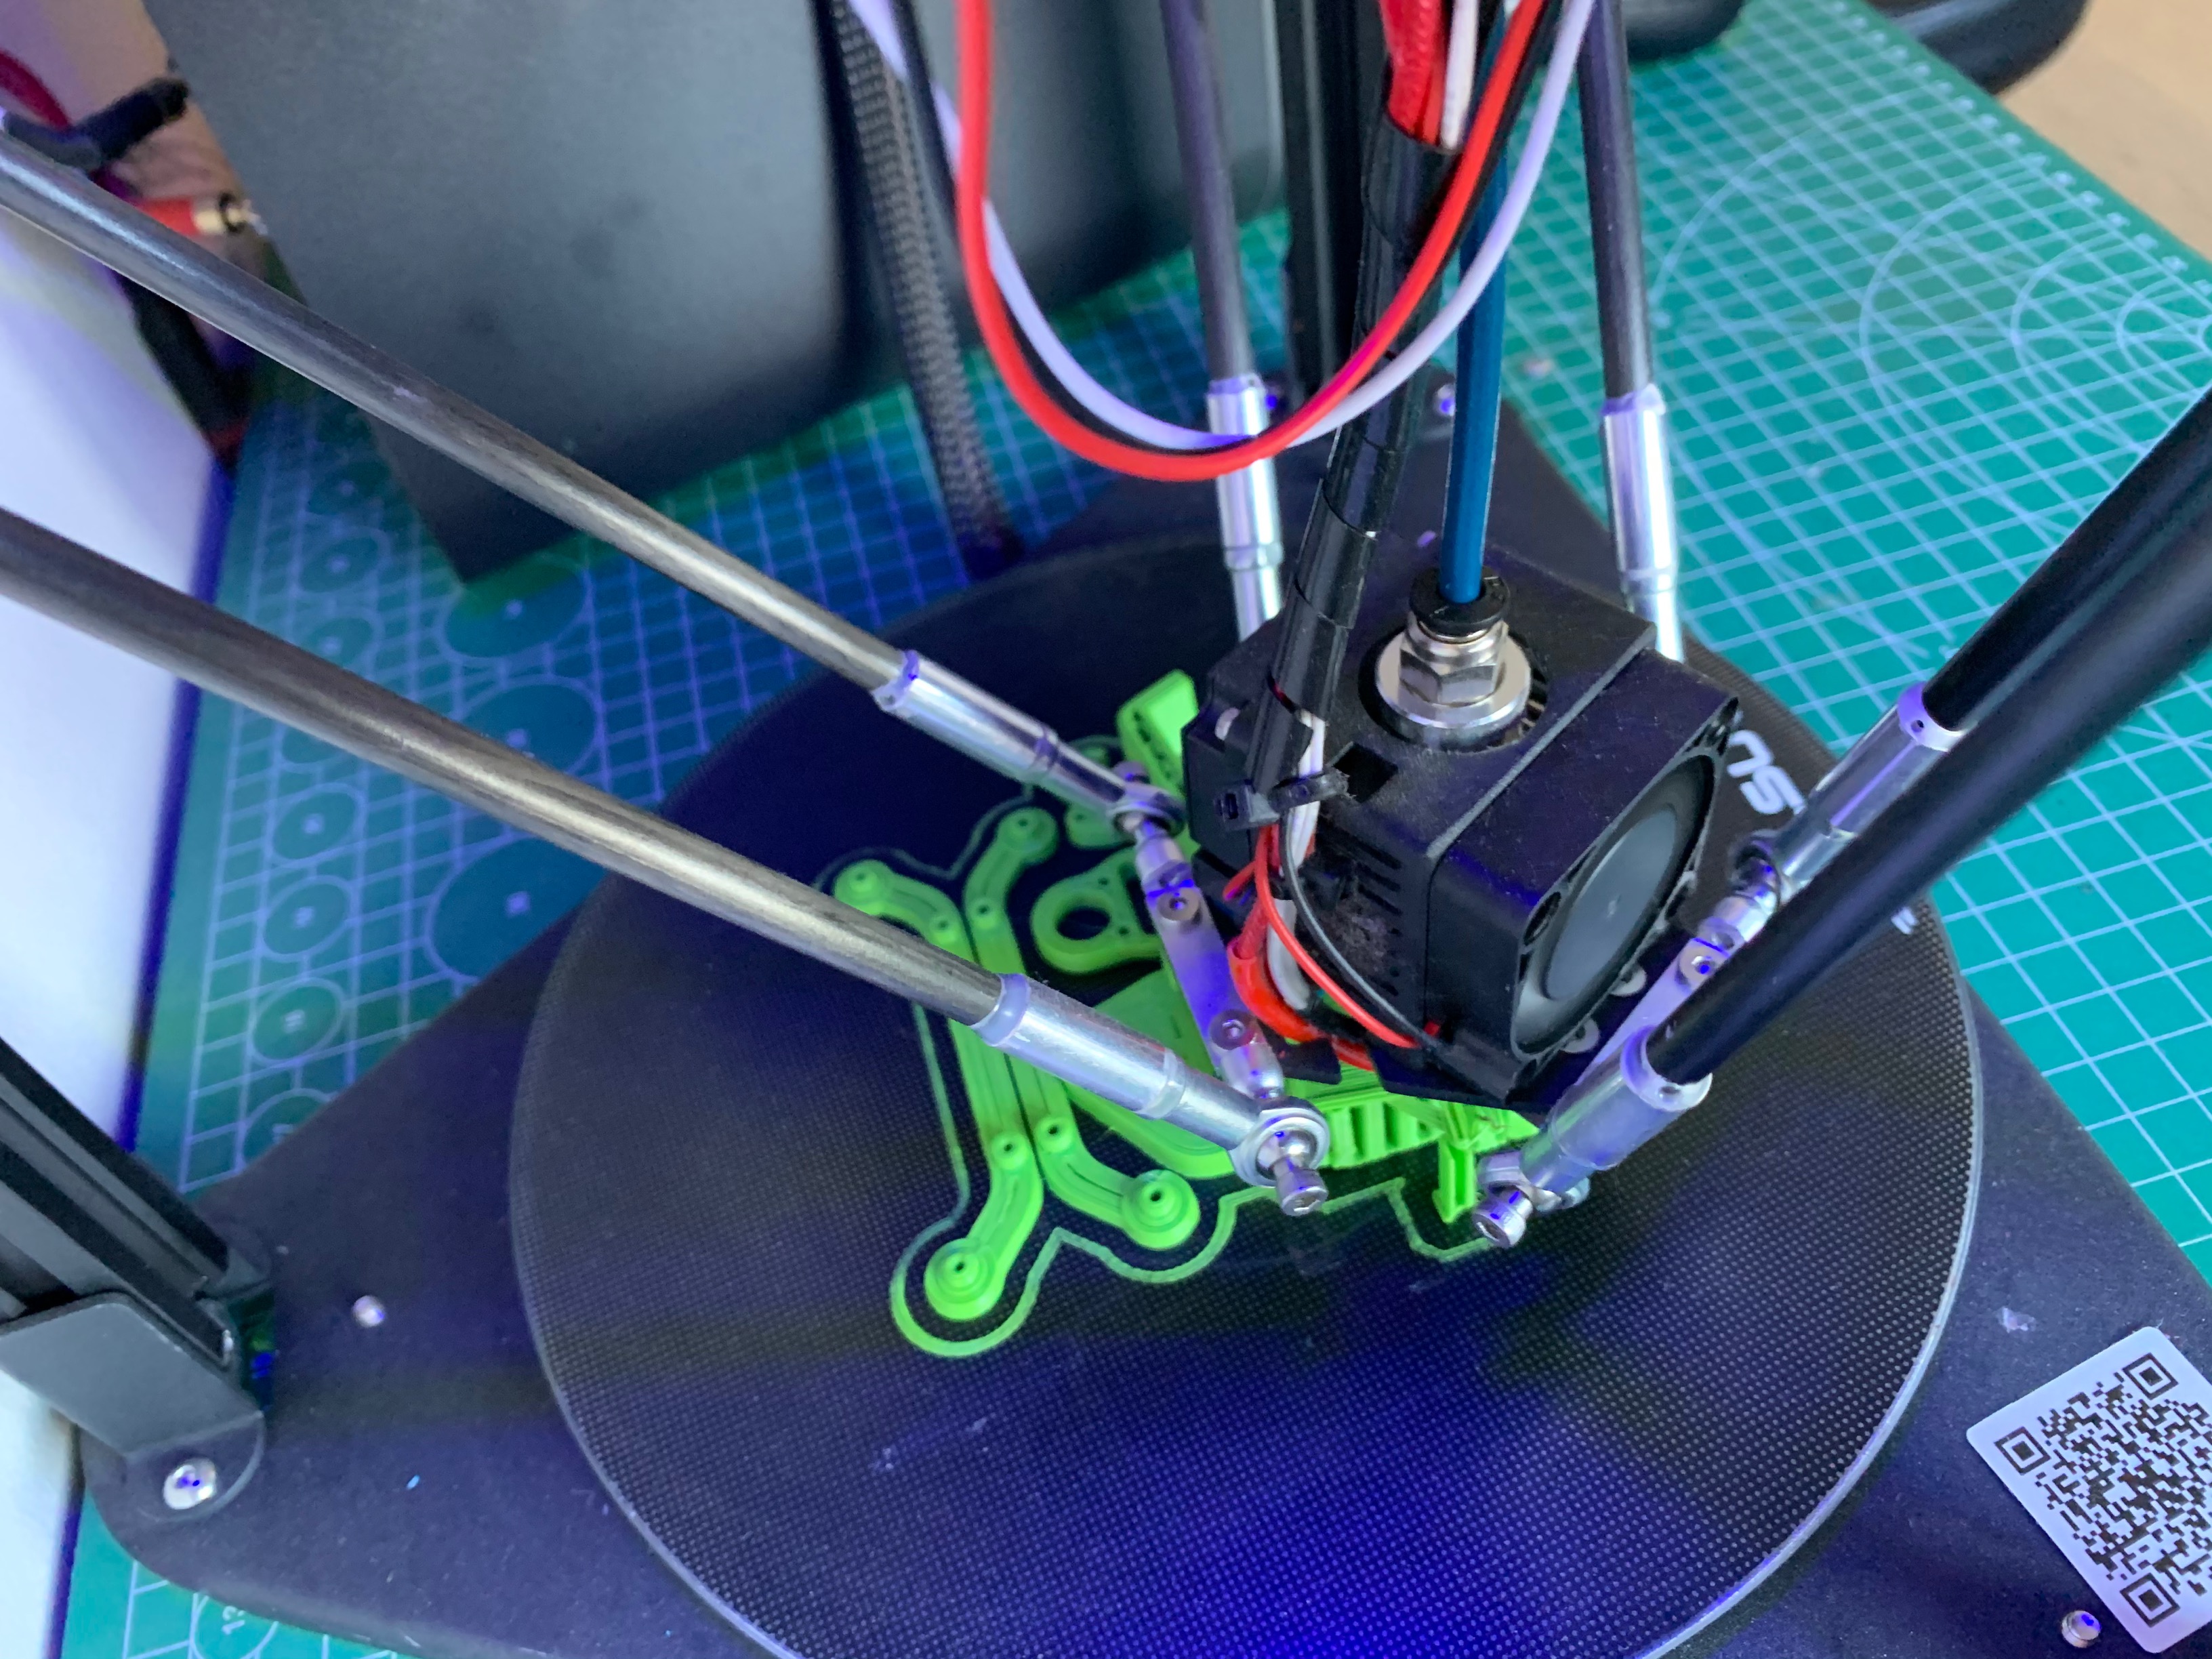

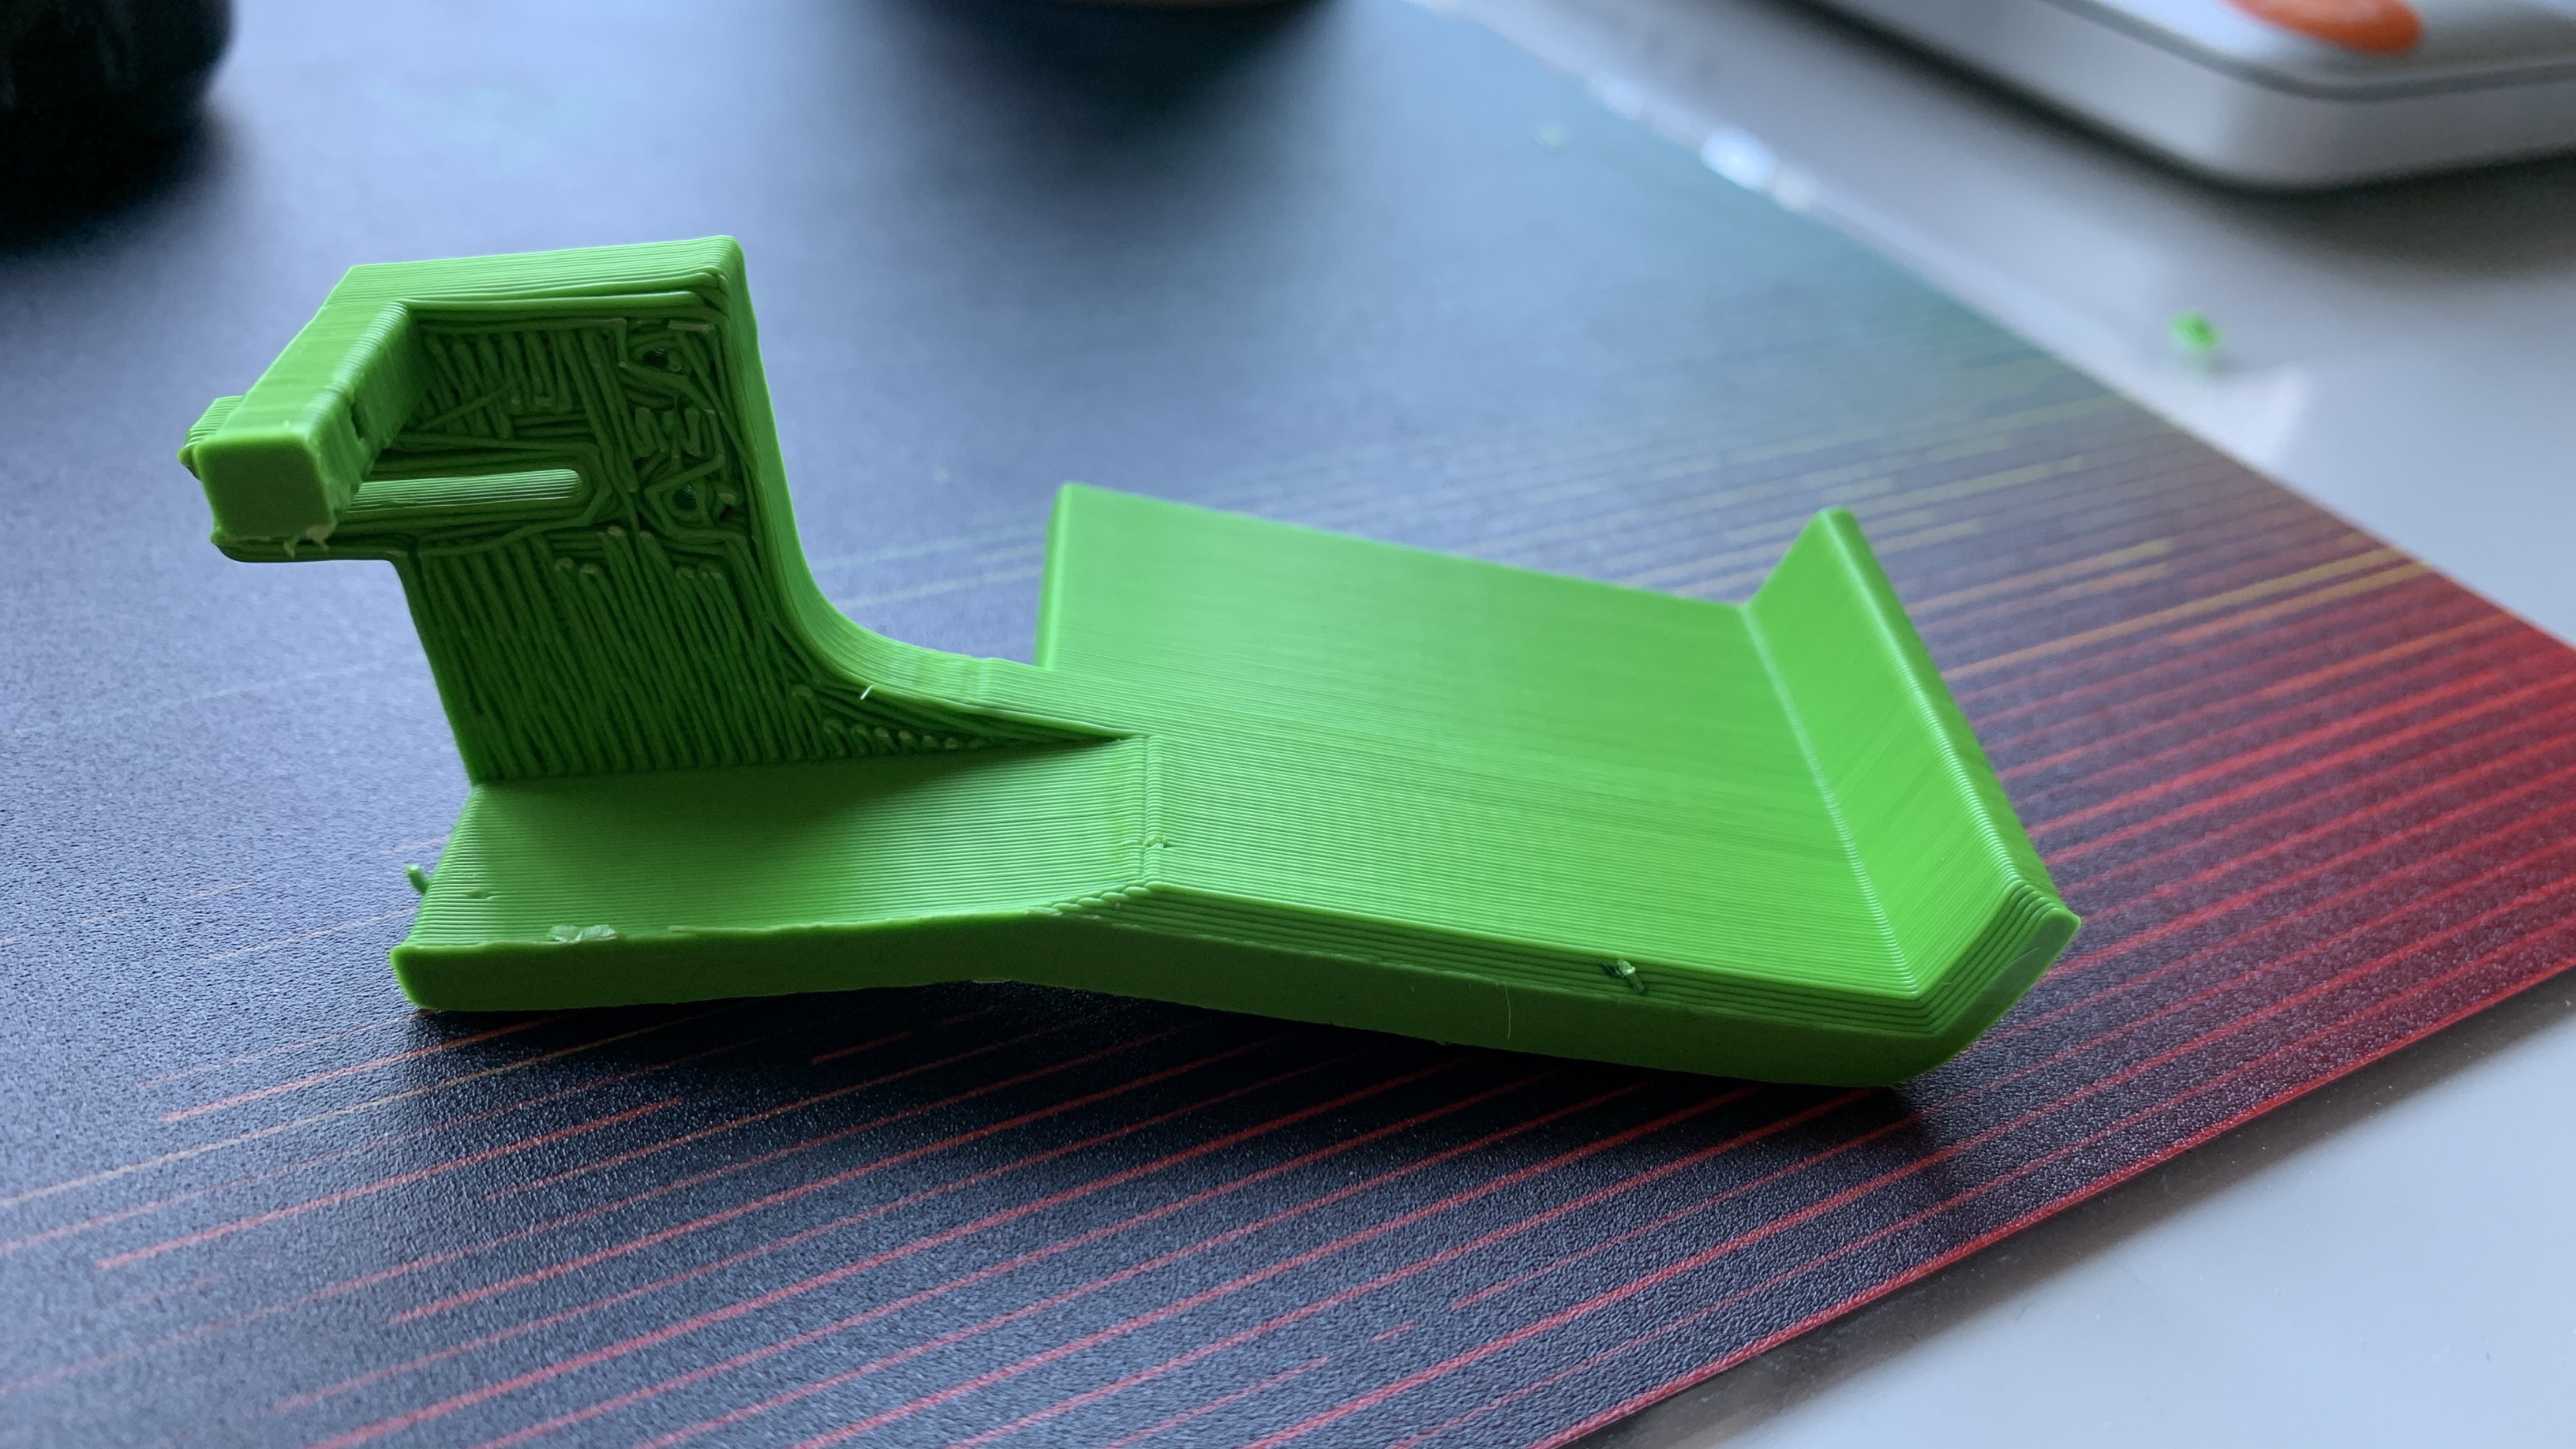
Note: This was reprinted in White for personal styling. A huge shout-out to my colleagues Diego Trinciarelli and Karim Vaes for helping me with the printing!
Assembly
After the printing, we can assemble all of this together which is quite straightforward and explained well by Kevin.

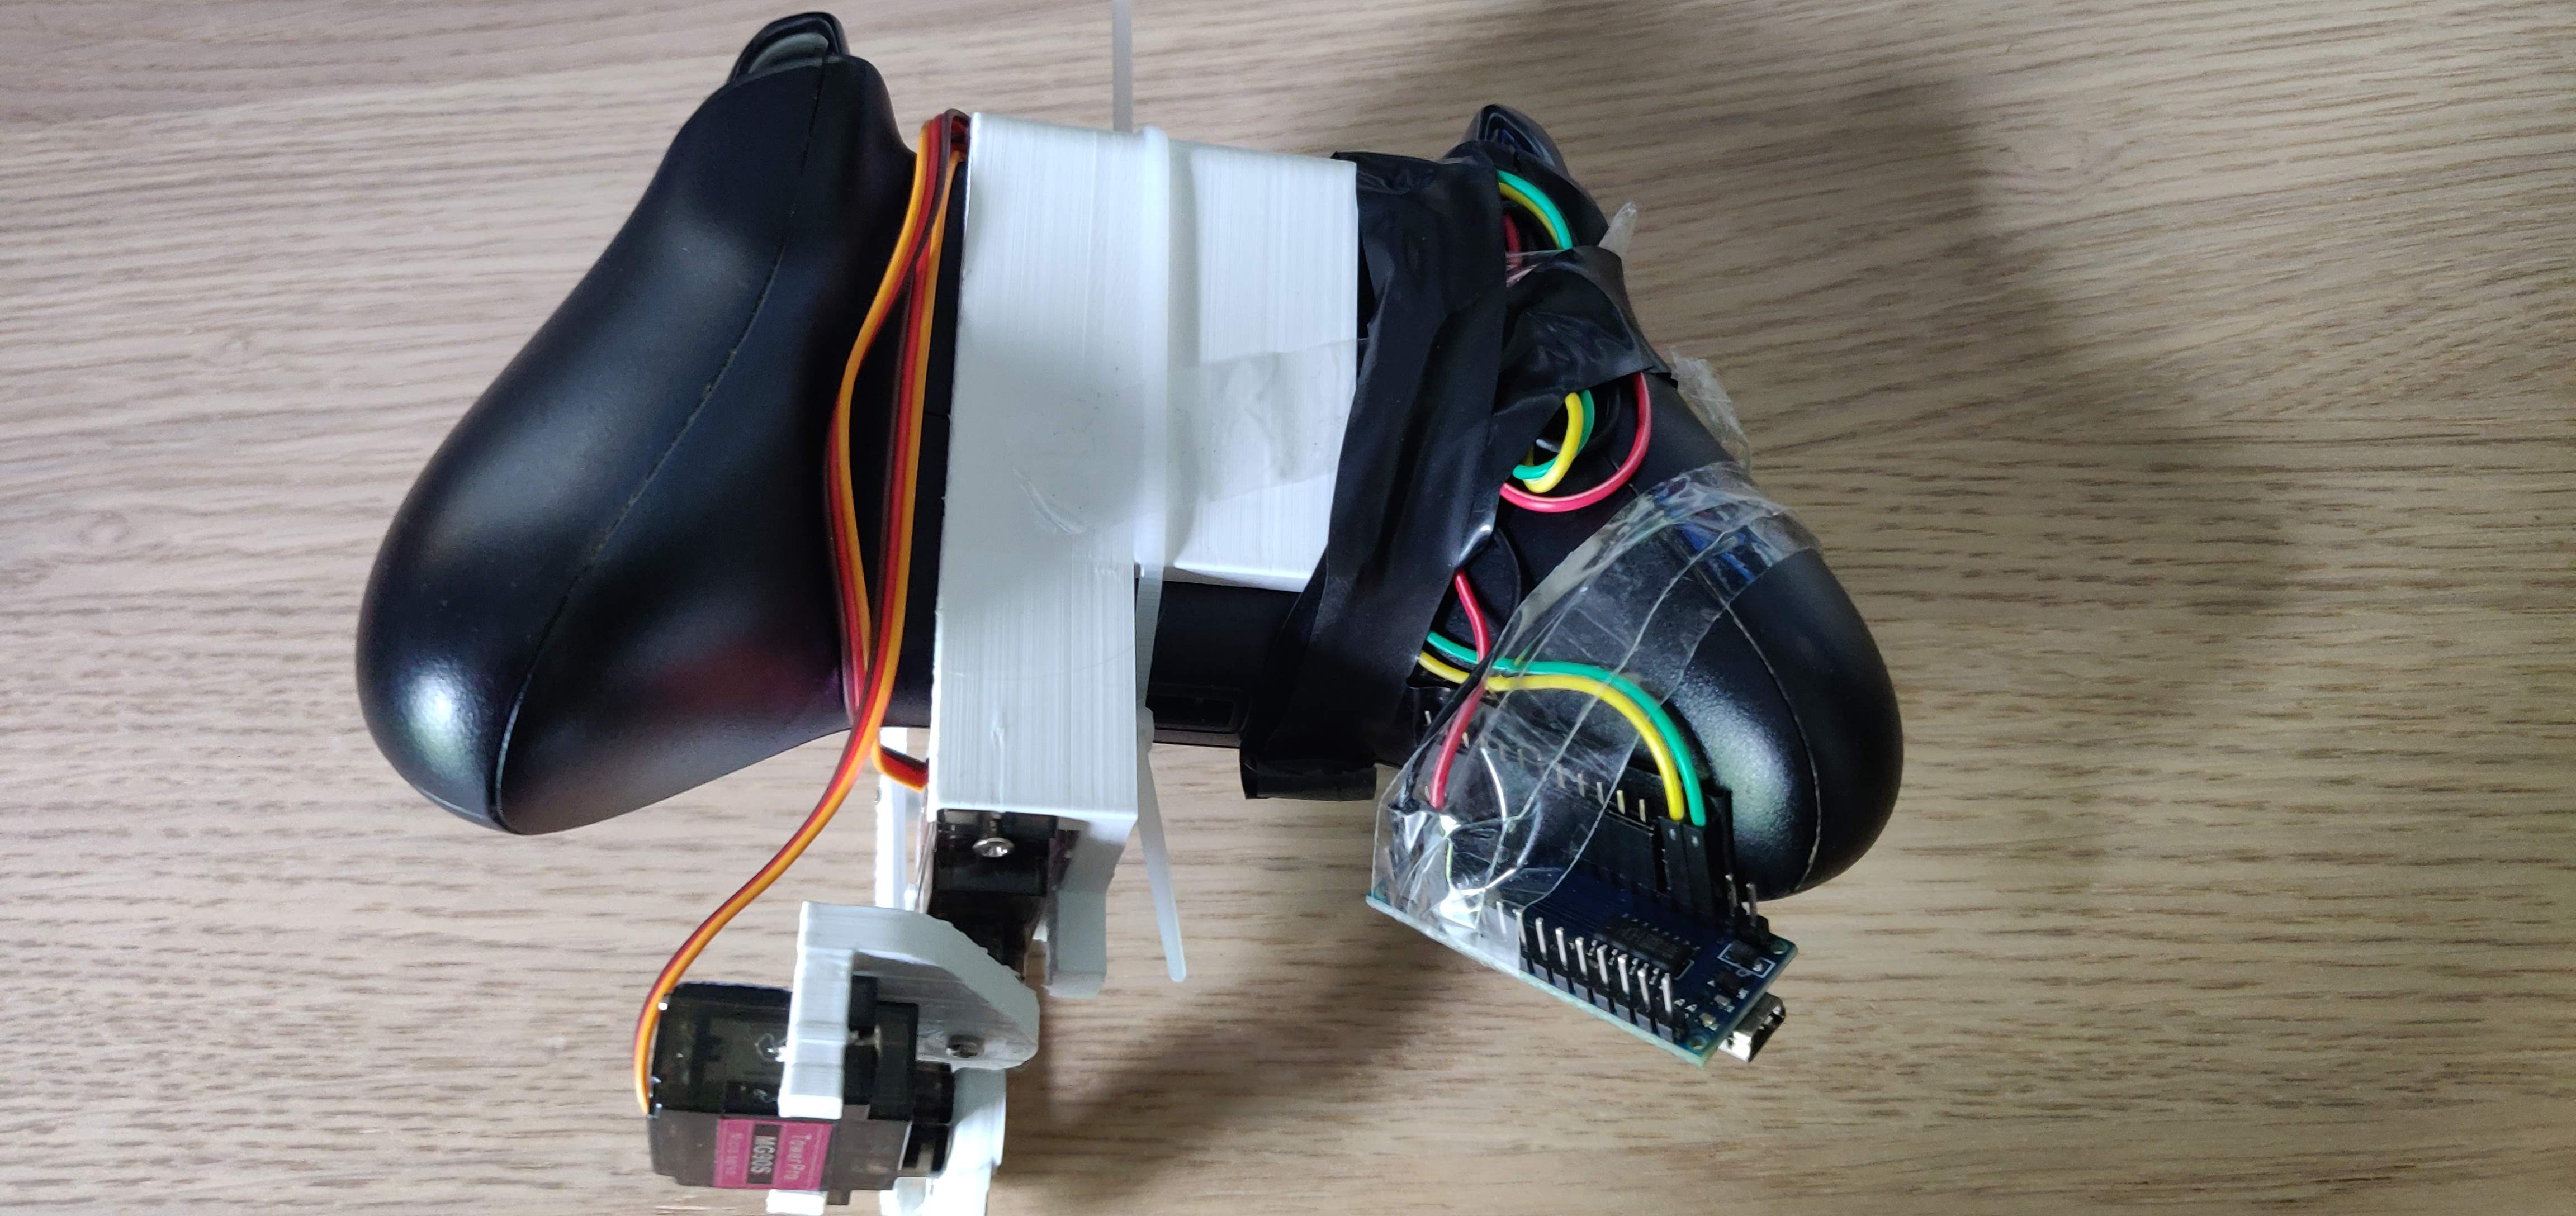
Now our hardware is assembled and we are ready to start putting software on this beauty!
Controlling the Robot Arm
We want to achieve movement of the robot arm by utilizing the input of the left thumbstick, which will send data to our computer, which in its turn will send data back to the Arduino that will control the motors.
In the next post, we will then put the Action Logic of taking an action on the Arduino, which will decide which action to take based on the input received from the observation state.
Connecting the Xbox Controller and reading values
First we need to connect the Xbox Controller and start receiving data from it. This in itself is not an easy task on Windows, seeing that it's hard to find up-to-date libraries that allow us to do this. This is why I decided to utilize the Browser API as you can find in an earlier blog post: Getting Xbox Controller inputs through Node.js.
When we follow this post, we can utilize the following code that will read the Thumbstick values and put them into the respective UP_DOWN and LEFT_RIGHT variables.
const GameController = require('./GameController');

(async () => {
  const gameController = new GameController(100); // 100ms poll interval
  await gameController.init();
  gameController.on('button', (btn) => console.log(`Button: ${btn} pressed`))
  gameController.on('thumbsticks', async (val) => {
    let valParsed = JSON.parse(val);

    let UP_DOWN = valParsed[1];
    let LEFT_RIGHT = valParsed[0];

    console.log(`UP_DOWN: ${valParsed[1]} | LEFT_RIGHT: ${valParsed[0]}`);
  })
})();
Connecting Node.js to our Arduino
Another thing we have to do before we can start working on interchanging data and programming our arduino is to connect Node.js so that it's able to exchange data. Luckily for us there is an excellent library named Serialport that we can install through npm install serialport.
Once this is installed, we are able to open our COM port where the Arduino is connected on by instantiating the object with the configuration we want. To then send and receive data we await an open event whereafter we can utilize the command of port.write(data) and we can receive data by listening on the data event which we can log to the console.
Do note that we are receiving bytes, which we thus have to convert to a string, implemented through the ab2str function.const SerialPort = require('serialport');
const GameController = require('./GameController');
const port = new SerialPort('COM6', {
baudRate: 38400,
parity: 'none',
stopBits: 1,
flowControl: false
});
function ab2str(buf) {
return String.fromCharCode.apply(null, new Uint16Array(buf));
}
port.on('open', async () => {
console.log("Port Opened, awaiting reset");
// Arduino does automatic reset when it gets a serial connection
// Therefor we wait a bit before sending
setTimeout(async () => {
console.log("Reset Done");
}, 3000);
});
port.on('data', (data) => console.log(ab2str(data)));
Data Interchange between Arduino and Node.js
Before we can start working on programming the Arduino, we have to decide how the data will be interchanged seeing that this is a serial connection.
The values from our Xbox Controller arrive as floating points where we require 2 of those that represent the UPDOWN direction and the LEFTRIGHT direction.
Sending in Javascript
In Javascript we have to send Uint8Arrays through the Serialport library. To do this we thus need to take our variable and convert it from a src type to a destination type. A float represents 8 bytes in Javascript (64 bits), but Arduino requires 4 bytes bytes. By wrapping our variable in a Float32Array we can convert this type to 4 bytes.
To now send this to our Arduino, we need to convert this Float32Array to a Uint8Array. Luckily for us this can be achieved easily through the following function:
// Convert src to destination
// Example: convertTypedArray(new Float32Array([ 1.00 ]), Uint8Array);
function convertTypedArray(src, type) {
    let buffer = new ArrayBuffer(src.byteLength);
    let baseView = new src.constructor(buffer).set(src);
    return new type(buffer);
}
This we are able to send instantly over the serial connection through a port.write() method. However before doing that we do want to make sure that a new value can be sent (to avoid overload), which we can do through the port.drain() function. We thus write another function that allows us to writeAndDrain to successfully send one message:
async function writeAndDrain(port, data) {
  return new Promise((resolve, reject) => {
    port.write(data);
    port.drain(resolve);
  })
};
Now we can send a message like this:
await writeAndDrain(port, convertTypedArray(new Float32Array([ 1.00 ]), Uint8Array));
Receiving Data in Arduino
For our Arduino this is a bit more complicated. We need to receive data and save it somehow, but this data is coming in in bytes rather than full floats.
Luckily there is a trick that we can use, that allows us to read incoming bytes and copy them to a struct. Allowing us to define the input as follows:
typedef struct {
  float UP_DOWN;    // UP   | DOWN  value [-1, 1]
  float LEFT_RIGHT; // LEFT | RIGHT value [-1, 1]
} InputThumbstick;
Which we can then fill through:
void setup() {
  Serial.begin(38400);
}

void loop() {
  char buffer[sizeof(InputThumbstick)];

  if (Serial.available() >= sizeof(InputThumbstick)) {
    Serial.readBytes(buffer, sizeof(InputThumbstick));
    memcpy(&inThumbsticks, &buffer, sizeof(InputThumbstick));
  }
}
Controlling the Servos
Last but not least we now have to move the servos (Horizontal and Vertical) based on the values coming in. Before we can actually write, we first have to think how we will pick the correct values, seeing that the documentation (Servo.h && Servo.h writeMicroseconds) state that a value between [1000, 2000] should be chosen.
In our case, this range is[1200, 1800]with1500being the middle seeing that we don't need 180 degrees.
Our Xbox Controller however sends values between [-1, 1] which will require a conversion.
Converting Xbox values to Servo Values
Converting this can be compared to normalizing the servo values. However instead of normalizing between [0, 1] by default, we will normalize to [-1, 1]. With the following parameters:
|Parameter|Description|Value| |-|-|-| |X|Servo Value|[1200, 1800]| |Xscaled|Xbox Thumbstick Value|[-1, 1]| |Xmin|Min Servo Value|1200| |Xmax|Max Servo Value|1800|
These we can utilize in our Normalization formulas:
Normalization Formula [0, 1]
$Xnorm = \frac{X - Xmin}{Xmax - Xmin}$
Normalization Formula [-1, 1]
$Xscaled = 2 * Xnorm - 1$
Normalization Formula [-1, 1] Full
$Xscaled = (2 * \frac{X - Xmin}{Xmax - Xmin}$) - 1
Extracting X
$X = ((\frac{Xscaled + 1}{2}) * (Xmax - Xmin)) + Xmin$
Converting to C code
After converting this to our C function that we can utilize in our Arduino:
int inputToServoValue(float in, int Xmin, int Xmax) {
  in = in * -1; // Reverse sign
  return (int)((((in + 1) / 2) * (Xmax - Xmin)) + Xmin);
}
Conclusion
Below you will be able to find the final code utilized to achieve the moving robot arm based on input of the left thumbstick. I strived to make this code as clean as possible, so that it can be reused in other projects.
In a next post I hope to utilize this project for a Reinforcement Learning use case, but more about that later 😉
Final Code
Final Arduino Code
Putting all of this together results in the following code for Arduino:
#include <Servo.h>

Servo Vertical; // Servo doing vertical movement
Servo Horizontal; // Servo doing horizontal movement

typedef struct {
  float UP_DOWN;    // UP   | DOWN  value [-1, 1]
  float LEFT_RIGHT; // LEFT | RIGHT value [-1, 1]
} InputThumbstick;

InputThumbstick inThumbsticks;

// Startup
void setup() {
  Serial.begin(38400);

  Serial.println("This program expects 2 pieces:");
  Serial.println("[ U|D, L|R ] in range [ 1, 0 ]");
  Serial.println("These are 4 bytes each (float)");
  Serial.println("Example: [ -1.0, 0.0 ]");
  Serial.println();

  Horizontal.attach(9); // Attach to Pin 9
  Vertical.attach(10); // Attach to pin 10
}

// Main Loop
void loop() {
  char buffer[sizeof(InputThumbstick)];

  if (Serial.available() >= sizeof(InputThumbstick)) {
    Serial.readBytes(buffer, sizeof(InputThumbstick));
    memcpy(&inThumbsticks, &buffer, sizeof(InputThumbstick));
    Vertical.writeMicroseconds(inputToServoValue(inThumbsticks.UP_DOWN, 1200, 1800));
    Horizontal.writeMicroseconds(inputToServoValue(inThumbsticks.LEFT_RIGHT, 1200, 1800));
  }
}

/**
 * Convert to input value to the Servo Microseconds value
 * - Servo Microseconds value is [ 1200, 1800 ]
 * - Input value is [ -1, 1 ]
 *
 * We thus want to normalize the Microseconds value and extract X
 * - Normalization [0,  1]: Xnorm = (X - Xmin) / (Xmax - Xmin)
 * - Normalization [-1, 1]: Xscaled = 2 * Xnorm - 1
 * - Normalization [-1, 1]: Xscaled = (2 * ((X - Xmin) / (Xmax - Xmin))) - 1
 * - Extracting X : X = (((Xscaled + 1) / 2) * (Xmax - Xmin)) + Xmin
 * - Example 1: X = (((-1 + 1) / 2) * (1800 - 1200)) + 1200 = 1200
 * - Example 2: X = (((1 + 1) / 2) * (1800 - 1200)) + 1200 = 1800
 */
int inputToServoValue(float in, int Xmin, int Xmax) {
  in = in * -1; // Reverse sign
  return (int)((((in + 1) / 2) * (Xmax - Xmin)) + Xmin);
}
Final Javascript Code
const SerialPort = require('serialport');
const GameController = require('./GameController');

const port = new SerialPort('COM6', {
    baudRate: 38400,
    parity: 'none',
    stopBits: 1,
    flowControl: false
})

function ab2str(buf) {
    return String.fromCharCode.apply(null, new Uint16Array(buf));
}

async function writeAndDrain(port, data) {
  return new Promise((resolve, reject) => {
    port.write(data);
    port.drain(resolve);
  })
};

(async () => {
  const gameController = new GameController(100);
  await gameController.init();
  gameController.on('button', (btn) => console.log(`Button: ${btn} pressed`))
  gameController.on('thumbsticks', async (val) => {
    let valParsed = JSON.parse(val);
    let UP_DOWN = valParsed[1];
    let LEFT_RIGHT = valParsed[0];
    console.log(`UP_DOWN: ${valParsed[1]} | LEFT_RIGHT: ${valParsed[0]}`);
    // console.log(valParsed);
    let data = convertTypedArray(new Float32Array([ UP_DOWN, LEFT_RIGHT ]), Uint8Array);
    await writeAndDrain(port, data); // [ L|R, U|D ] range [ -1, 1 ]
  })

  port.on('open', async () => {
    console.log("Port Opened, awaiting reset");

    // Arduino does automatic reset when it gets a serial connection
    // Therefor we wait a bit before sending
    setTimeout(async () => {
      console.log("Reset Done");
    }, 3000);
  });
  // port.on('open', () => port.write('123'))
  port.on('data', (data) => console.log(ab2str(data)));

  function convertTypedArray(src, type) {
    let buffer = new ArrayBuffer(src.byteLength);
    let baseView = new src.constructor(buffer).set(src);
    return new type(buffer);
  }
})();


Comments ()