
Digital Twins - Creating an Open-Source Platform
In a previous blog post I introduced the concept of creating a Digital Twin representation utilizing Dapr's Virtual Actors. Now, this was a theoretical post on how feasible this could be. Of course anything theoretical should also be put in practice, which is what I have been doing this weekend 😉.
Sneak Peek
For the ones that would like to see the results straight away, feel free to check the following video as well as the source code at: https://github.com/roadwork/roadwork-iot.
Creating our Platform
Looking back at the proposed architecture, we can see that we have to build the following components:
Note: My choice was to go with Azure IoT Hub for the device manager, this architecture however works on any device manager, but requires a specific Telemetry Processor.
- IoT Hub: We need a Hub that is able to manage different devices and allow us to process these events.
- Telemetry Processor: The telemetry processor will process incoming messages and forward the state data to the virtual actor. I chose to write this in Node.js
- Actor Service: We need an actor service for Dapr that is able to process actor requests. In our case we will write this in C#.
- Visualizer: Lastly we need a visualizer that is able to represent the state of our actors visually. Here I will utilize Next.js and Node.js with Express on the backend.

Telemetry Processor - Azure
The telemetry processor is quite straightforward as it acts as a kind of router, taking in an event and as soon as possible forward it to the Dapr Virtual Actor implementation (RoadworkActorService).
Dapr does the heavy lifting for us here, where we can just utilize the fetch API to send a request to http://localhost:${DAPR_PORT}/v1.0/actors/${actorType}/${deviceId}/method/SaveData which will automatically update the actor state through a SaveData method.
For our implementation, we thus have to do 3 things:
- Ingest events from IoT Hub
- Process these events and apply a metadata layer (for information such as DeviceId, LastUpdated, Source, …)
- Call the URL above with our Fetch API.
To provide a short overview of how the code can accomplish this, I include the following snippet. However feel free to find the full source at: https://github.com/Roadwork/Roadwork-IoT/blob/master/src/dapr/telemetry-processor/azure/index.js
// Ingest the event (available under `message`)

// ...

// Create the wrapper
const wrapper = { };
wrapper.LastUpdated = lastUpdated.toString();
wrapper.Source = "azure-iothub";
wrapper.DeviceId = deviceId;
wrapper.State = JSON.stringify(message.body);

// Call the SaveData method for our Virtual Actor
const res = await fetch(`http://localhost:${DAPR_PORT}/v1.0/actors/${actorType}/${deviceId}/method/SaveData`, {
    method: 'POST',
    headers: {
        "Content-Type": "application/json"
    },
    body: JSON.stringify(wrapper)
});
Roadwork Actor Service
For our Actor Service, we just have to implement the interface provided by the Dapr C# interface (as found in the example here: https://github.com/dapr/dotnet-sdk/tree/master/samples/Actor). I adapted this to utilize the following interface:
public class RoadworkTwin
{
    public string DeviceId { get; set; }
    public string Source { get; set; }
    public string LastUpdated { get; set; }
    public string State { get; set; }

    public override string ToString()
    {
        var deviceId = this.DeviceId ?? "null";
        var source = this.Source ?? "null";
        var lastUpdated = this.LastUpdated ?? "null";
        var state = this.State ?? "null";

        return $"[{source}][{deviceId}] {state}";
    }
}
Full Source Code: https://github.com/Roadwork/Roadwork-IoT/tree/master/src/dapr/roadwork-actor-service
Web Backend
Dapr saves everything to a state store, to access this we can thus utilize the native SDKs for this state store. In our case, we are utilizing Redis.
The only thing we have to pay attention to is how Dapr saves these states. The key of each actor is saved with a delimiter of || in the format: DAPR_SERVICE||ACTOR_TYPE||ACTOR_ID||STATE_NAME
Full Source Code: https://github.com/Roadwork/Roadwork-IoT/tree/master/src/web/backend
Web Frontend
In our Frontend we utilize NextJS which is a React Framework. This makes it easy for us to implement our pages and run it through npm run dev. Once implemented, we utilize a setInterval that will recall the Web Backend every second.
Note: A setInterval might not be the best idea for real-time work. However due to React it's optimizations, the state updates efficiently.
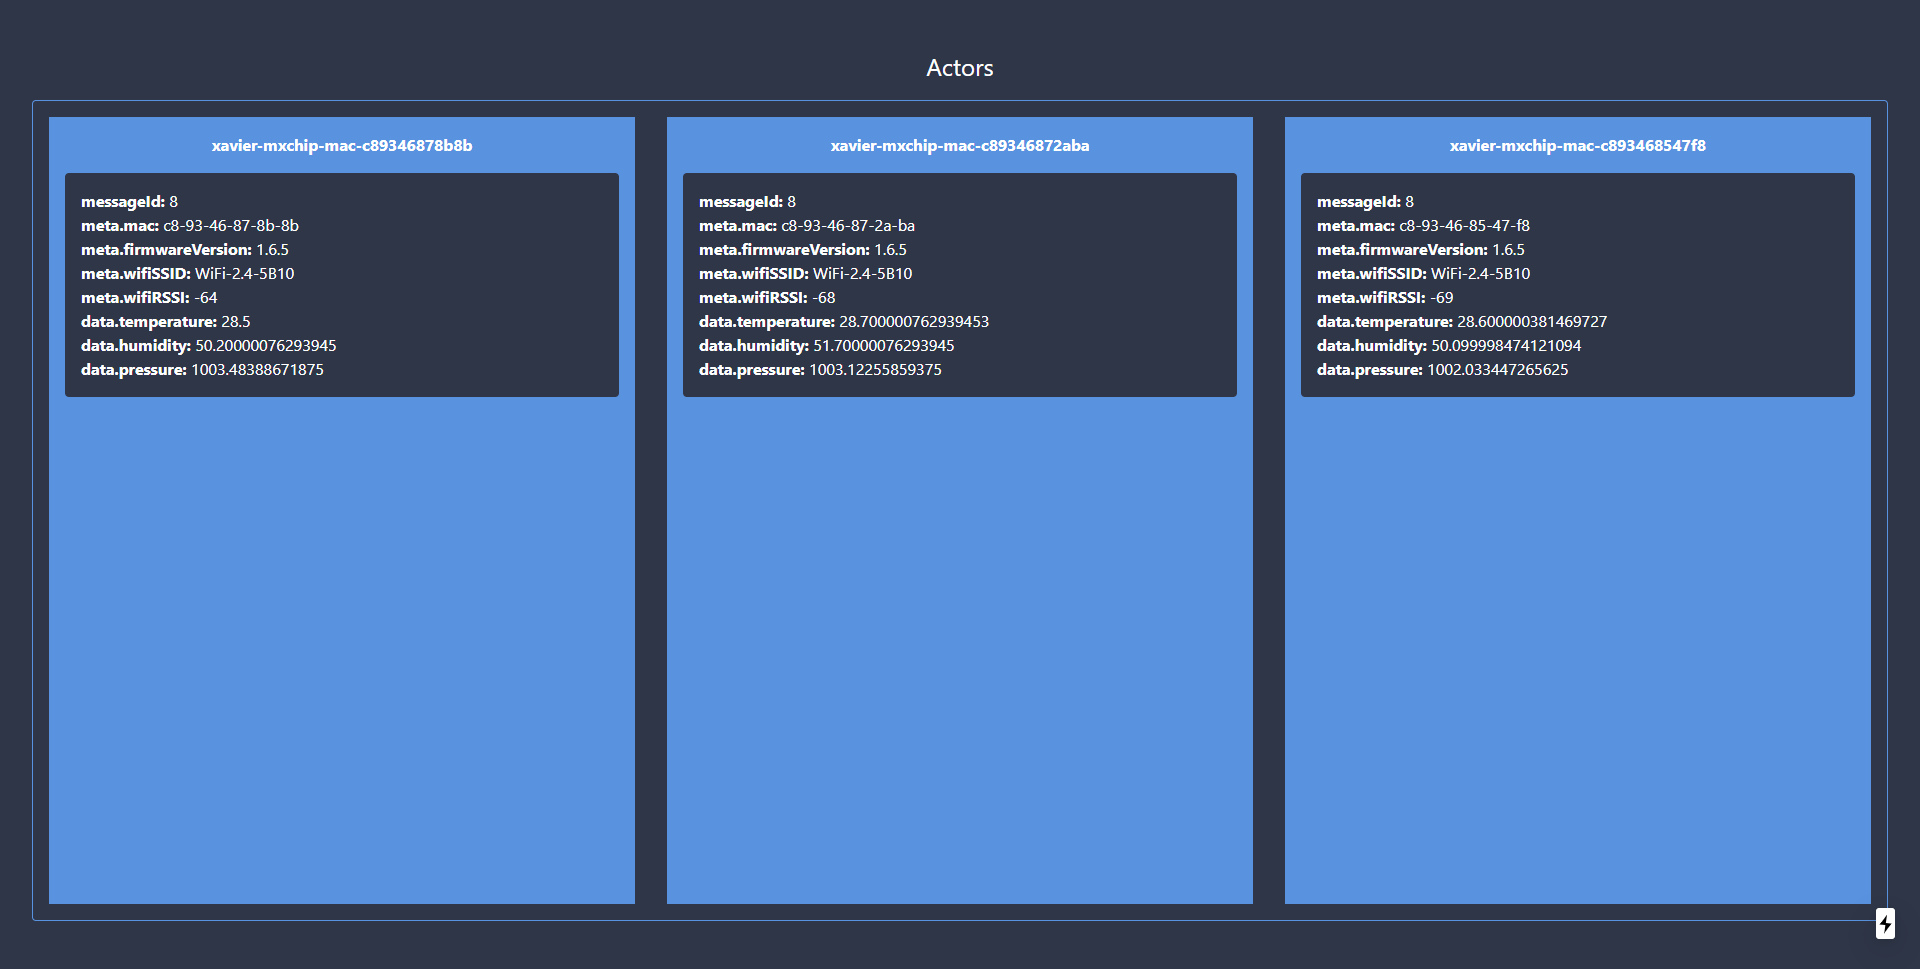
This results in a frontend that looks like this:
Running Everything
Now everything is created, we can start the different tools up through the following commands:
# Start Telemetry Processor
cd src/dapr/telemetry-processor/azure
dapr run --app-id rw-telemetry-processor-azure --port 3500 node index.js "IOTHUB_BUILT_IN_EVENT_ENDPOINT"

# Start RoadworkTwinActor Service
cd src/dapr/roadwork-actor-service/RoadworkTwinActor
dapr run --port 3501 --app-id rw-actor-service --app-port 5000 dotnet run

# Start Web Backend
dapr run --app-id node-api-user --app-port 9000 --port 9500 npm run start

# Start Web Frontend
npm run dev
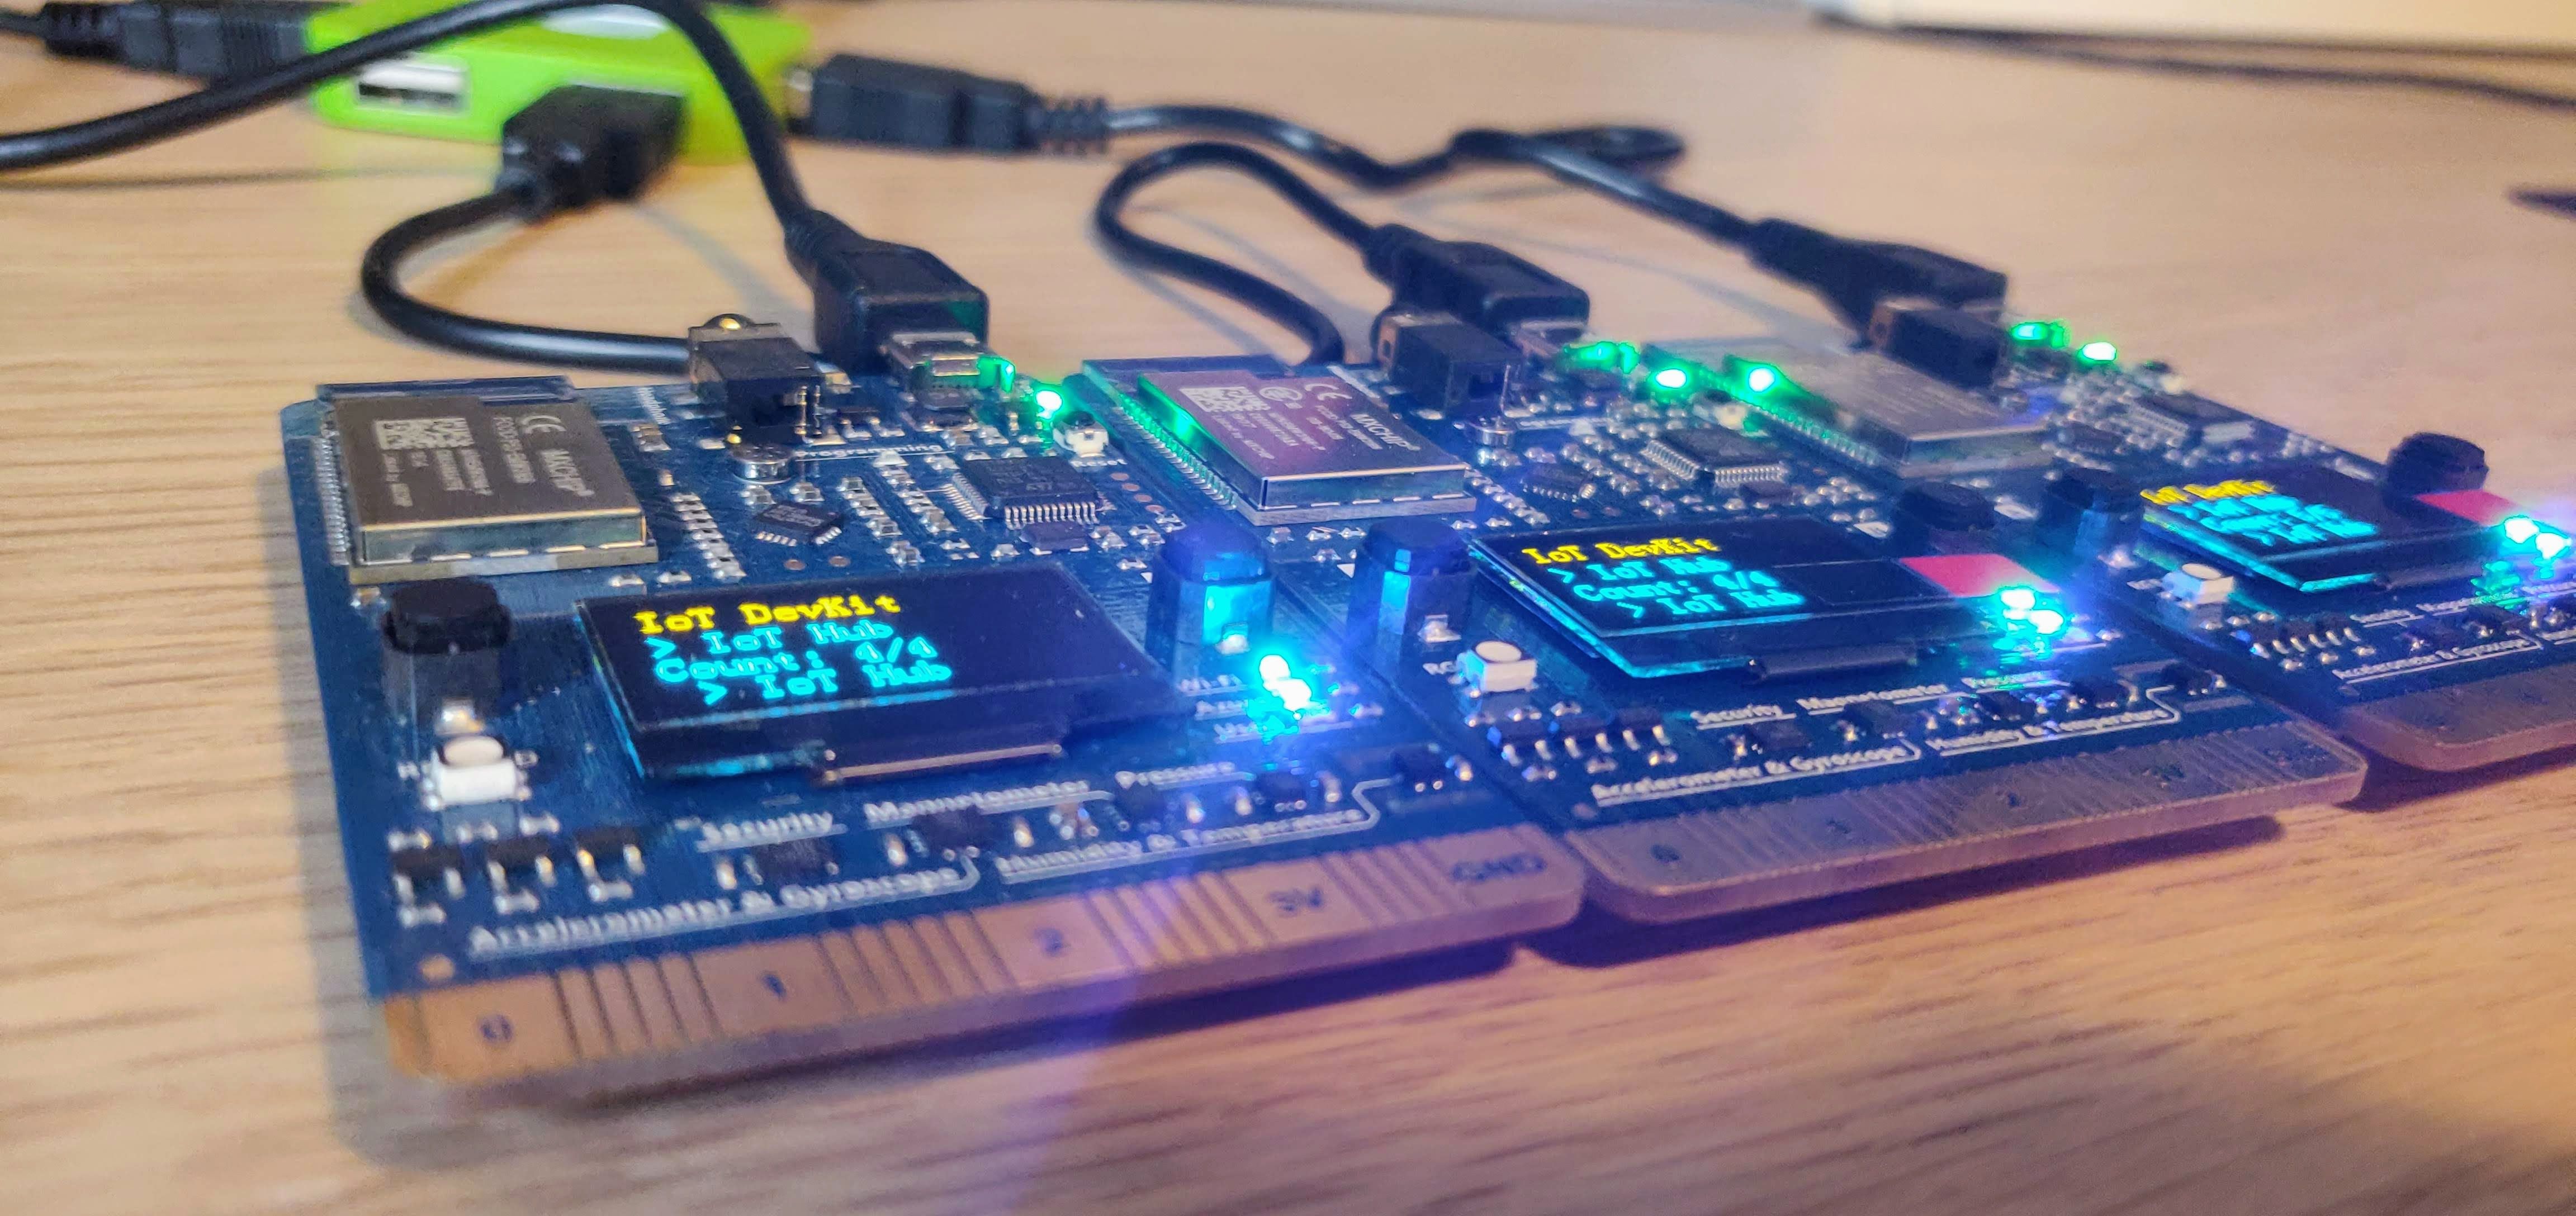
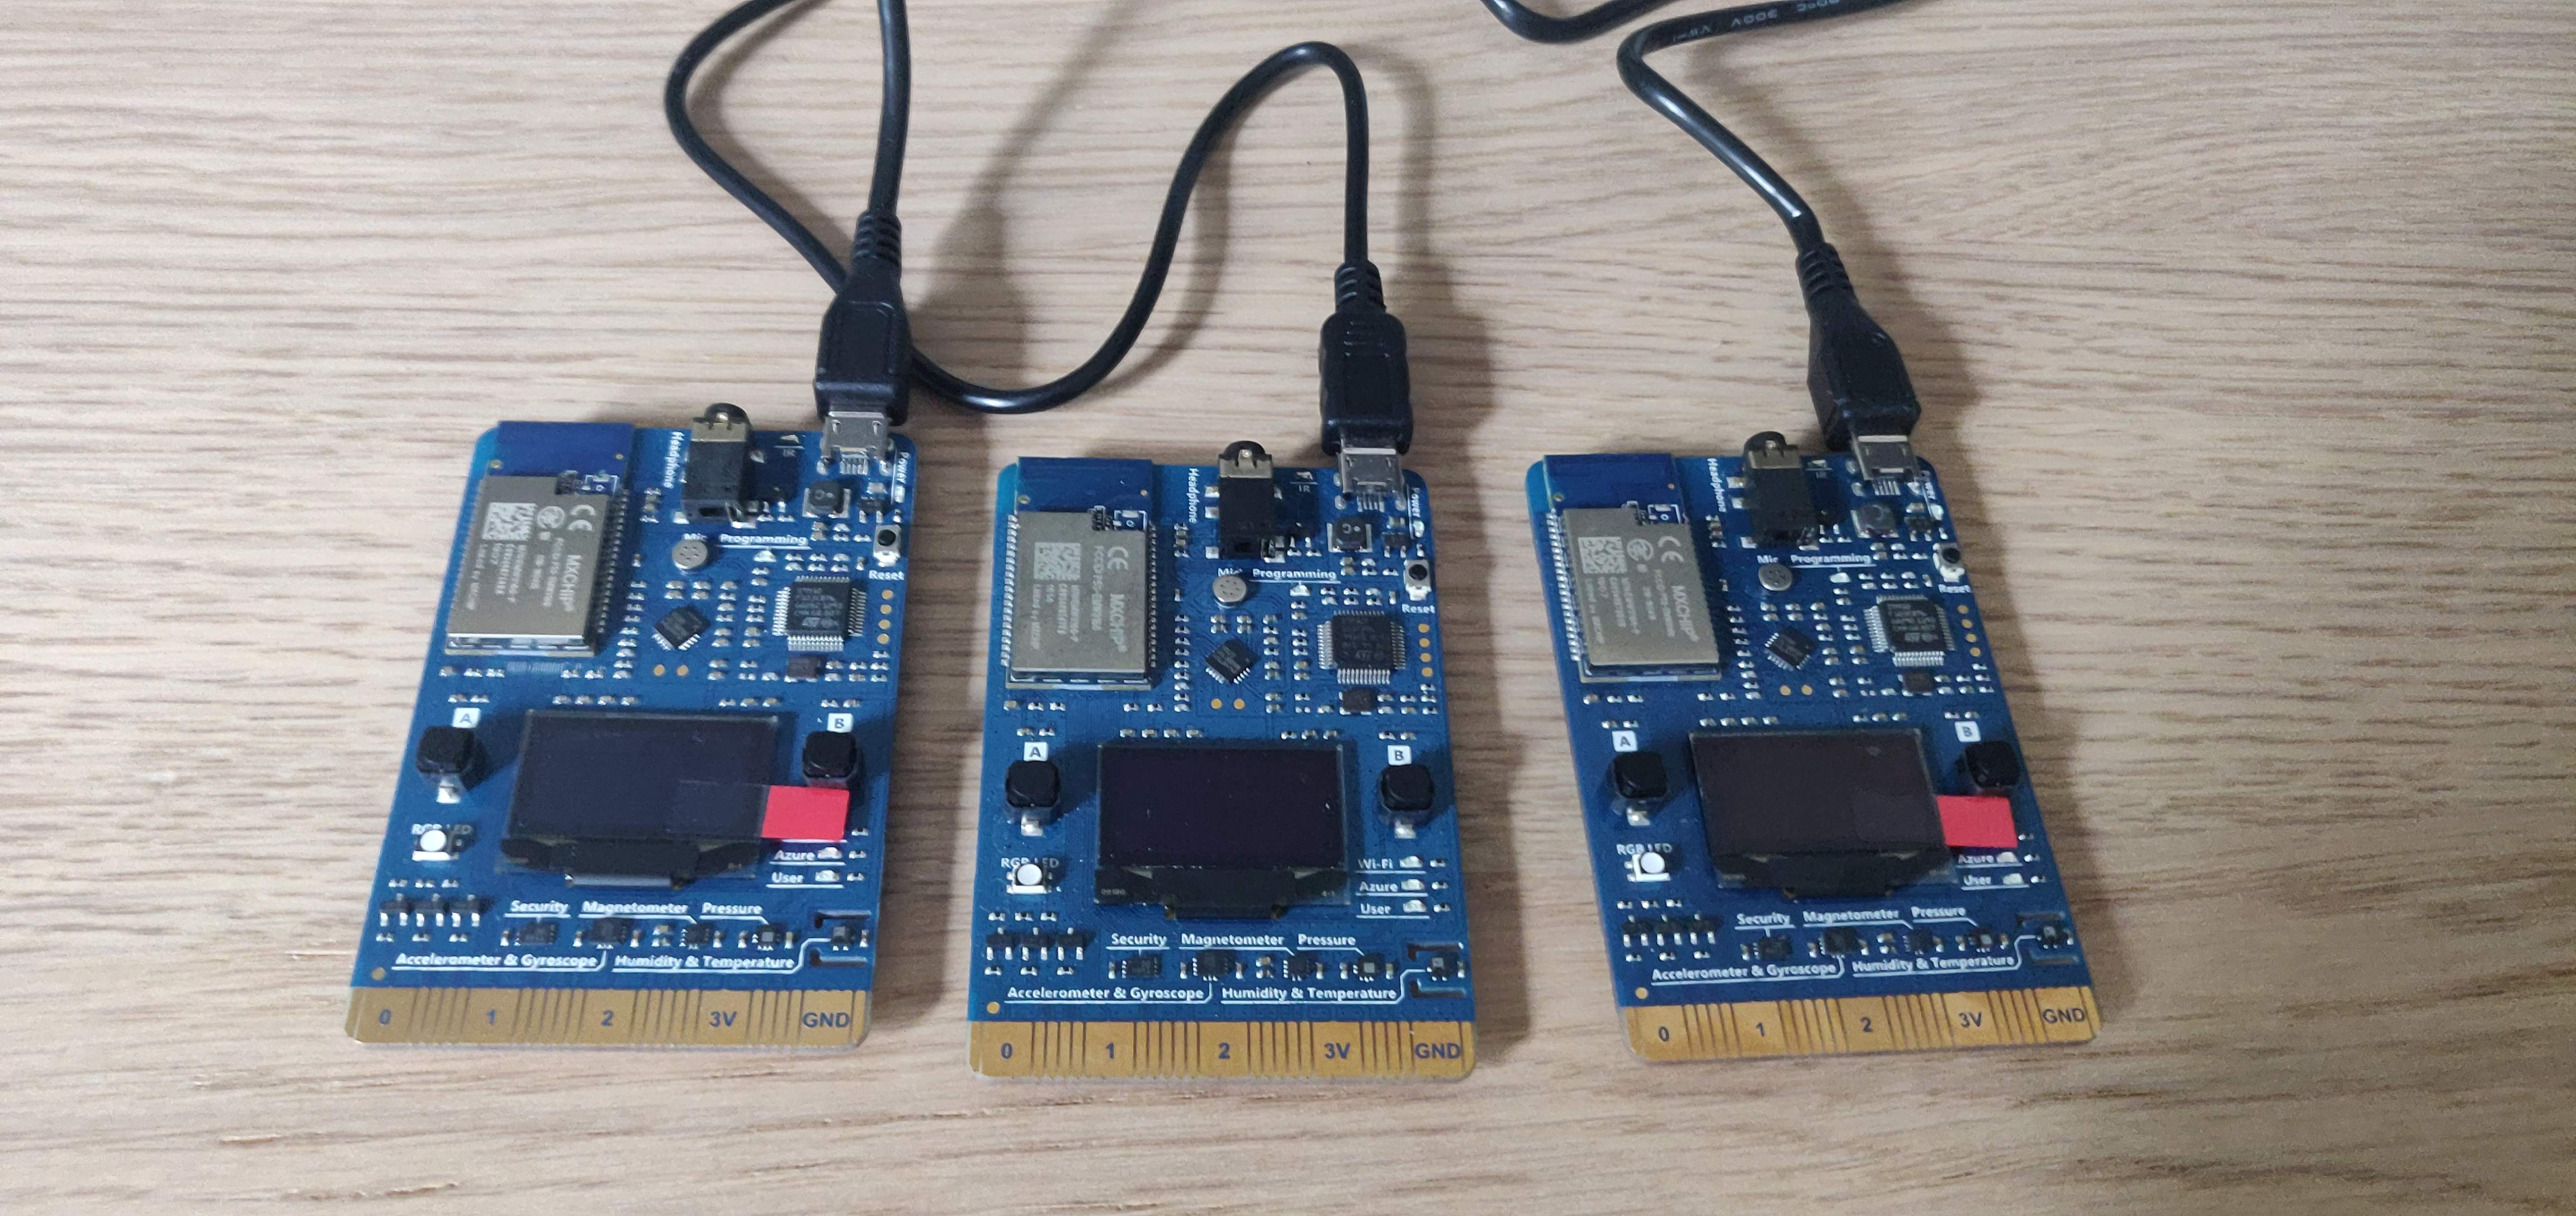
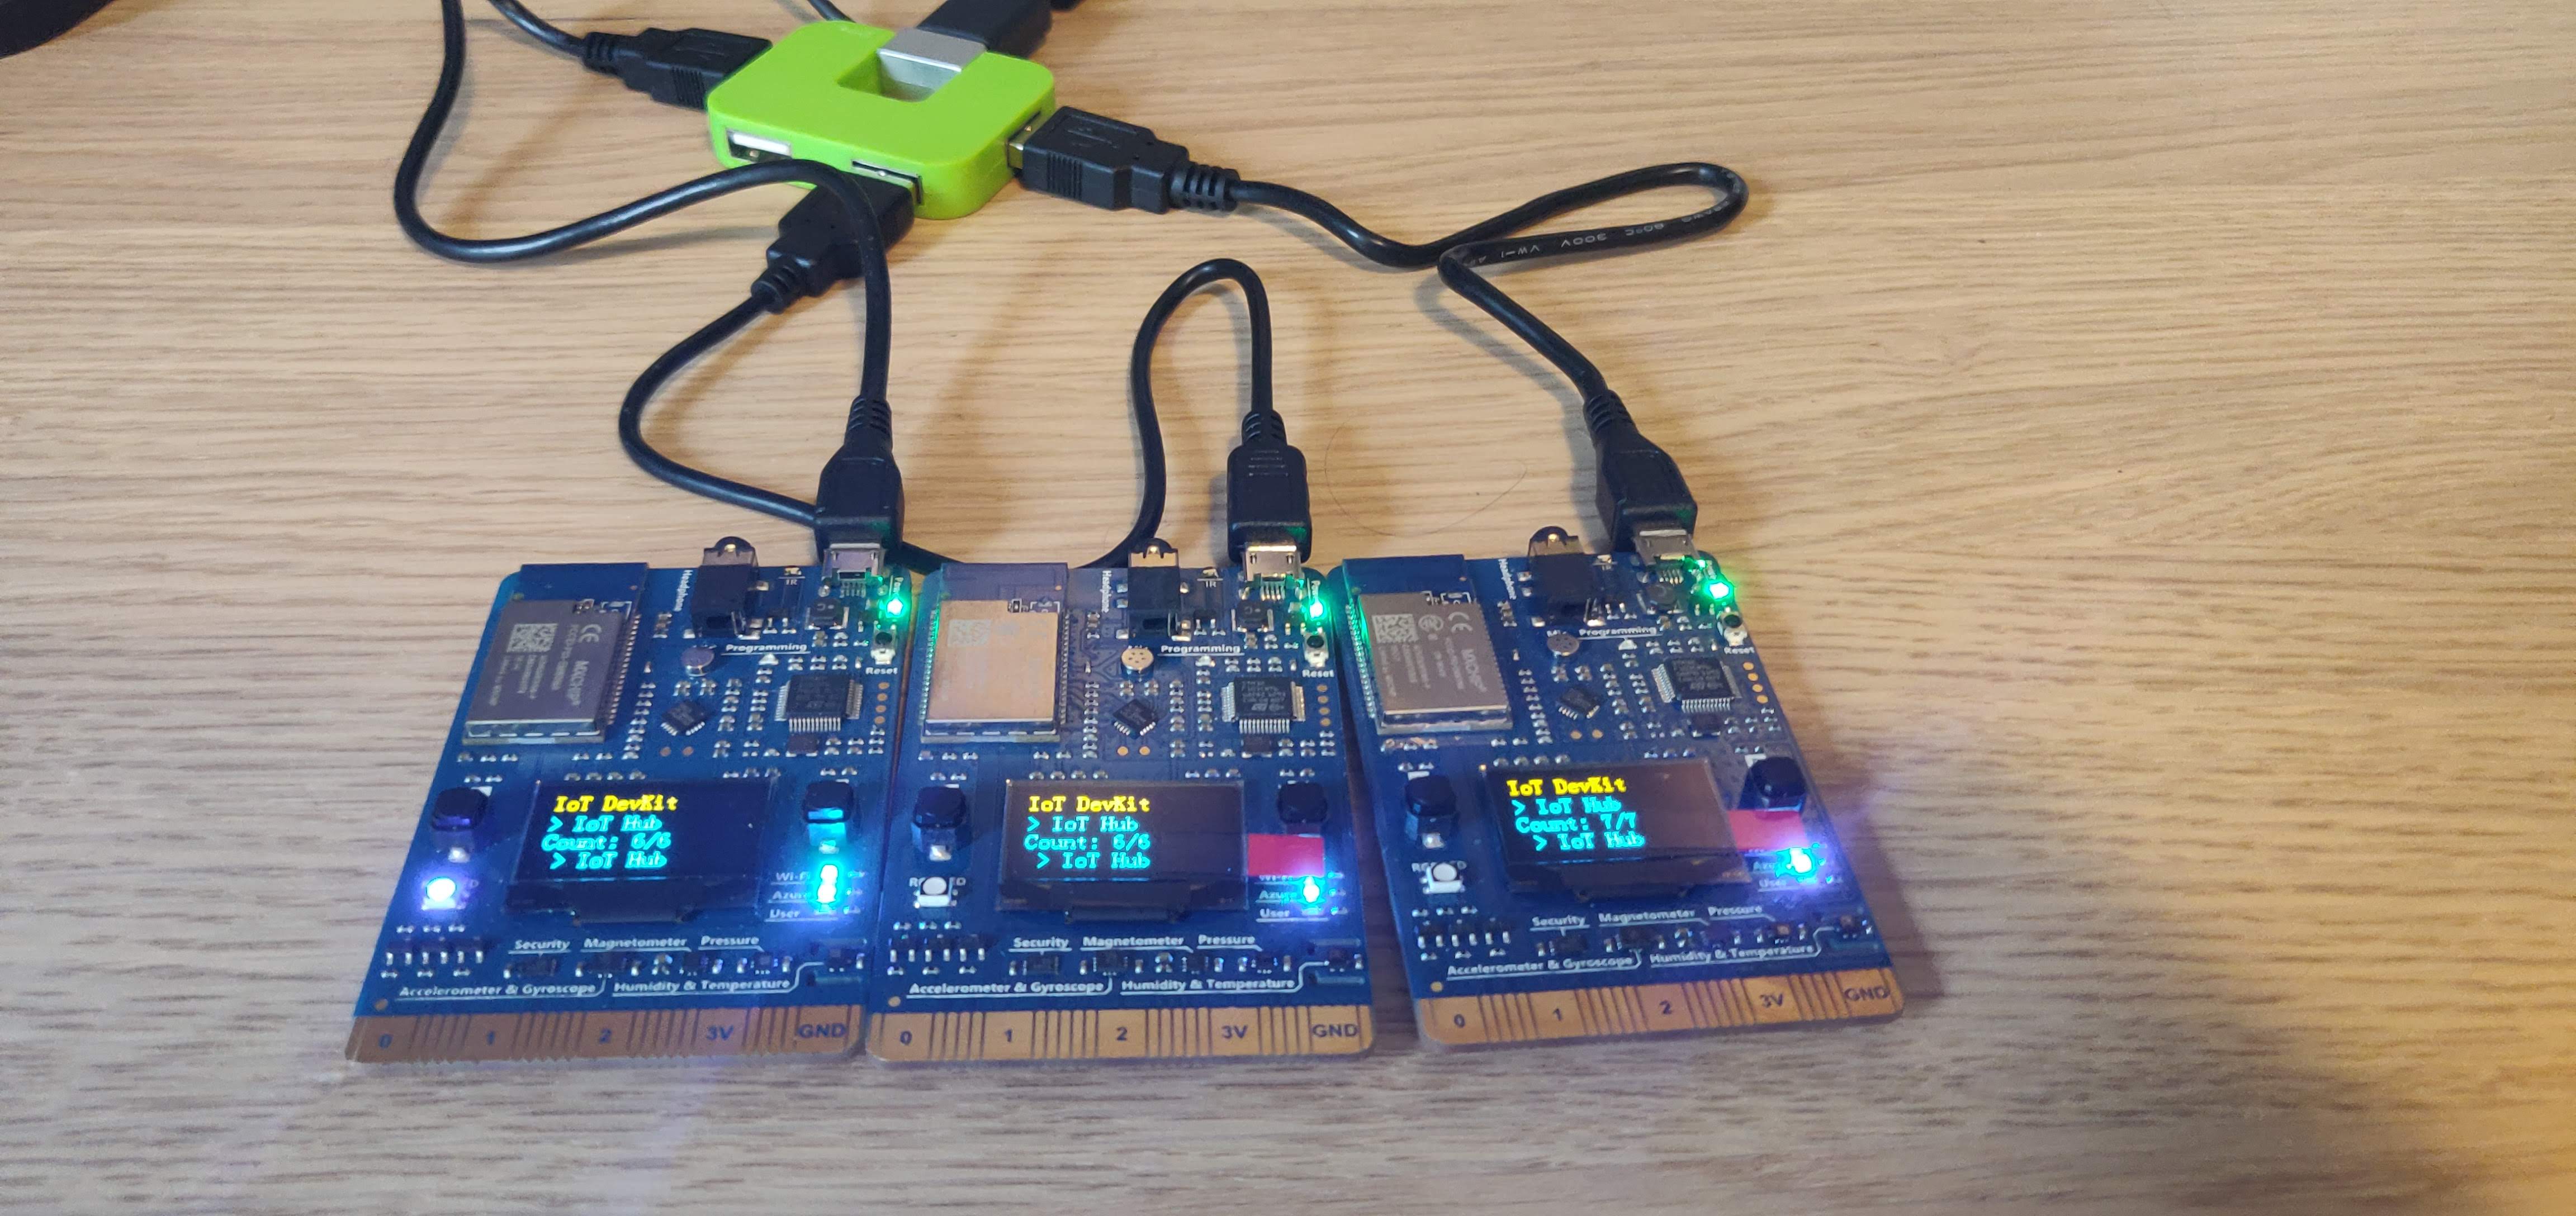
Which will start up our services. We can now connect devices as shown below which will start automatically spinning up the actors and visualizing them on the frontend.
Conclusion and Next Steps
Currently the framework written allows me to always get an up-to-date state of the devices connected. For next steps, I would love to dive deeper in how this representation can be done using a Definition Language (as described here) and how we can utilize this to lower the barrier towards Reinforcement Learning algorithms, infering / training straight through the Digital Twin framework. But more on that later in a brand-new project 😉.


Comments ()