
How To Bind C++ Code with Dotnet Core

While you are working with compiled code, you often find yourself in the situation that every bit of performance count (just think about GPU intensive operations or even game engines). For this reason, we often turn back to coding C++ coding to be as low-level as possible (seeing that writing pure ASM is just too hard).
But wouldn't it be nice if we were able to write C++ code and interface that through our Dotnet Core application? Well this is the case! Through something called Native Interoperability (https://docs.microsoft.com/en-us/dotnet/standard/native-interop) allowing us to interface with our C++ code through the *DllImport attribute found in the System.Runtime.InteropServices namespace.
Let's start by creating a small example project that makes use of this and will print a simple "Hello World" from our C# code, executed in the C++ part.
- Create a folder called "Hello-World-Project"
- In "Hello-World-Project" create a new Directory called
cpp - In "Hello-World-Project" create a new console dotnet application with the output directory name
dotnet(forgot how? check: getting-started-with-dotnet-core)
Building our C++ Library
Since I like building my projects on WSL (Windows Subsystem for Linux), I utilize C++ compilation through make. Therefore I need to use CMake to compile my C++ project. To compile our C++ project with cmake, start by creating a CMakeLists.txt file. To this file add the following content:
# Configure our Required Version
cmake_minimum_required(VERSION 3.0)

# Define the name of our project
project(hello-cpp)

# Define the output library to be a shared file (.so or .dll) and output it as "(lib)hello-cpp.so"
add_library(hello-cpp SHARED HelloWorld.cpp HelloWorld.h)
We can now configure our project but still need our project files that actually define our "Hello World" method. For this create 2 files called HelloWorld.cpp and HelloWorld.h with the following content:
HelloWorld.cpp
#include "HelloWorld.h"
#include <iostream>

void PrintHelloWorld() {
    std::cout << "Hello World!" << std::endl;
}
HelloWorld.h
#ifdef __cplusplus
extern "C" {
#endif

#ifdef _WIN32
#  ifdef MODULE_API_EXPORTS
#    define MODULE_API __declspec(dllexport)
#  else
#    define MODULE_API __declspec(dllimport)
#  endif
#else
#  define MODULE_API
#endif

MODULE_API void PrintHelloWorld();

#ifdef __cplusplus
}
#endif
We can see that our .cpp file is quite straightforward, defining the method body as written in the Header file. What we however notice is that a lot of code was added to our .h file in the form of a Macro identified by #define. This is needed because Windows uses the __declspec(dllexport) function, while as Unix systems don't use this (more information: https://docs.microsoft.com/en-us/cpp/cpp/declspec). The macro does nothing more than making our life easier, so we just have to write MODULE_API in front of our methods to export them and make them available in our C# code.
As a last step, we just have to build our library so that we are able to use it in our C# code, execute the following in the cpp folder:
# Configure the MakeFile
cmake .

# Build with all cores available (Mac OS)
make -j$(sysctl hw.ncpu | cut -d: -f2)

# Build with all cores available (Linux)
make -j$(grep -c ^processor /proc/cpuinfo)
Note: For windows, using cmake is a bit more complicated. You can however get towards using it by installing it through choco install cmake so that you can run cmake like that.Building our C# Dotnet Core Application
Now move to your dotnet directory, and add the following code to your Program.cs:
using System;
using System.Runtime.InteropServices;

namespace CppBind
{
    class Program
    {
        [DllImport(@"../cpp/libhello-cpp.so")]
        public static extern void PrintHelloWorld();

        static void Main(string[] args)
        {
            PrintHelloWorld();
        }
    }
}
What we do here, is that we use the DllImport attribute to include our .so library that was created earlier. By defining this method in the upper part of our class as an extern, we're then able to call this in other functions as we did in our Main function here.
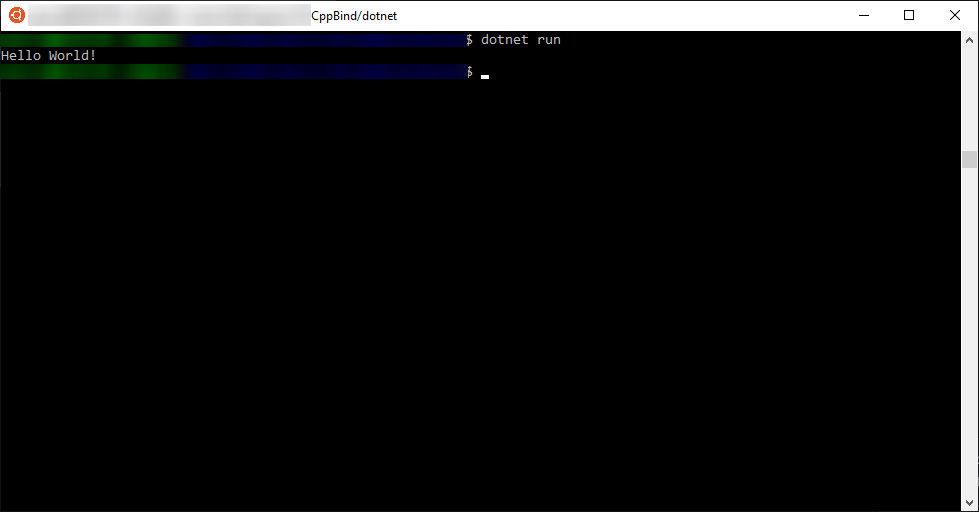
Eventually running this with dotnet run will result in the following beautiful output:


Comments ()