
Getting started with Azure Functions

So I wanted to write a function for a customer that would trigger a bot. What I thought would be an easy process, turned out to be a lot of debugging and tuning to get everything working. Which is why I decided to write this post to help others get started with Azure Functions.
Let's get started, start by creating your Function application and open the dashboard on your newly created function.
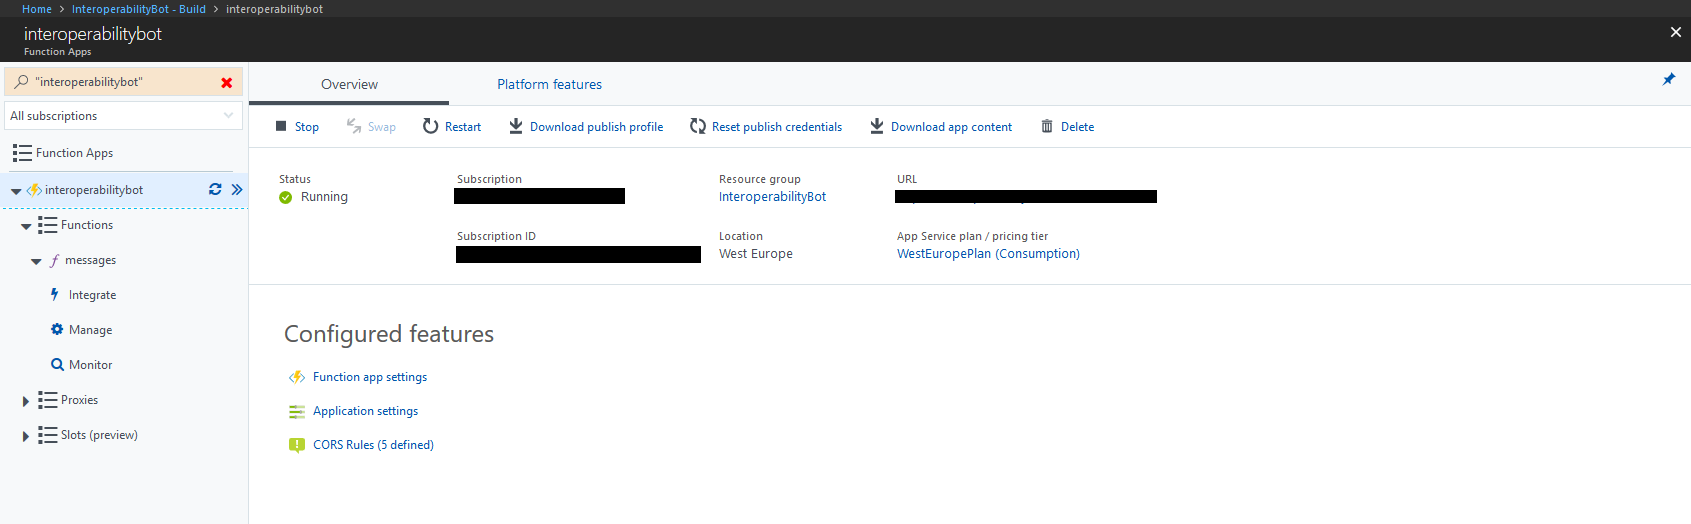
At your left you will see your function app account (in my case interoperabilitybot) and then a dropdown with "Functions". This contains all your functions, so click on the one you created by default (or create one by clicking the + button when you hover over Functions). This will bring you to the following screen.
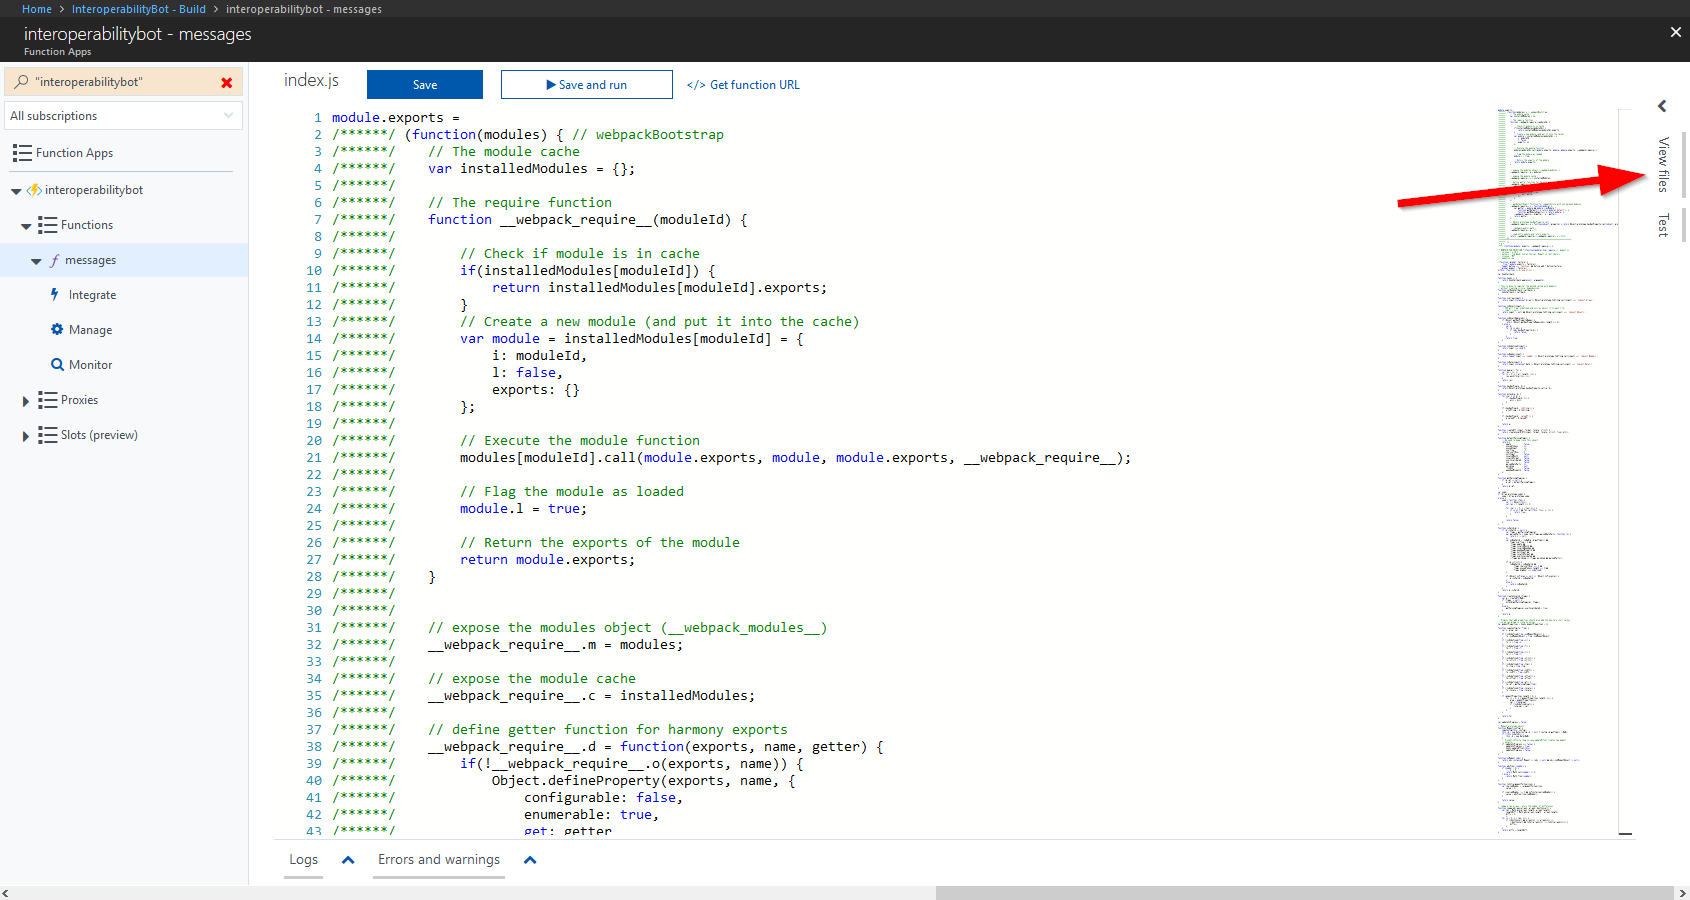
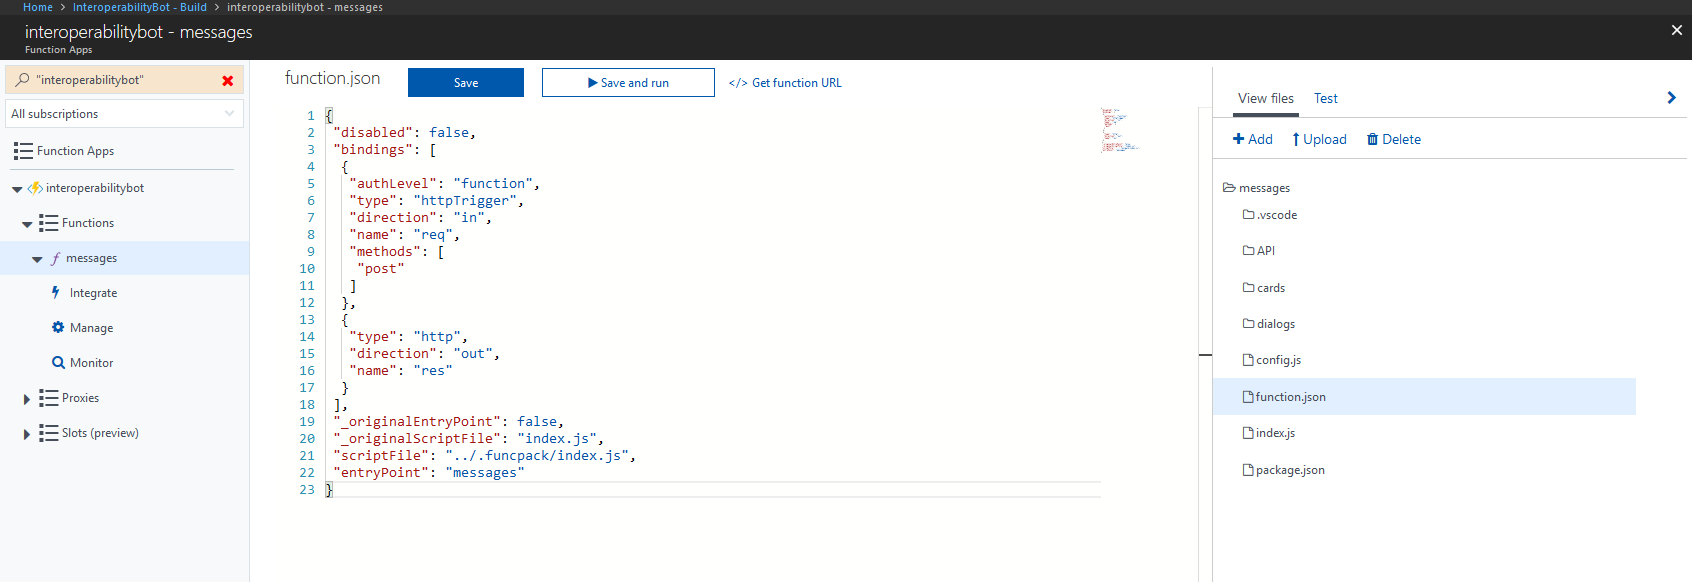
You can now click the "View files" tab on the right to view your files belonging to your Function app. Here I had to go to the function.json file to correct the default settings that were created for me.
After removing the _originalEntryPoint, _originalScriptFile, scriptFile, entryPoint entries, I then got the following configuration:
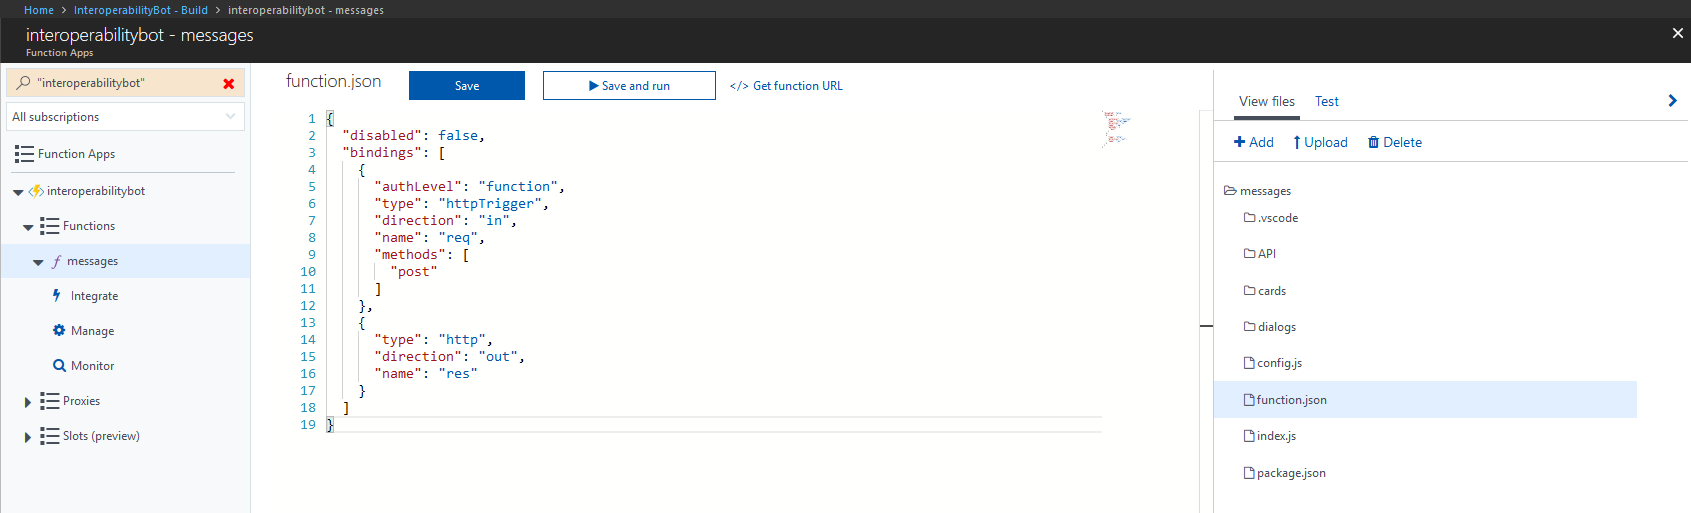
Note: Not everyone will have these entries, if you do not have them, then you can just continue :)
Now you can upload all your files through the "View files" tab and clicking the "Add" button.
Note: You can create folders by adding the suffix "/". Example: <myFolder>/Once you did that and added your package.json file, we now have to install our dependencies. To do this, we need to open our Kudu Dashboard by going to https://\functionapp_name>.scm.azurewebsites.net.
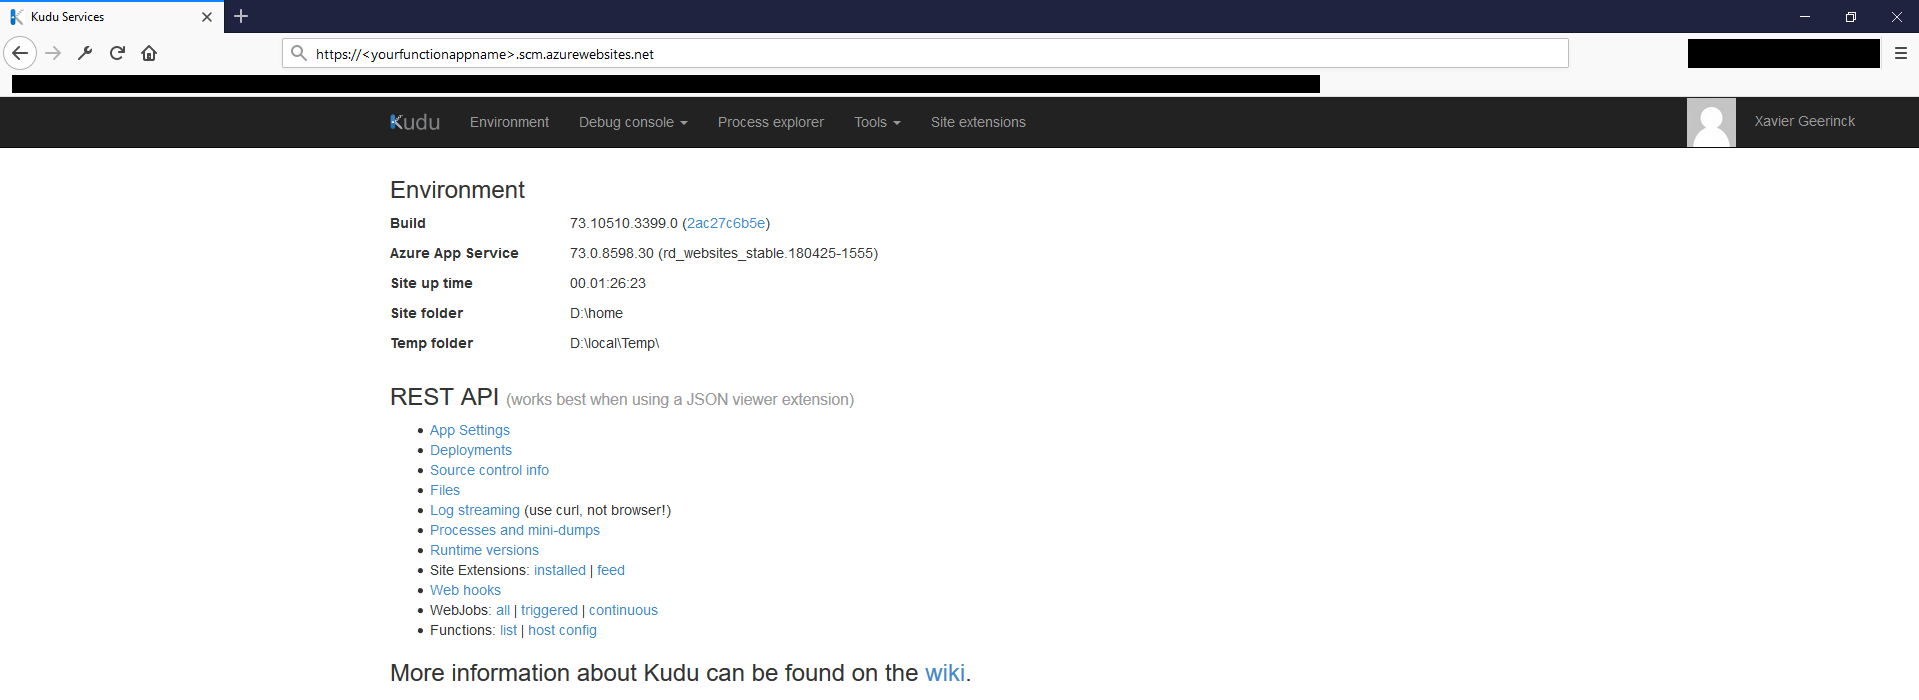
Here you can click the "Debug console" dropdown and select "PowerShell" (or CMD if you prefer that).
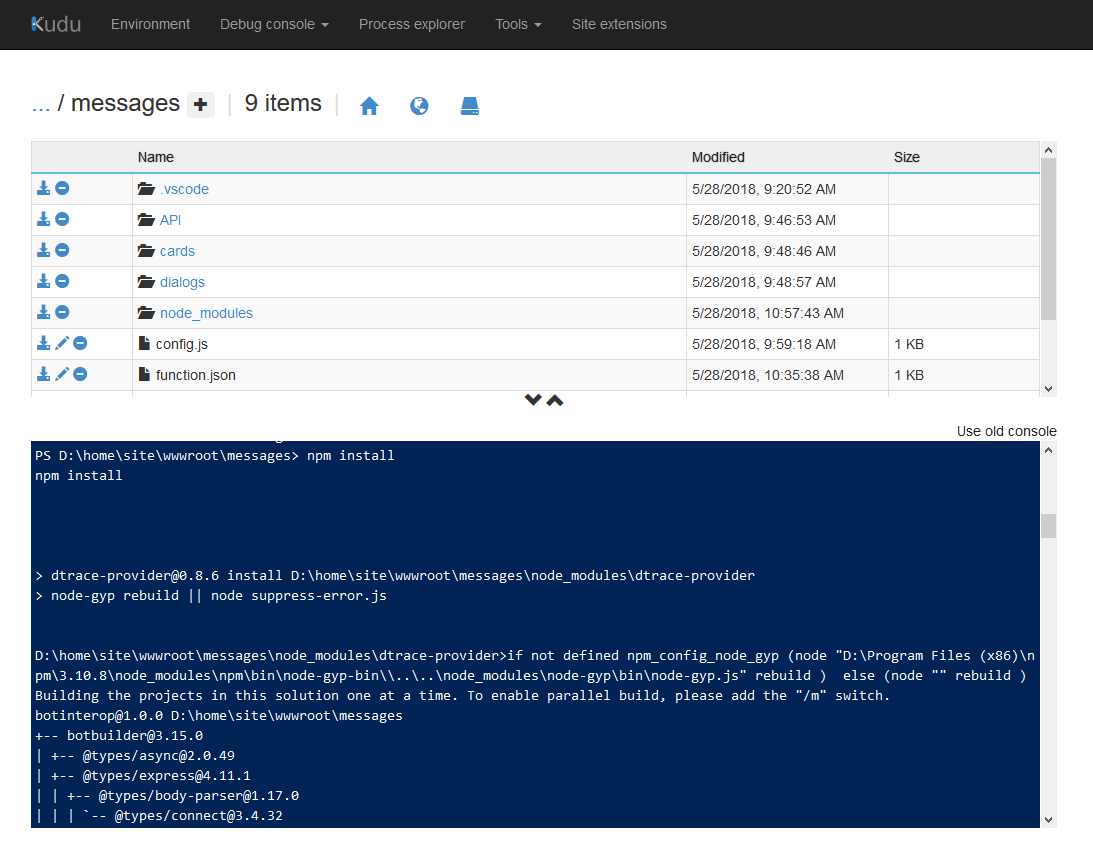
Now navigate to your function app by using ls and cd (in my case I had a function called messages, so I had to navigate to: D:\home\site\wwwroot\messages) where you then can run the command npm install
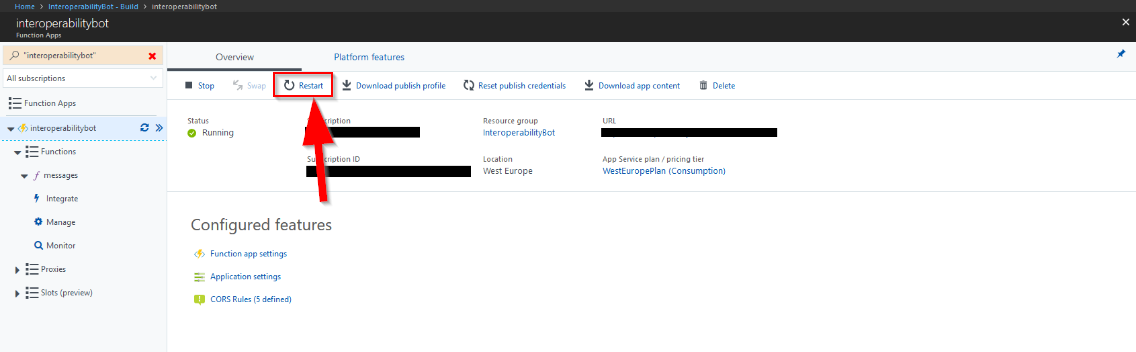
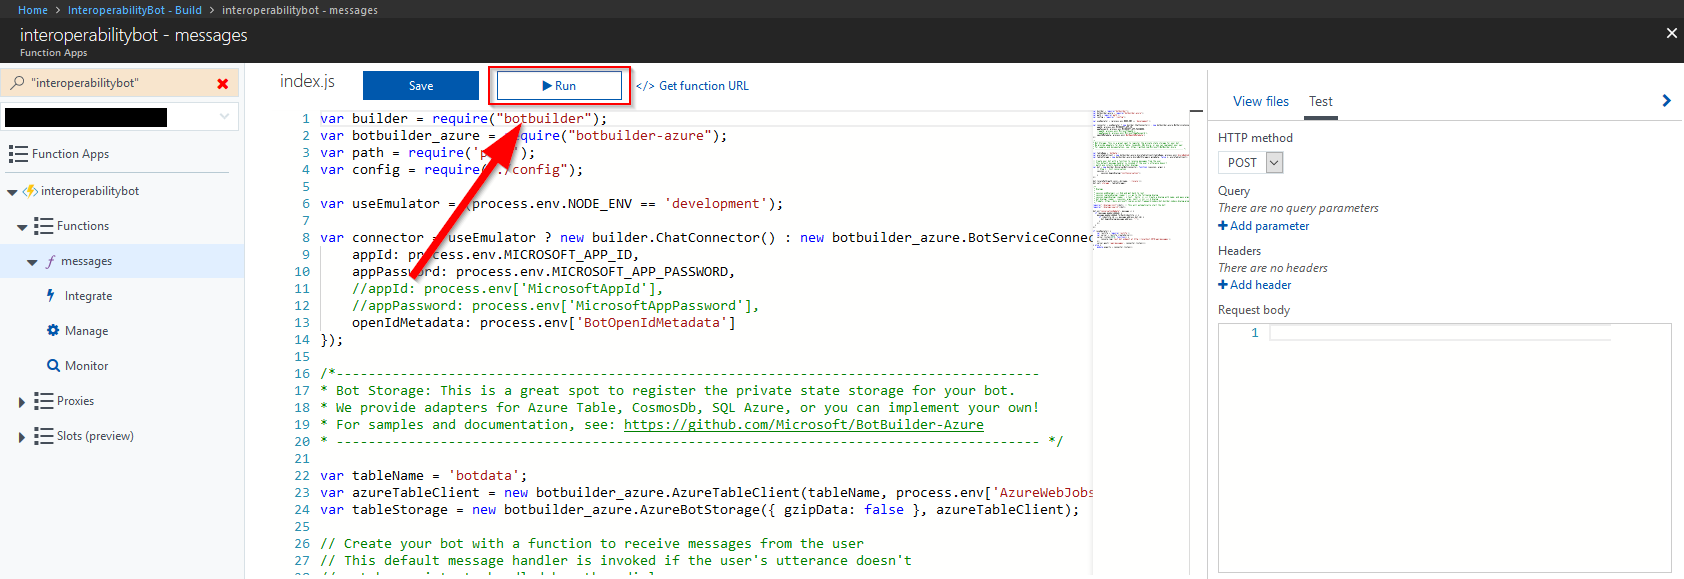
Now restart your function app by going back to the main page and clicking "Restart", and go back to your function and click "Run".
Upgrading Node.js Version
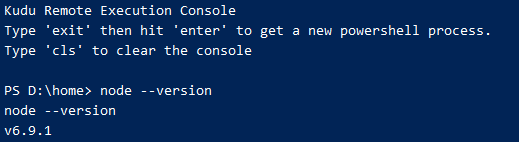
After that I deployed my function correctly, it appeared that some functionallity such as await/async was not supported. When going to my Kudu dashboard and entering node --version it appeared that my node version was showing v6.9.1.
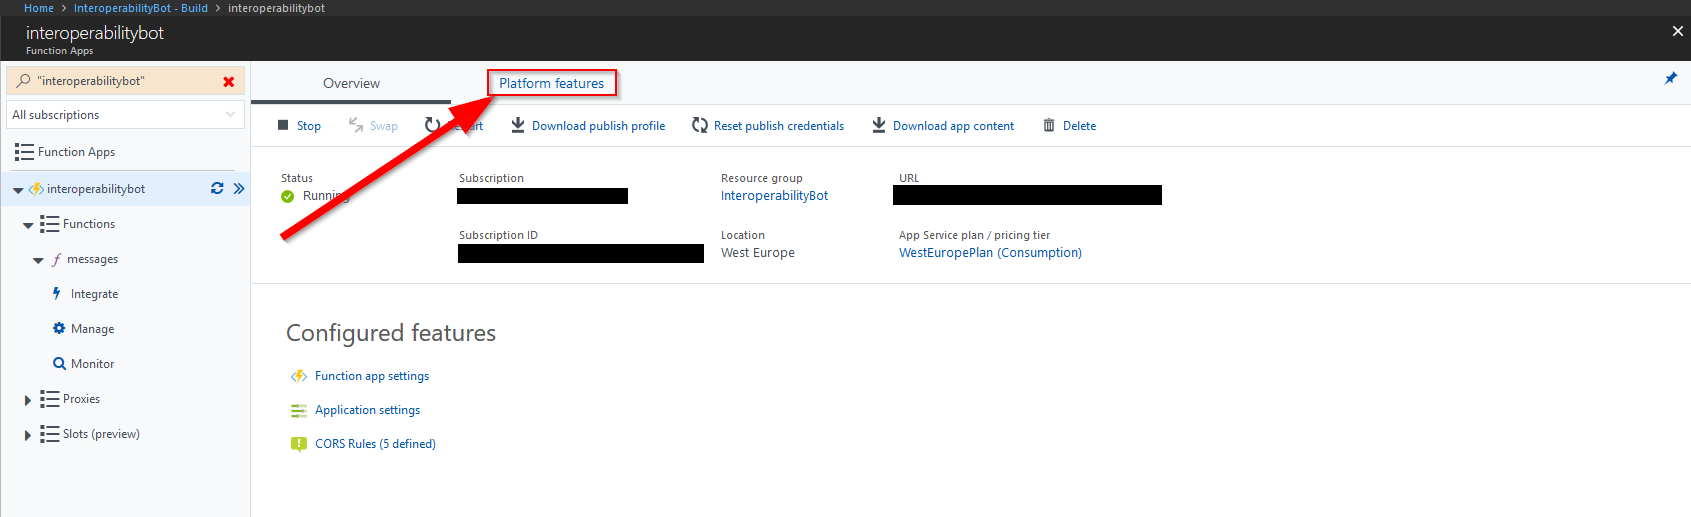
To change this, head back to your functions dashboard but this time click on "Platform features"
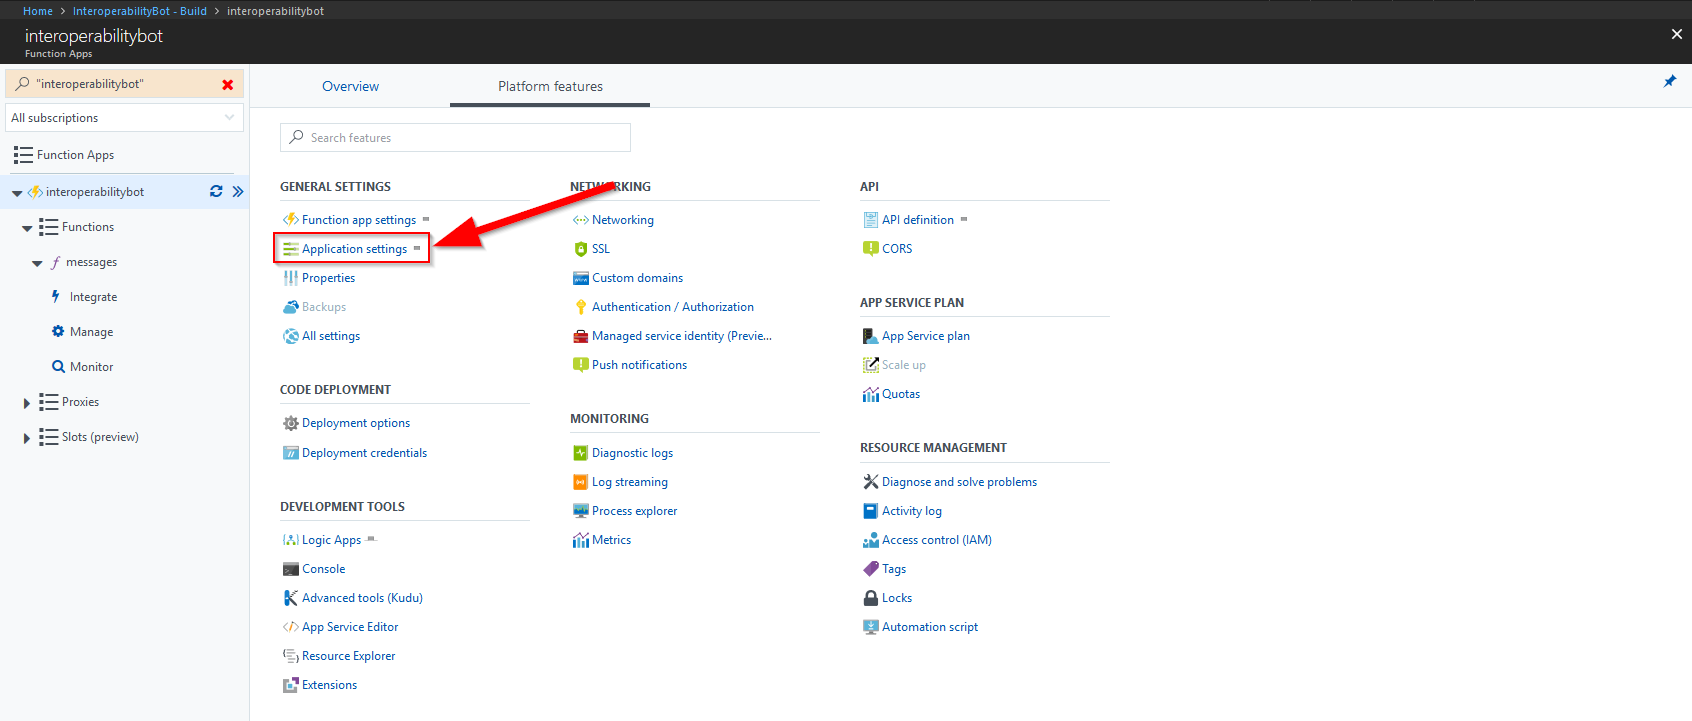
And go to "Application settings"
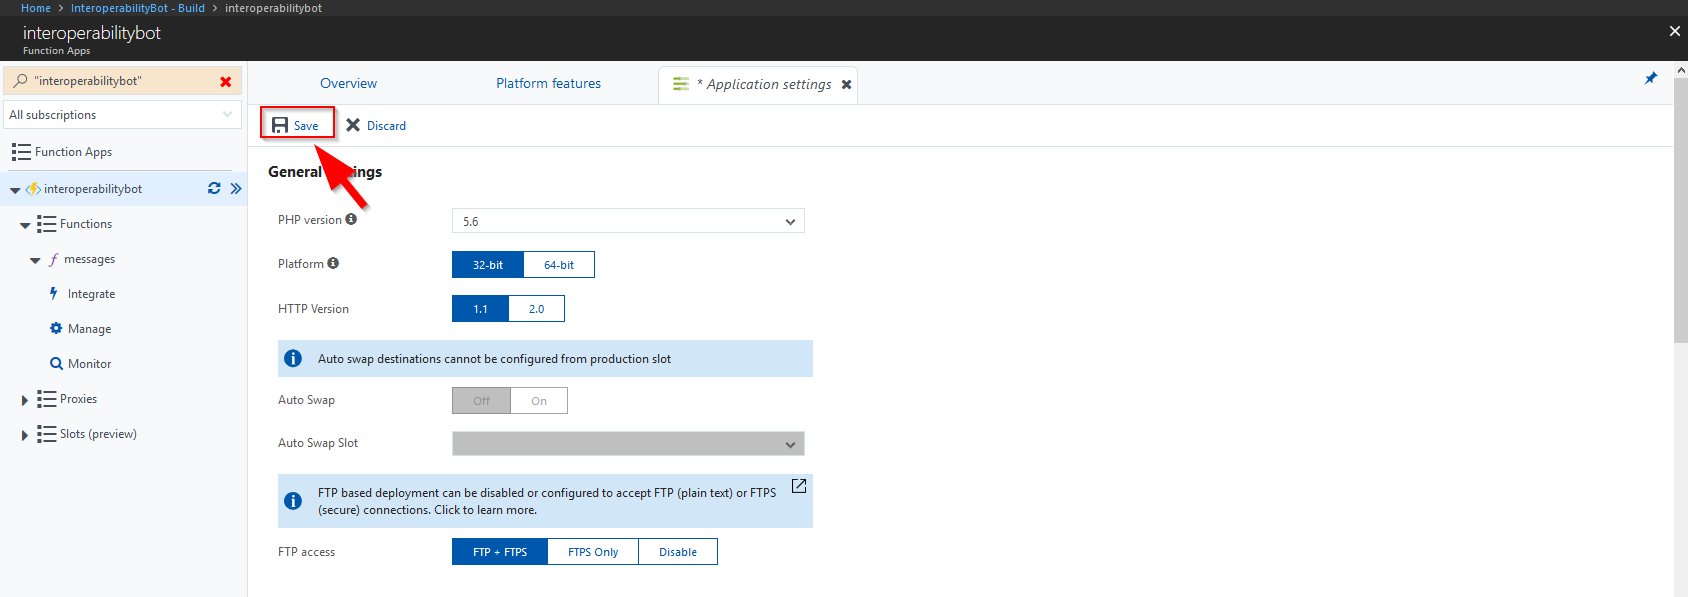
Scroll down a bit here until you find the WEBSITE_NODE_DEFAULT_VERSION string with the version next to it. Change this to the version you would like (safest is to pick the LTS version).
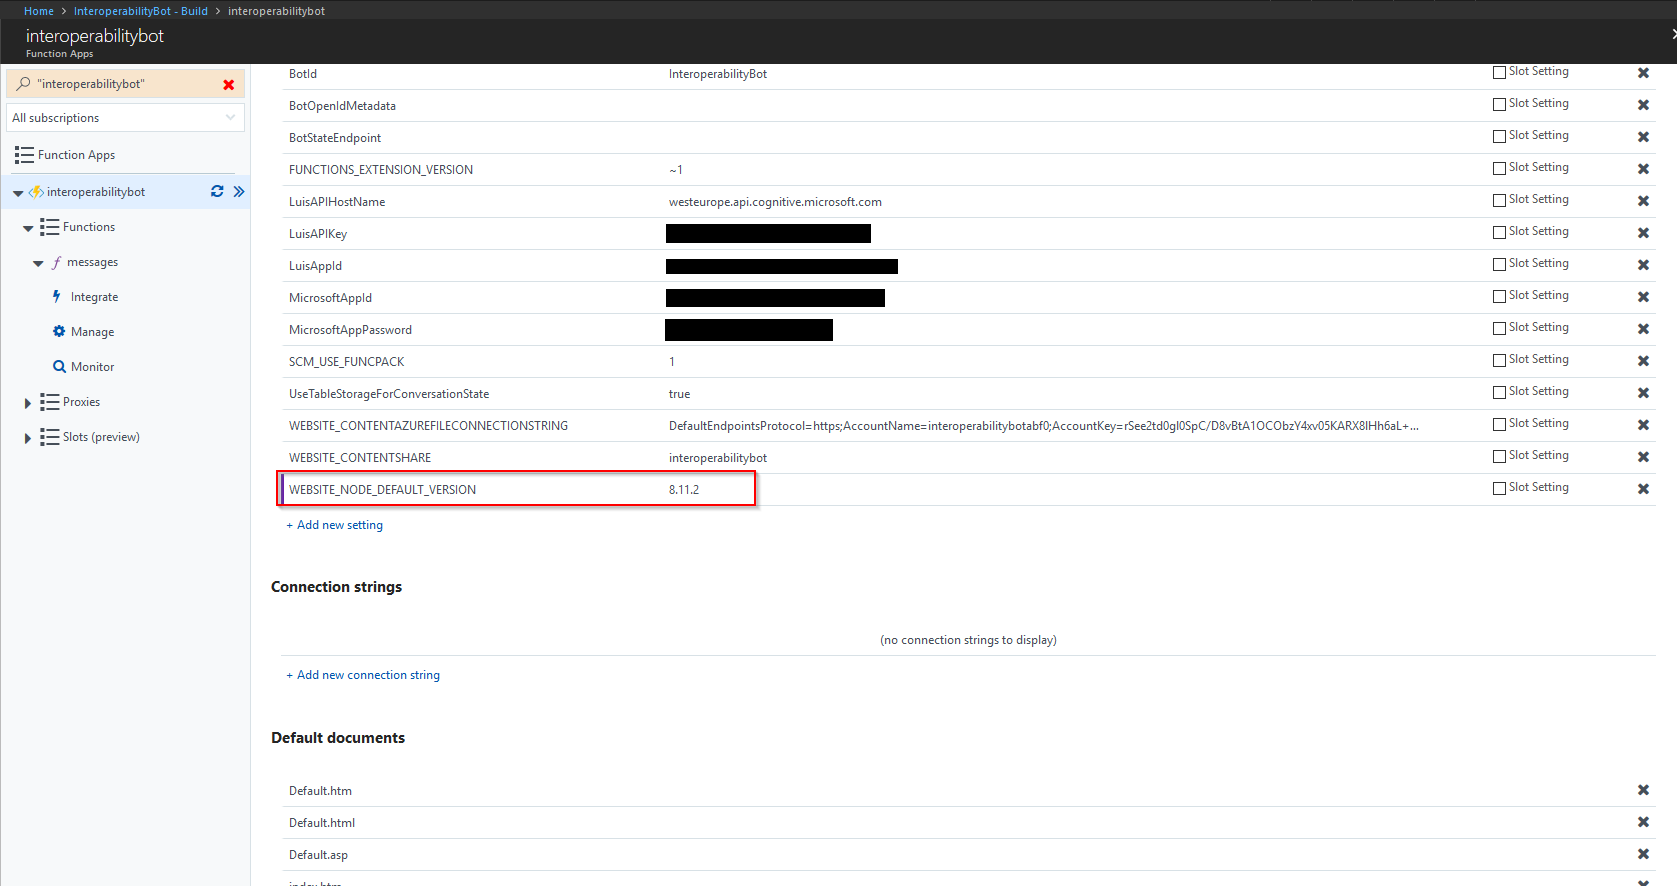
After that click "Save" on the top of that page to save your settings.
Now restart your function app as you did before.
Getting async/await support to work
Async/await is currently only supported in Node >= 8.5.5, which means we have to set the correct node version for this to work. Once we did this we also have to execute the following actions:
- In Kudu:
npm i -g azure-functions-core-tools@core - Recreate our function in runtime 2


Comments ()