
Installing OpenAI Gym in a Windows Environment

Reinforcement learning does not only requires a lot of knowledge about the subject to get started, it also requires a lot of tools to help you test your ideas. Since this process is quite lengthy and hard, OpenAI helped us with this. By creating something called the OpenAI Gym, they allow you to get started developing and comparing reinforcement learning algorithms in an easy to use way.
Now since setting up the OpenAI Gym with python is quite easy to do (just follow their tutorial), I decided to make things more difficult and want to run the OpenAI Gym using Javascript on a Windows machine. So let's get started!
Prerequisites
For this blog, we need several components installed upfront to make our lives easier:
- Windows WSL (windows Subsystem for Linux) - Their are different distros, I went for Ubuntu https://www.microsoft.com/en-us/store/p/ubuntu/9nblggh4msv6, but you can also go for OpenSUSE, Kali, Debian, …
Installing our dependencies
1. Xming
Start off by downloading Xming from https://sourceforge.net/projects/xming/ and installing it.
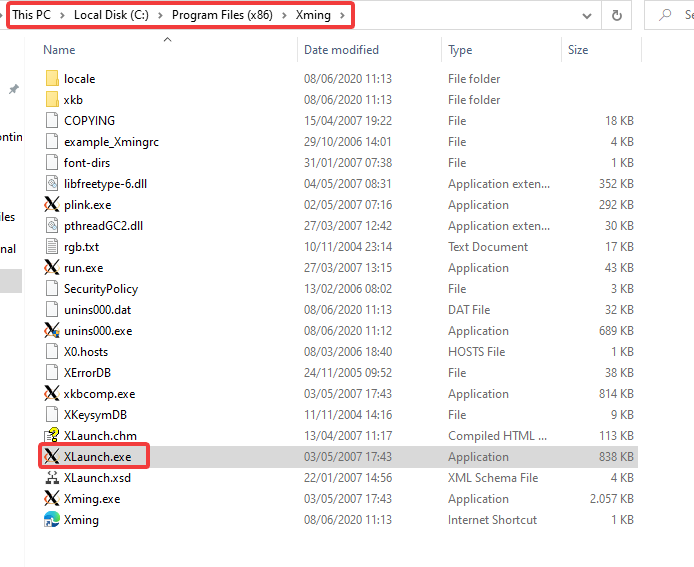
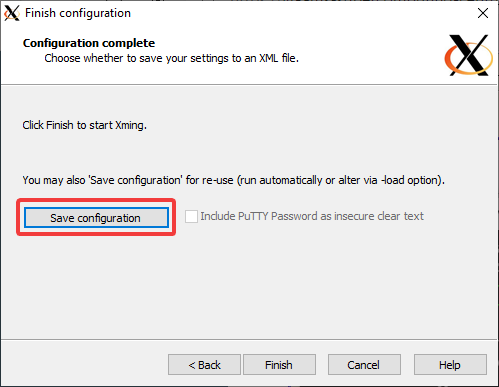
After you install it, open the Program Files and execute launch.exe to configure it as follows:

2. Configuring WSL 2
Then open up your WSL 2 environment and execute the following commands:
# Install Python + Dependencies
sudo apt-get install -y python-dev
sudo apt-get install -y python-pip
sudo apt-get install -y python-numpy python-dev cmake zlib1g-dev libjpeg-dev xvfb xorg-dev python-opengl libboost-all-dev libsdl2-dev swig

sudo pip install werkzeug
sudo pip install itsdangerous
sudo pip install click
Now as a last step, we have to configure our DISPLAY:
# Export our display settings for XMing
export DISPLAY=:0
echo 'export DISPLAY=:0' >> ~/.bashrc
Setting up our OpenAI Gym
Once we are done installing the dependencies, we can continue by installing our OpenAI Gym. Since we are using Javascript here, we will be using the OpenAI Gym Http Bindings. For this, run the following commands to clone and set up our requirements for the Javascript Bindings.
# OpenAI Gym
git clone https://github.com/openai/gym-http-api
cd gym-http-api
sudo pip install -r requirements.txt
sudo pip install -e '.[all]'
cd binding-js
npm install
gulp
Running dev server
Once you installed everything correctly, you can start the OpenAI server through the following commands:
cd gym-http-api
python gym_http_server.py
and test it with the following script in a different terminal:
cd gym-http-api/bindings-js/dist/examples
node exampleAgent.js
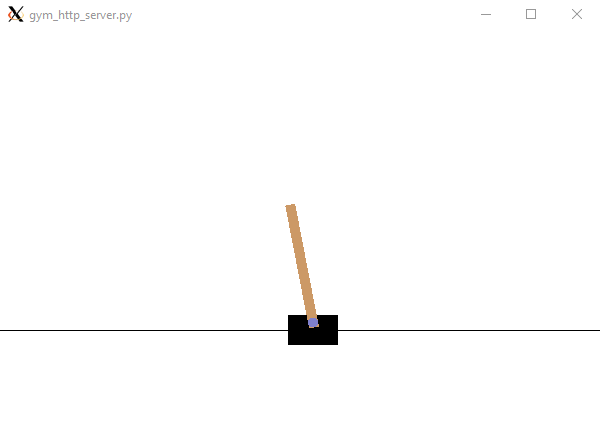
This should open up an Xming display running a cartpole example.
Note: Make sure that your Xming display server is started on windows and that it is running in your taskbar!


Comments ()