Deploying Ray on Kubernetes with Azure Spot Instances
Ray is a powerful distributed computing system that can dynamically scale to meet changing demands, and with Azure's Spot Instances, it can do so at a huge discount.

Ray is super interesting, allowing us to train on large distributed systems. There is just one issue with these large clusters: "cost".
Luckily for us, Azure offers something named "Spot Instances" which is hardware Microsoft sells for a huge discount (~90%) BUT that they can take away at any moment. So perfect for use cases that have a flexible requirement where the cluster can dynamically change at any given time.
Now let Ray be just that, a system that trains and automatically scales the system out and in depending on what we need.
Prerequisites
- Kubectl Configured
- Have Helm Installed
Creating an Agent Pool with Spot Instances on AKS
To add a NodePool that supports spot instances run:
az aks nodepool add \
   --resource-group RG_NAME \
   --cluster-name CLUSTER_NAME \
   --name POOL_NAME \
   --priority Spot \
   --eviction-policy Delete \
   --node-vm-size Standard_D2s_v3 \
   --node-count NODE_COUNT \
   --node-taints kubernetes.azure.com/scalesetpriority=spot:NoSchedule \
   --labels agentpool=POOL_NAME \
   --mode User \
   --no-wait
Which we can then check through az aks nodepool list -g RG_NAME --cluster-name CLUSTER_NAME -o table giving us
Name       OsType    KubernetesVersion    VmSize           Count    MaxPods    ProvisioningState    Mode
---------  --------  -------------------  ---------------  -------  ---------  -------------------  ------
agentpool  Linux     1.24.10              Standard_B4ms    1        110        Succeeded            System
ray        Linux     1.24.10              Standard_D4s_v3  1        110        Succeeded            User
Installing Ray
Let's now get started to install Ray. To install Ray, we first configure helm to contain the repository
# Install Ray locally
pip install -U "ray[default]"

# Add the helm chart
help repo add kuberay https://ray-project.github.io/kuberay-helm
helm repo update
Now that is done, we can get started to deploy ray itself.
Note that we will add a toleration to deploy the Ray cluster on our spot instances
# Install Kuberay
helm repo add kuberay https://ray-project.github.io/kuberay-helm/
helm install kuberay-operator kuberay/kuberay-operator \
    --version 0.5.0 \
    --set "nodeSelector.agentpool"="ray" \
    --set "tolerations[0].key"="kubernetes.azure.com/scalesetpriority" \
    --set "tolerations[0].operator"="Equal" \
    --set "tolerations[0].value"="spot" \
    --set "tolerations[0].effect"="NoSchedule"


# Deploy RayCluster
helm install raycluster kuberay/ray-cluster \
    --version 0.5.0 \
    --set "nodeSelector.agentpool"="ray" \
    --set "tolerations[0].key"="kubernetes.azure.com/scalesetpriority" \
    --set "tolerations[0].operator"="Equal" \
    --set "tolerations[0].value"="spot" \
    --set "tolerations[0].effect"="NoSchedule"
Finally, we will await everything to be up and running
# Await all pods to be running
while [ $(kubectl get pods --selector=ray.io/cluster=raycluster-kuberay | grep Running | wc -l) -lt 2 ]; do echo "Awaiting Running Pods..."; sleep 1; done

# Access the cluster
export HEAD_POD=$(kubectl get pods --selector=ray.io/node-type=head -o custom-columns=POD:metadata.name --no-headers)
Opening Ray
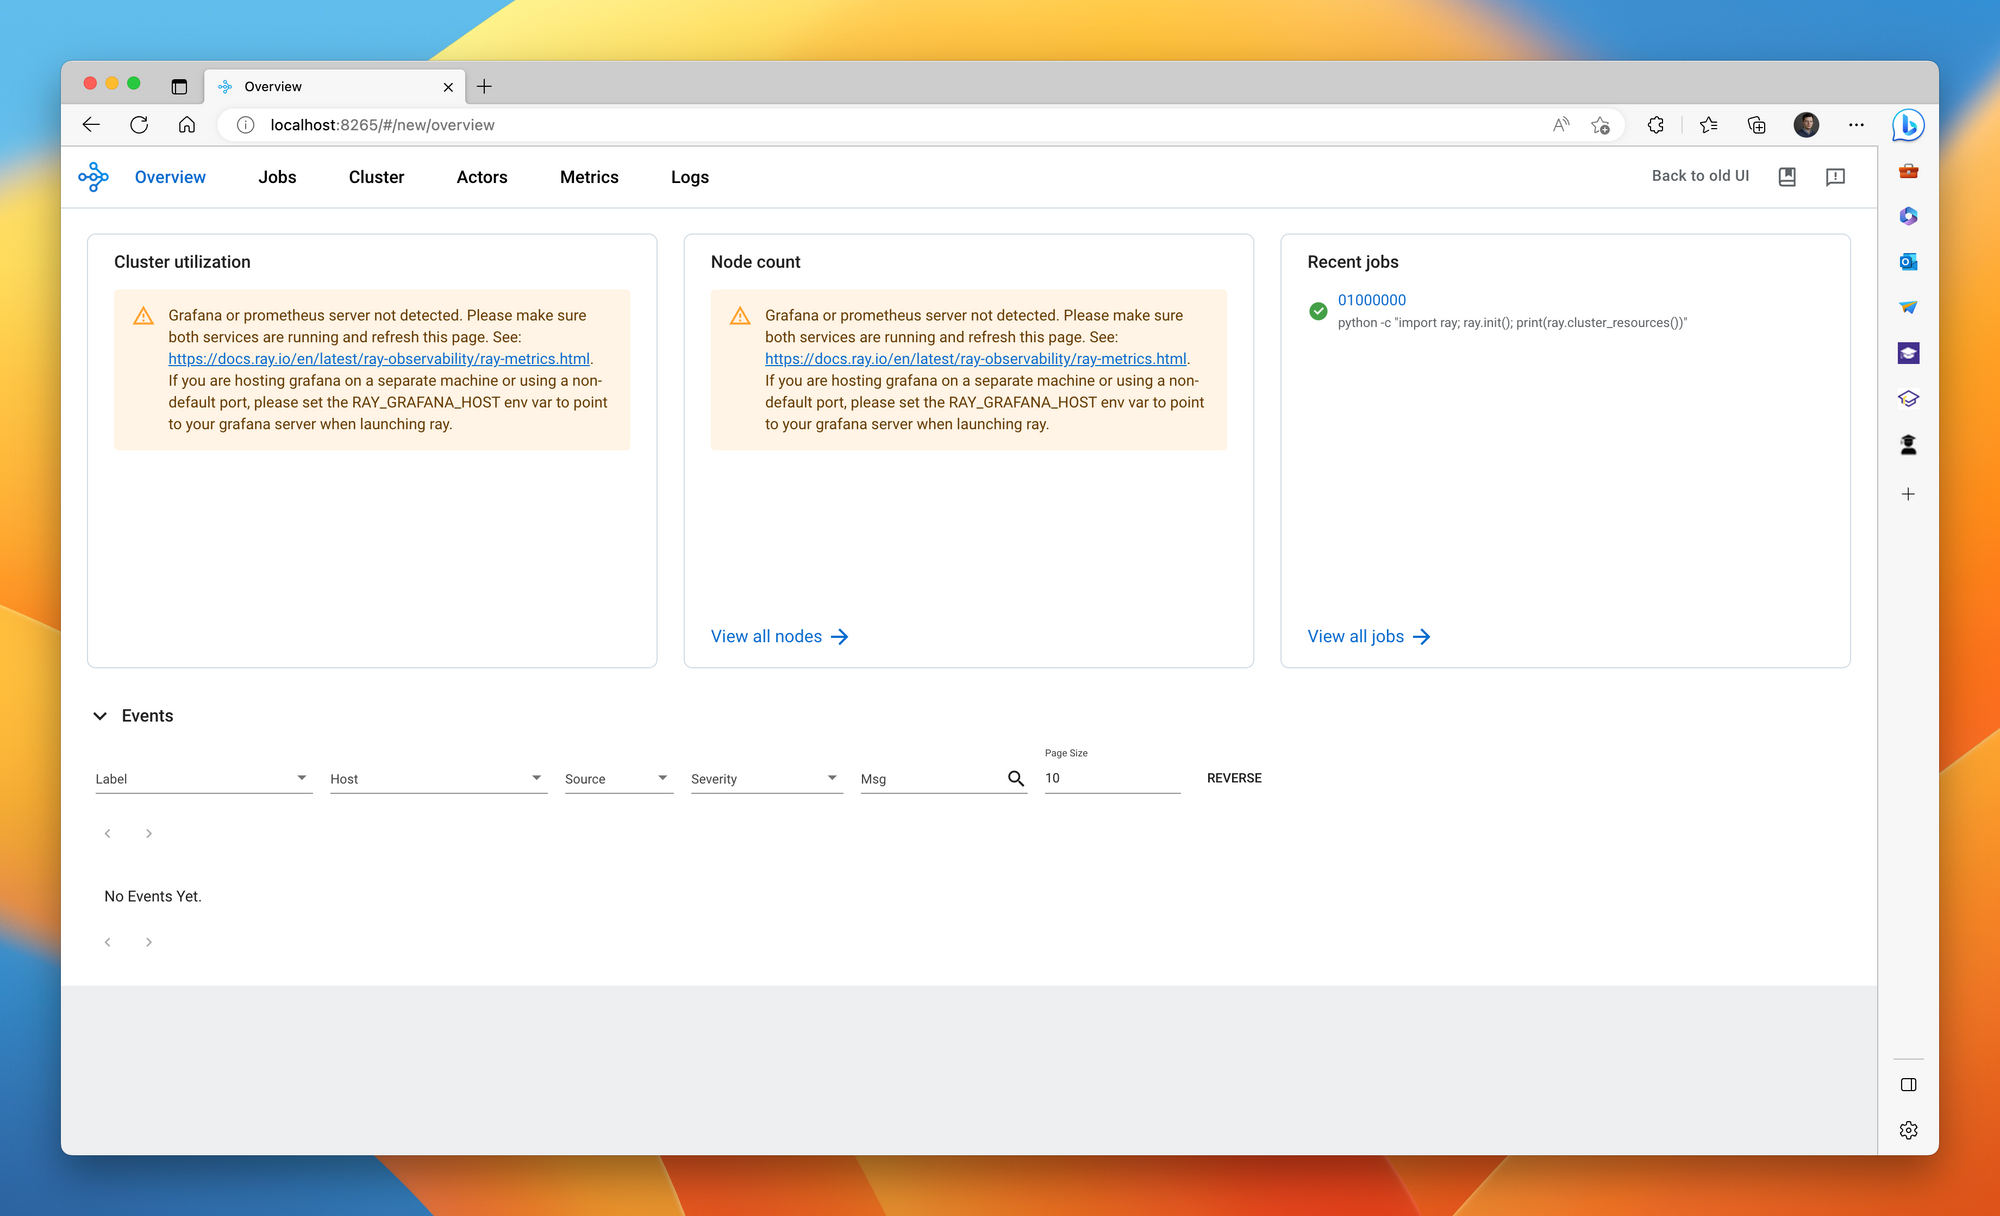
We can now open the ray cluster and view it in our browser by exposing the port locally.
kubectl port-forward --address 0.0.0.0 service/raycluster-kuberay-head-svc 8265:8265
Conclusion
We got Ray up and running and are able to do so at a relatively low cost! Stay tuned for some simulation experiments! To remove the cluster, simply run helm uninstall raycluster; helm uninstall kuberay-operator


Comments ()