
Creating a Raspberry PI Cluster (1 Raspberry Pi & 4 Pi Zeros) with Cluster Hat
A couple of years ago, I decided to buy a Raspberry PI cluster with Clusterhat. In all that time however, I never too the time to configure it correctly to make it able to run Kubernetes. So now I decided to invest some time and get some learnings back from it!
Note: Right now the ecosystem is utilizing ARMv7 mainly, while as the Pi Zeros are still running ARMv6. It will thus be an interesting task to get Kubernetes running with the Pi Zeros as nodes. Do note that supporting legacy hardware is an important skill that a lot of companies (especially Manufacturing ones) value a lot! Seeing that the devices they have running are often even older!
So let's get started on how you can set this up!
// @todo: insert picture clusterhat and pi zero ![]()
Flashing the Images
We download the Images from https://clusterctrl.com/setup-software utilizing the CNAT version.
The CNAT version has NAT configured (Network Address Translation) which will automatically share the Ethernet or Wifi on the controller with the Pi Zeros.
Download Links (for backup purposes):
- CNAT Lite Controller: http://dist.8086.net/clusterctrl/buster/2020-12-02/2020-12-02-1-ClusterCTRL-armhf-lite-CNAT.zip
- P1: http://dist.8086.net/clusterctrl/buster/2020-12-02/2020-12-02-1-ClusterCTRL-armhf-lite-p1.zip
- P2: http://dist.8086.net/clusterctrl/buster/2020-12-02/2020-12-02-1-ClusterCTRL-armhf-lite-p2.zip
- P3: http://dist.8086.net/clusterctrl/buster/2020-12-02/2020-12-02-1-ClusterCTRL-armhf-lite-p3.zip
- P4: http://dist.8086.net/clusterctrl/buster/2020-12-02/2020-12-02-1-ClusterCTRL-armhf-lite-p4.zip
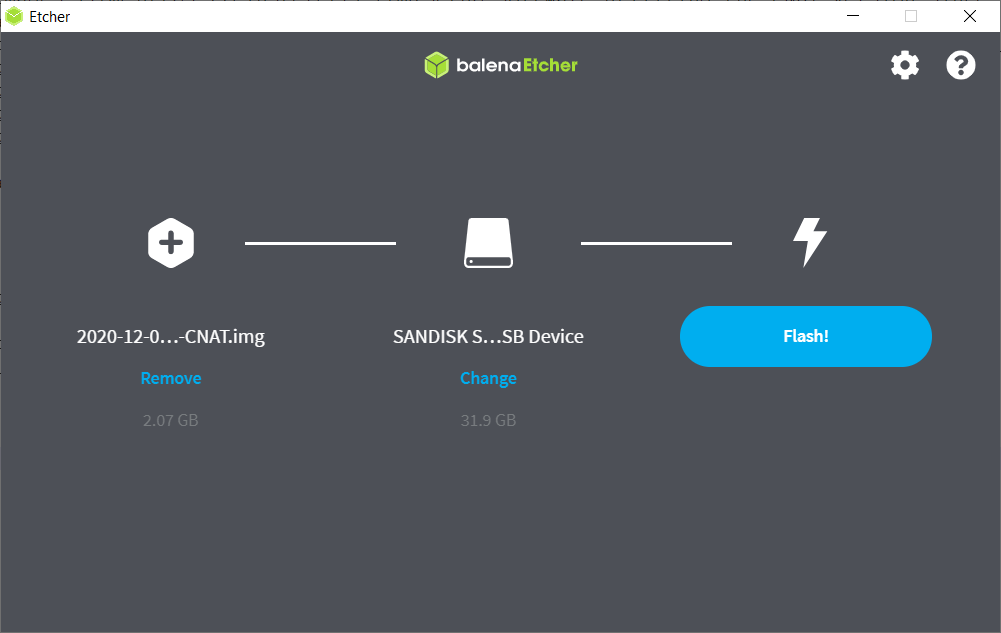
Once the images are downloaded, you can utilize a flashing tool to flash them to the SD Cards. For this I utilized the excellent tool called Etcher and flashed the different images for the controller and PI Zeros.
After each image was flashed, I added a SSH file (without any content) to the SD Cards root.
By adding the SSH file, we are able to SSH to the different Nodes.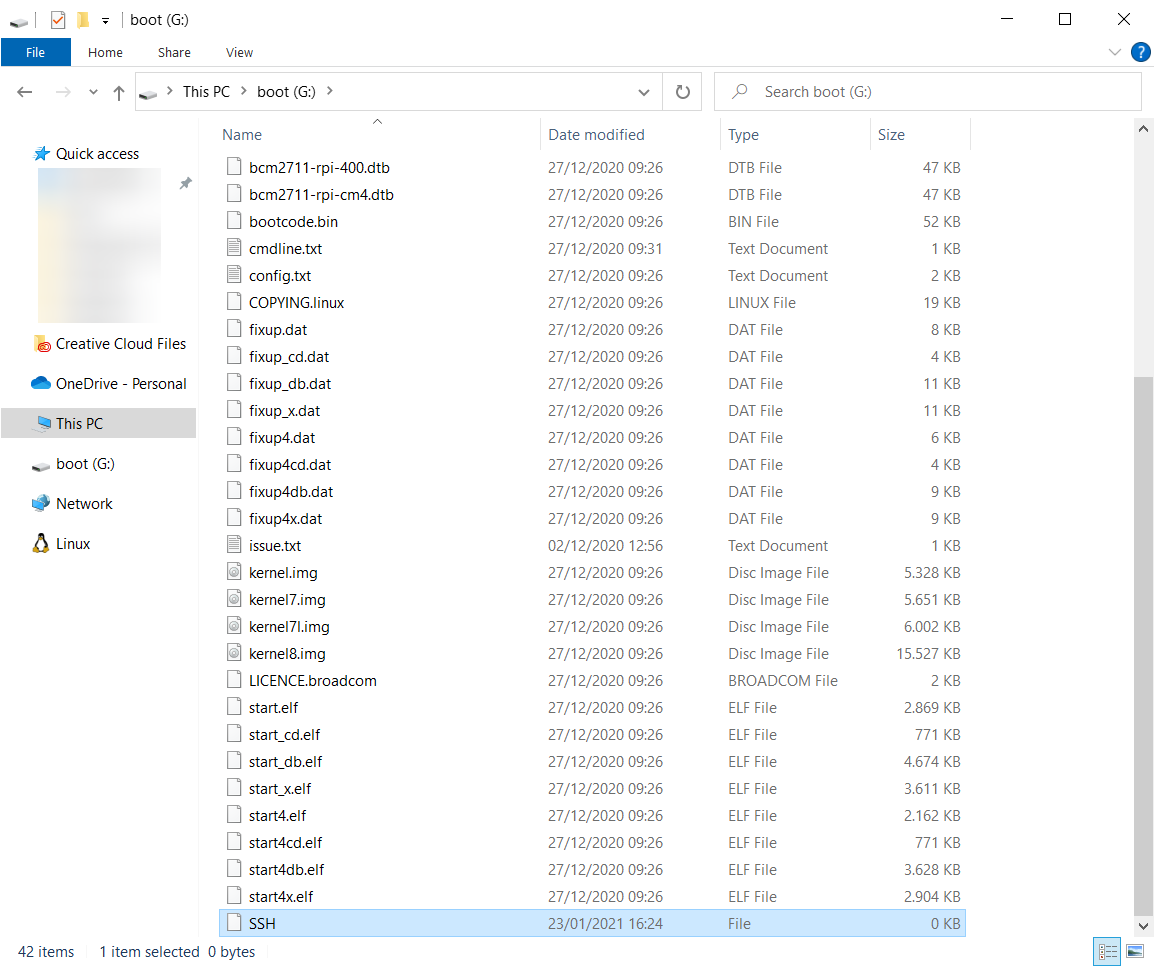
Now the hardest part is done, and we can connect the Ethernet cable and boot up the Controller!
Note: Make sure to utilize a Power Adapter instead of a USB Cable connected to the PC.
Note 2: I connected the Zeros from Power Adapter back labeled 1, 2, 3 and 4
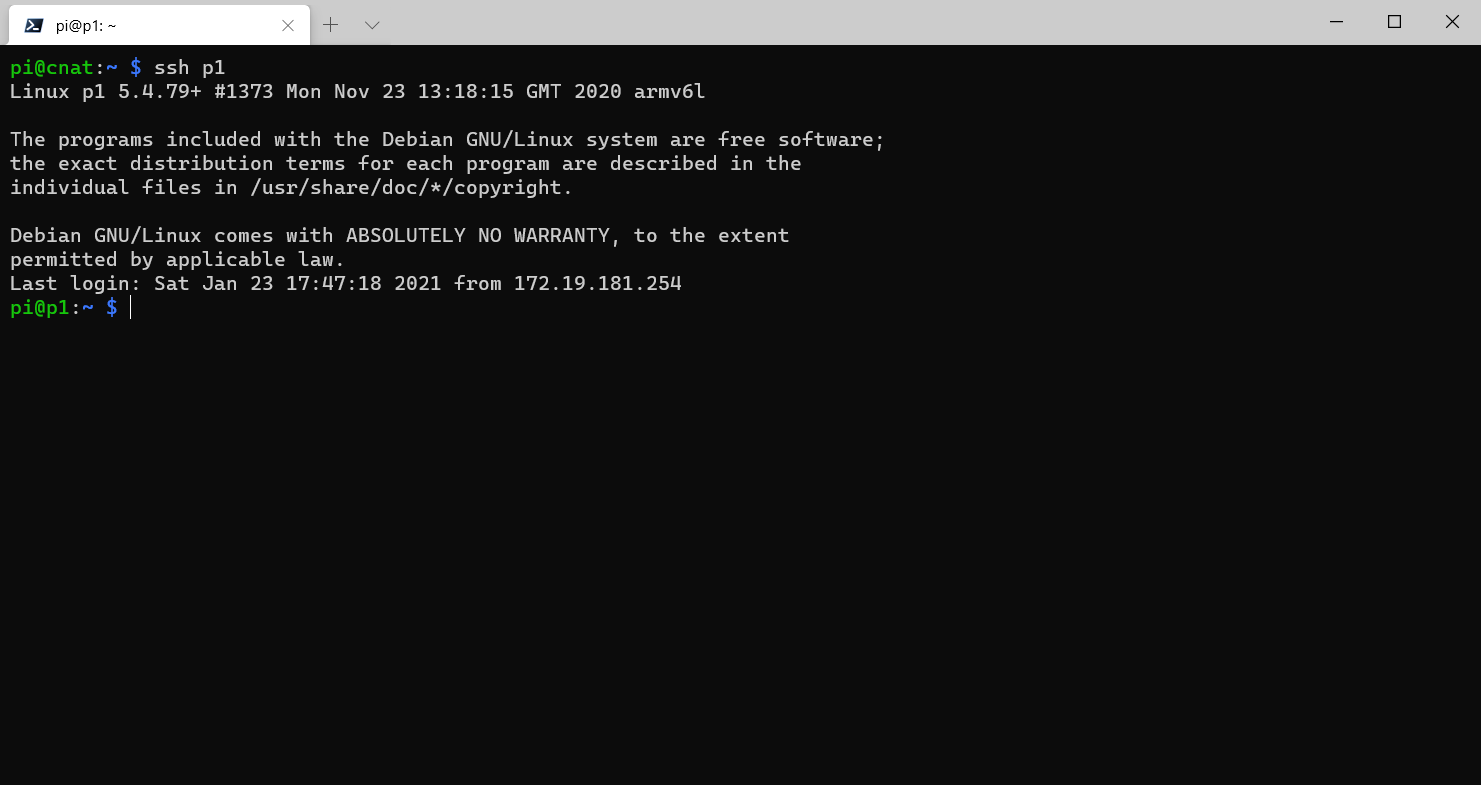
Connecting to SSH
After waiting a couple of minutes, we should be able to access the Raspberry PI Controller. To make things easier and remove the need to connect a screen + keyboard, I used the tool Advanced IP Scanner find out the IP Address of the controller by quickly scanning the network.
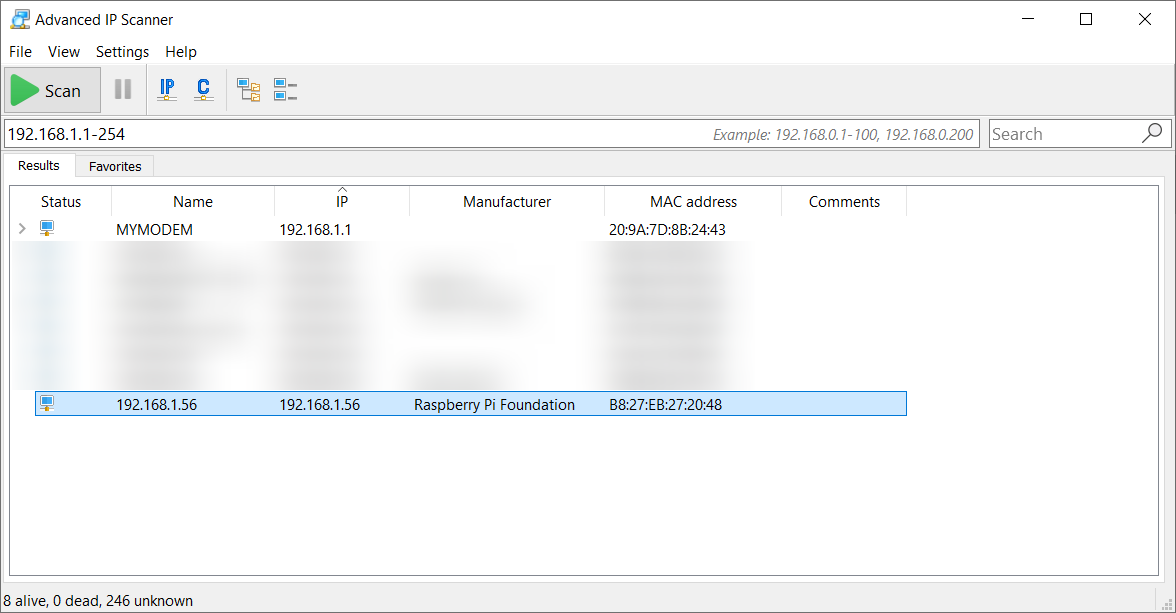
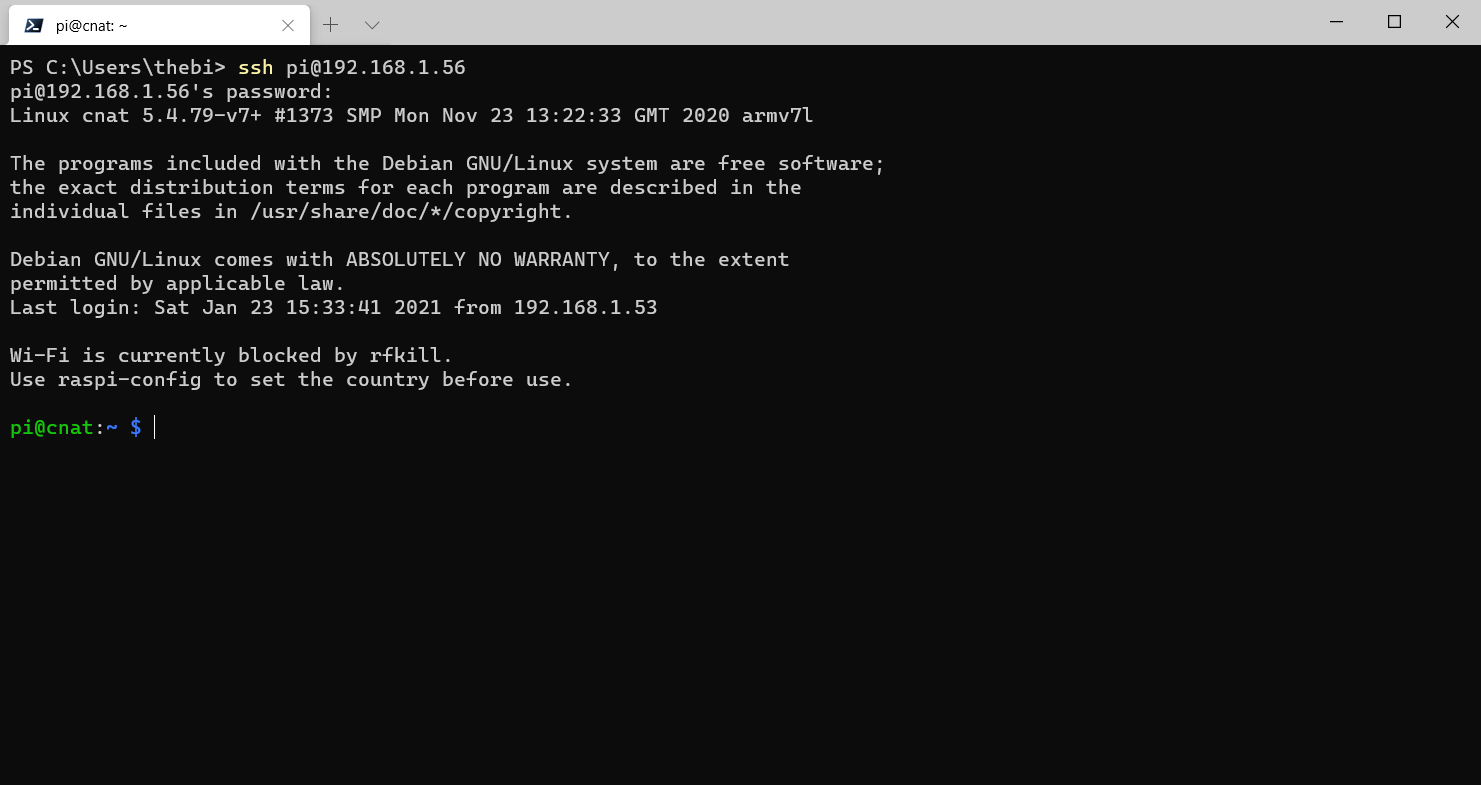
Through this way, I discovered that mine was running under 192.168.1.56. So go ahead and log in on it then through ssh pi@<your_ip> with username pi and password clusterctrl
- Username:
pi - Password:
clusterctrl
Note: if you want to change your password, utilizesudo raspi-configand go toChange User Password
Turning on the PI Zeros
The ClusterHat module acts as a USB Hub, which is turned off by default. To help us, a helper program was included that allows us to turn them on.
- Turn Raspberry PI Zeros On:
sudo clusterhat on - Turn Raspberry PI Zeros Off:
sudo clusterhat off
By default, ClusterHat exposes its USB Hub interface over gateway 172.19.181.1 to connect to the PI Zeros we can then connect over IPs 172.19.181.1 - 172.19.181.4. To make our lives a bit easier, we set up a config files for the SSH Names in ~/.ssh/config:
Host p1
  HostName 172.19.181.1
  User pi

Host p2
  HostName 172.19.181.2
  User pi

Host p3
  HostName 172.19.181.3
  User pi

Host p4
  HostName 172.19.181.4
  User pi
By then adding a SSH Public Key to them we are able to more quickly login. So first create a SSH Key with:
ssh-keygen -t rsa -b 4093
And copy it over to the PI Zeros with:
cat ~/.ssh/id_rsa.pub | ssh pi@p1 -T "mkdir ~/.ssh && cat > ~/.ssh/authorized_keys"
cat ~/.ssh/id_rsa.pub | ssh pi@p2 -T "mkdir ~/.ssh && cat > ~/.ssh/authorized_keys"
cat ~/.ssh/id_rsa.pub | ssh pi@p3 -T "mkdir ~/.ssh && cat > ~/.ssh/authorized_keys"
cat ~/.ssh/id_rsa.pub | ssh pi@p4 -T "mkdir ~/.ssh && cat > ~/.ssh/authorized_keys"
We can now connect to our PI Zeros without having to enter a password anymore! 😀
Syncing the time
We are almost there, just before our last step we need to install the time syncing tool. To do this, run the following commands on your controller:
ssh pi@p1 "sudo apt-get install -y ntpdate" &
ssh pi@p2 "sudo apt-get install -y ntpdate" &
ssh pi@p3 "sudo apt-get install -y ntpdate" &
ssh pi@p4 "sudo apt-get install -y ntpdate" &
Finalization
As a final step - yes we are there! - we need to adapt our /etc/rc.local script such that we automatically spin up the cluster on boot. To do that, add the following lines to your /etc/rc.local file:
# Start the PI Zeros
/sbin/clusterhat init
/sbin/clusterhat on

# Fix networking towards the PI Zeros
/sbin/iptables -I forward -j ACCEPT
Conclusion
From the steps above we can conclude that it is SUPER easy to set up our own cluster! In just 1 hour I have 4 Raspberry PI Zeros running on my Clusterhat on the network.
The sad part of this story however is that while this is an amazing architecture, it is based on older hardware (running ARMv6). Due to this, it is practically impossible to run demonstrations on this. Which is why I decided to abandon this cluster and move on. Currently I am looking into alternatives for a nice demo cluster, so let me know if you know something!
References
- https://medium.com/@dhuck/the-missing-clusterhat-tutorial-45ad2241d738
- https://github.com/AKYD/clusterhat-kubernetes


Comments ()