
Setting up Stable Baselines with Python 3.7 and WSL 2

I've been playing around a bit with Stable Baselines lately for an upcoming project. However while playing, I encountered some issues seeing that Stable Baselines currently requires Tensorflow <= 1.14 which is only supported through Python < 3.8. Due those difficulties, I thought it would be interesting to share how I set up my personal development environment from scratch to play around with Stable Baselines.
Setting up WSL
First we need to set-up WSL. To do this, we enable te WSL platform as well as the VM platform. We can do this through the following commands in an elevated PowerShell window:
# Enable WSL
dism.exe /online /enable-feature /featurename:Microsoft-Windows-Subsystem-Linux /all /norestart

# Enable VM Platform
dism.exe /online /enable-feature /featurename:VirtualMachinePlatform /all /norestart
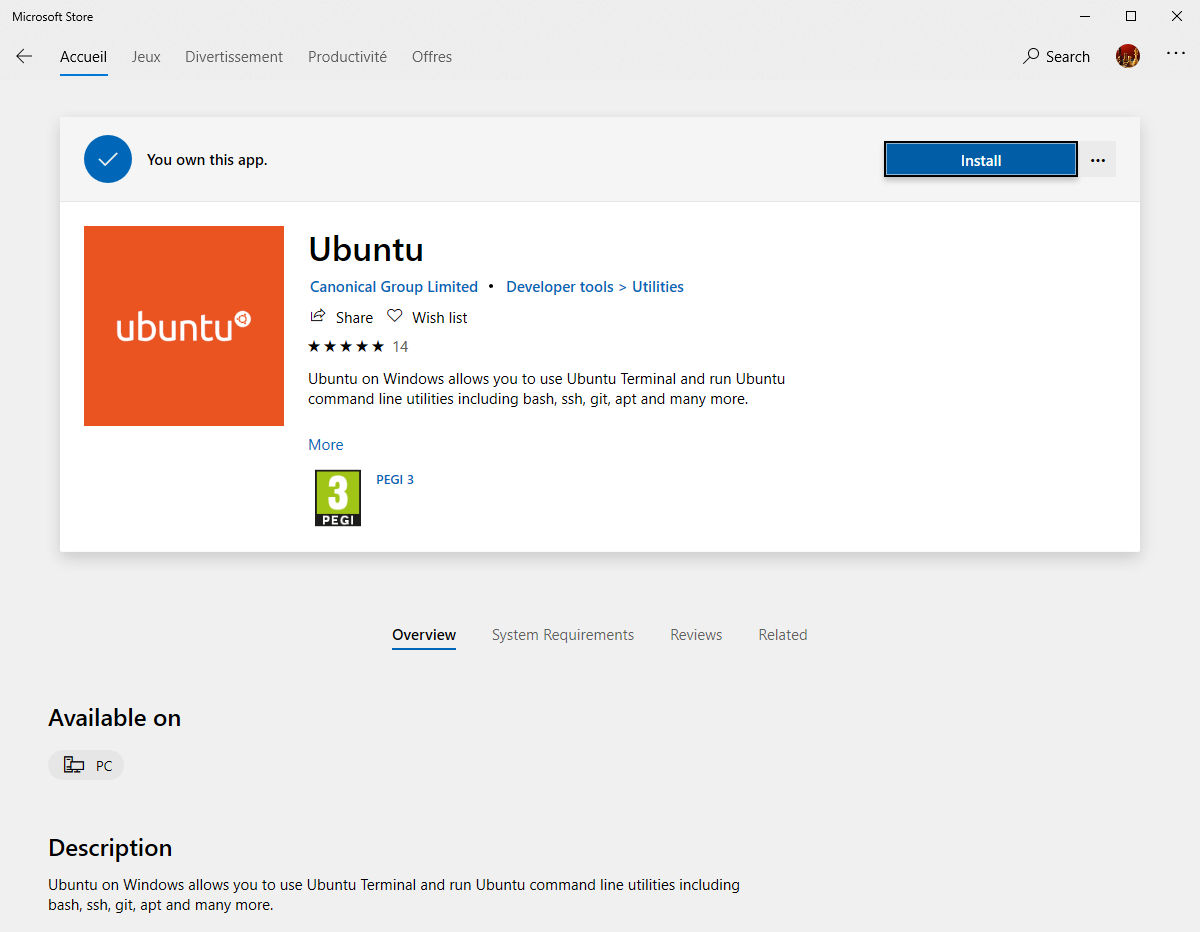
Once this is done, we can go to the Microsoft store and browse for the distribution we want and install it.
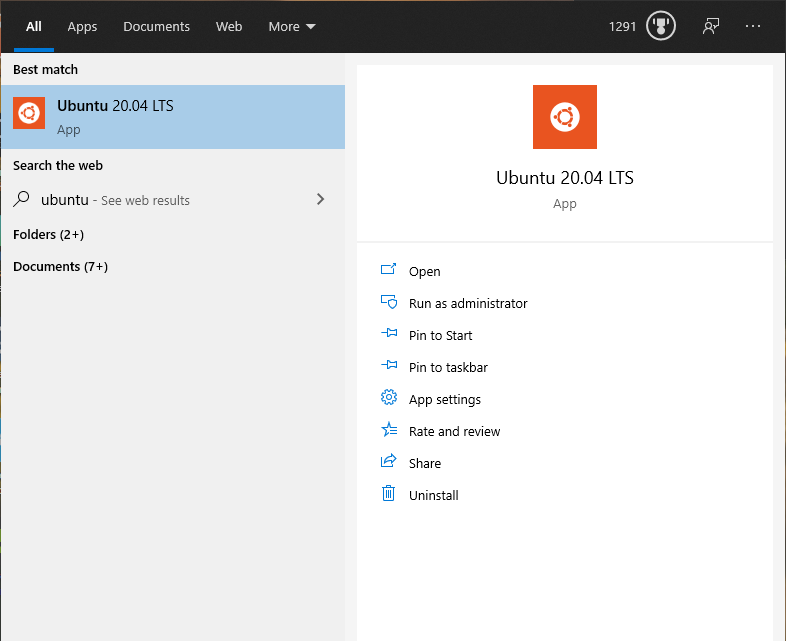
After installation, the last thing we have to do is to search for it in the Windows search bar, boot it and configure our username and password
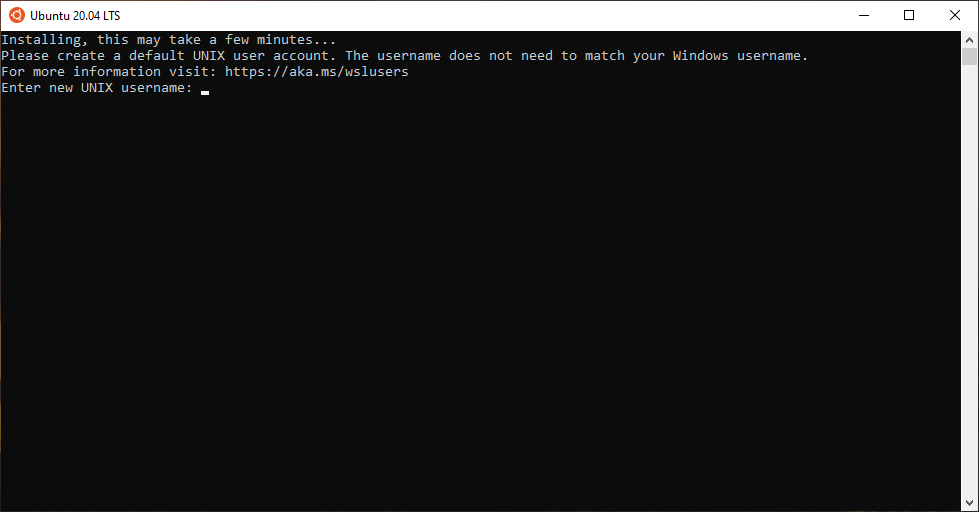
WSL should now be set-up and ready to go!
Installing Python 3.7
By default Ubuntu 20.04 LTS comes with Python 3.8 (python3 --version). We require Python 3.7, so we should change this. To change this, we can use the following commands:
# Install Deadsnales for Python3.7 package
sudo add-apt-repository ppa:deadsnakes/ppa
sudo apt update

# Install Python 3.7
sudo apt install python3.7

# Set Python 3.7 as our default
sudo update-alternatives --install /usr/bin/python3 python3 /usr/bin/python3.7 1

# Install Pip (also for sudo)
curl -s https://bootstrap.pypa.io/get-pip.py | python3
sudo curl -s https://bootstrap.pypa.io/get-pip.py | sudo python3

# Reconfigure Apt
sudo apt-get remove python3-apt
sudo apt-get install python3-apt
When we now check our package with python3 --version, we can see that it shows Python 3.7.7.
Installing Tensorflow 1.14
Now we have the correct Python version, we are able to install Tensorflow 1.14. For this we can simply run pip3 install tensorflow==1.14 which will download the tensorflow we require.
Running Stable Baselines
On to the interesting stuff, running stable baselines. For this we need to install its dependencies:
sudo apt update
sudo apt install cmake libopenmpi-dev python3-dev zlib1g-dev
pip3 install stable-baselines # Install without MPI
Whereafter we can run the following in a test.py script and execute it with python3 test.py:
import gym

from stable_baselines.common.policies import MlpPolicy
from stable_baselines.common.vec_env import DummyVecEnv
from stable_baselines import PPO2

env = gym.make('CartPole-v1')
# Optional: PPO2 requires a vectorized environment to run
# the env is now wrapped automatically when passing it to the constructor
# env = DummyVecEnv([lambda: env])

model = PPO2(MlpPolicy, env, verbose=1)
model.learn(total_timesteps=10000)

obs = env.reset()
for i in range(1000):
    action, _states = model.predict(obs)
    obs, rewards, dones, info = env.step(action)
    env.render()

env.close()
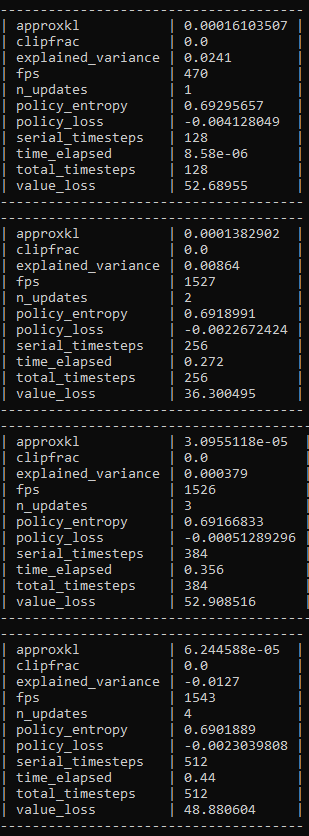
Which will start-up the learning process! Congratulations, you are now ready to go and play with stable baselines 😉


Comments ()