
Building a Minecraft Puppet Scanner with Event Hub, a NFC 522 Reader and a Raspberry PI

In Belgium we every year celebrate the coming of "Sinterklaas" on the 6th of December, a celebration for children where this mythologic figure delivers presents for all the children that behaved well that year. (see: https://en.wikipedia.org/wiki/Sinterklaas for more information). To follow this tradition, many companies hold internal events where children of the employees are invited to participate in all kinds of events. I was asked to participate in one of these events and come up with a workshop for children of all ranges - being divided in 2 groups (the very young ones, and the somewhat older ones).
The Idea
The foundation of any idea starts with finding a base reasoning that will act as a guideline throughout the idea itself. Which in this case was that I want to spike the interest for technology in these childen, so that one day they might be interested in enrolling into technology studies
This is also often referred to as STEM (Science, Technology, Engineering and Mathematics). Which is an ongoing initiative world-wide to stimulate children chosing for these education areas
After some brain storming the idea popped up of creating a sort of game where the children would have to match "dolls" together with "stands" (that all almost look the same) through the use of technology. In this case the technology being a simple nfc-reader that would read the tags under these stands whereafter a message is send to an Event Hub to be able to visualize the messages as a visual on a website. To make this more attractive the "Minecraft" theme was chosen so that every kid would be able to recognize it and think of it as more fun. In this case, the dolls would be Minecraft themed and the stands would be decorated as "redstone ore" blocks.
Purchasing and Assembling the needed material
So now we have the idea, what is needed to make this a reality?
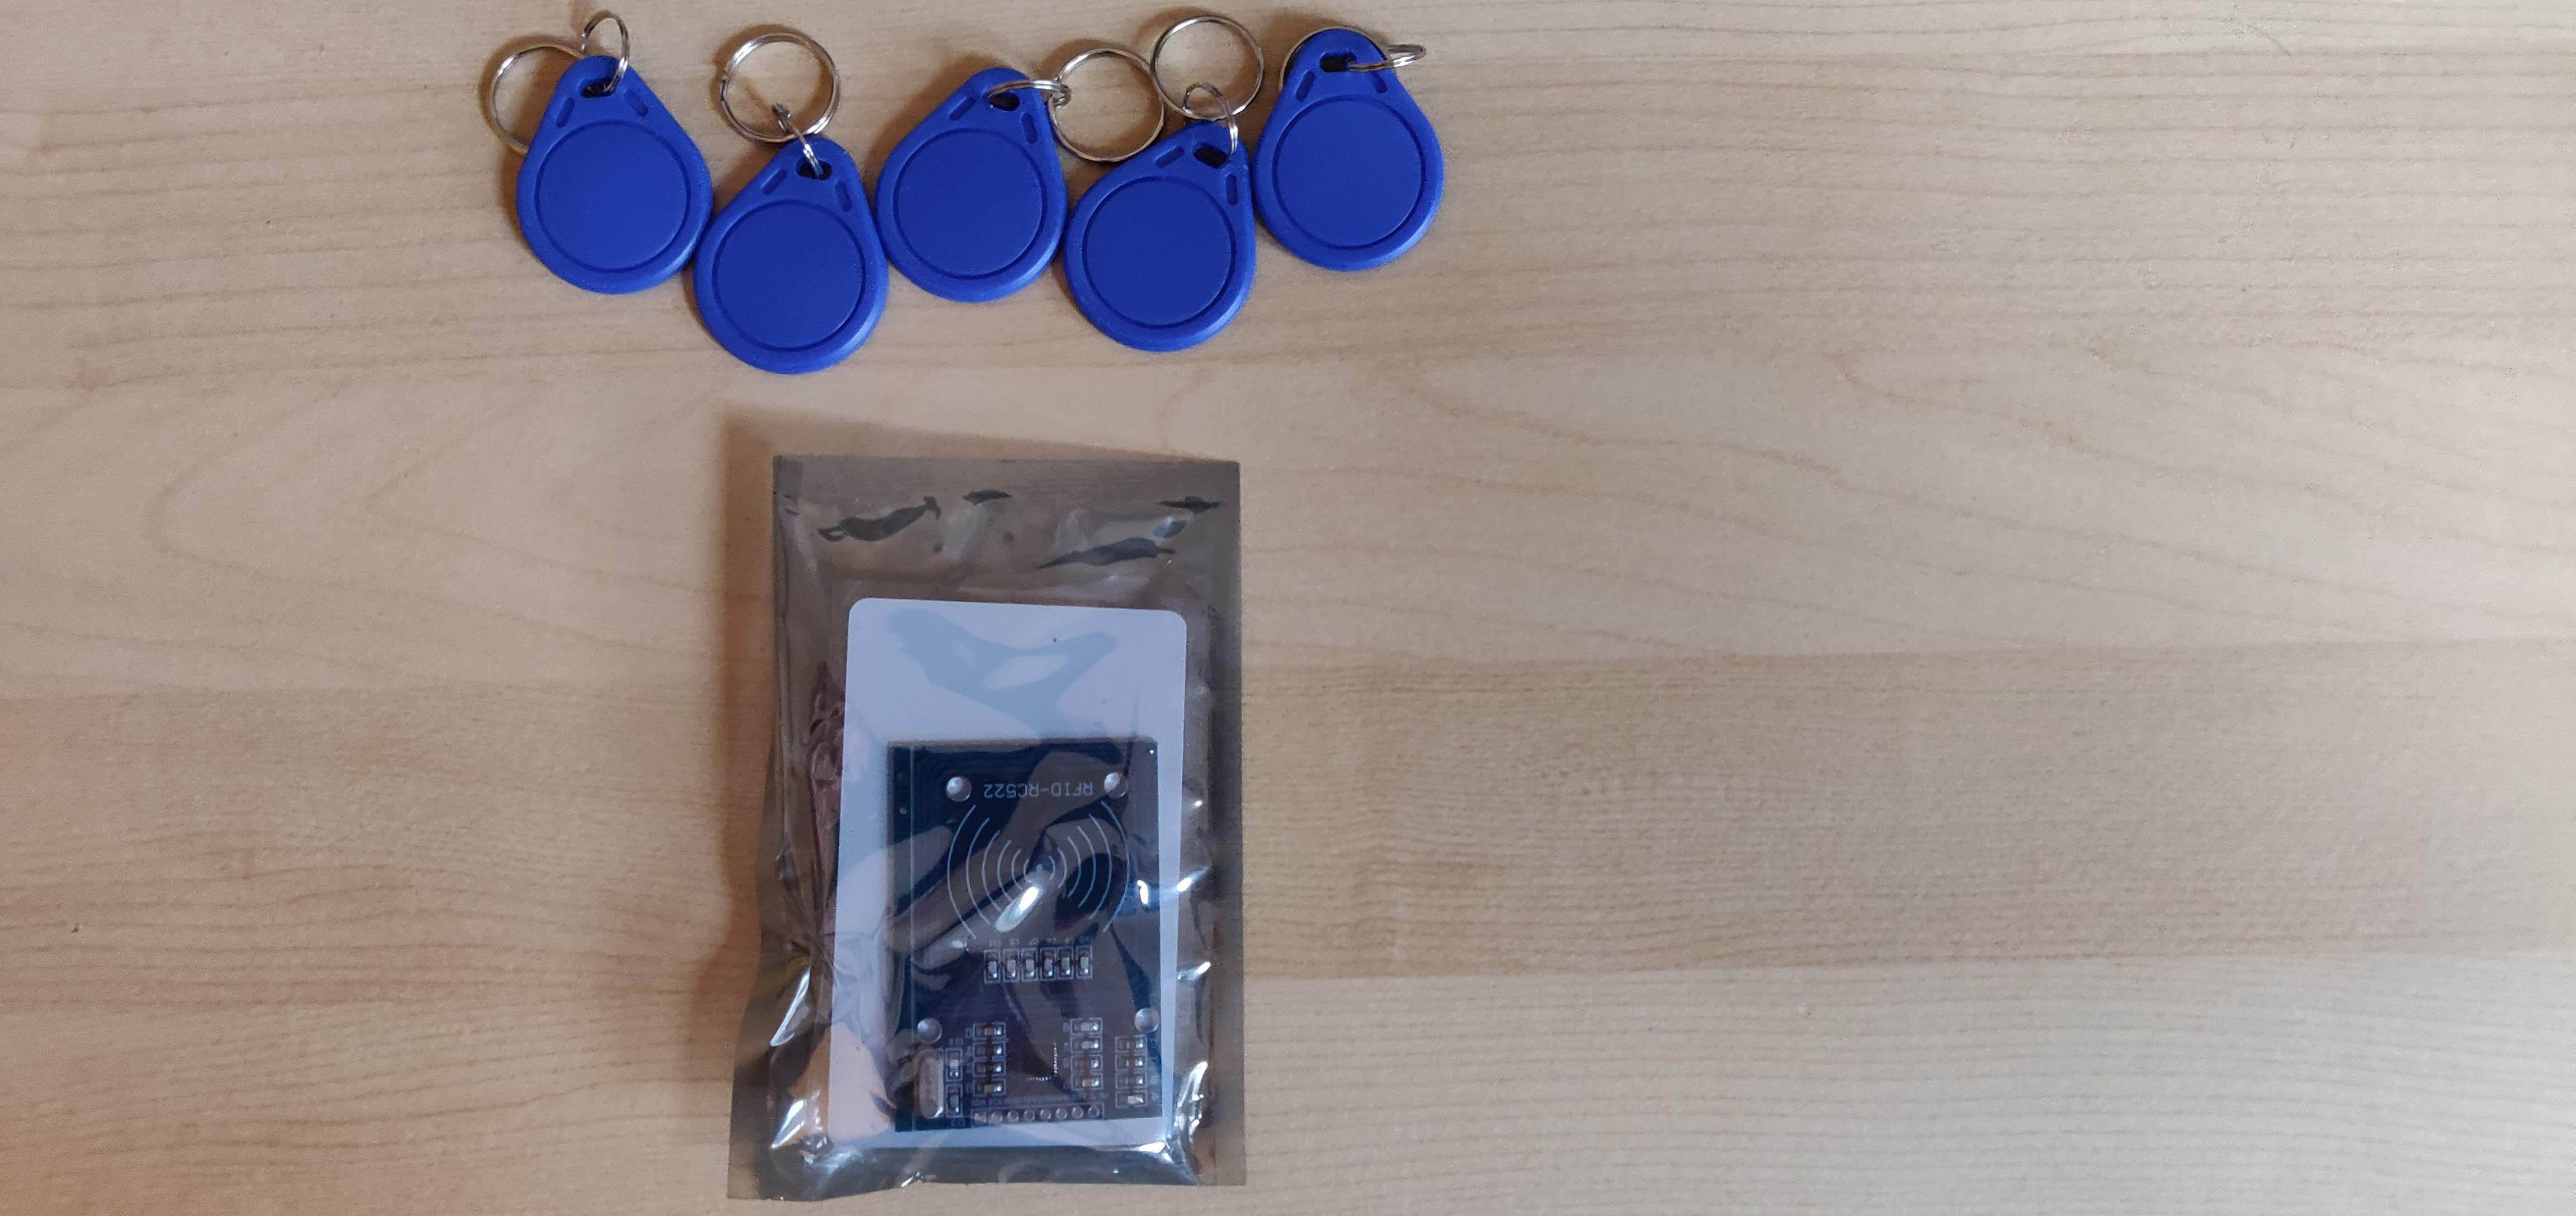
- NFC Reader (In my case a RFID-RC522 reader)
- Raspberry PI
- Jumper Cables
- Breadboard (to be able to connect the reader to the raspberry pi)
- Lego for the stands (let's go back to being a kid again ;))
- Lego for the puppets
Purchasing our Lego
After a quick shopping spree on our favorite Webshop together with a quick trip to the Lego store to purchase the material for the stands (a big thanks to the employees in there that helped me find all the material I needed) resulted in some Minecraft boxes and lego components to build everything we need:
Puppets:
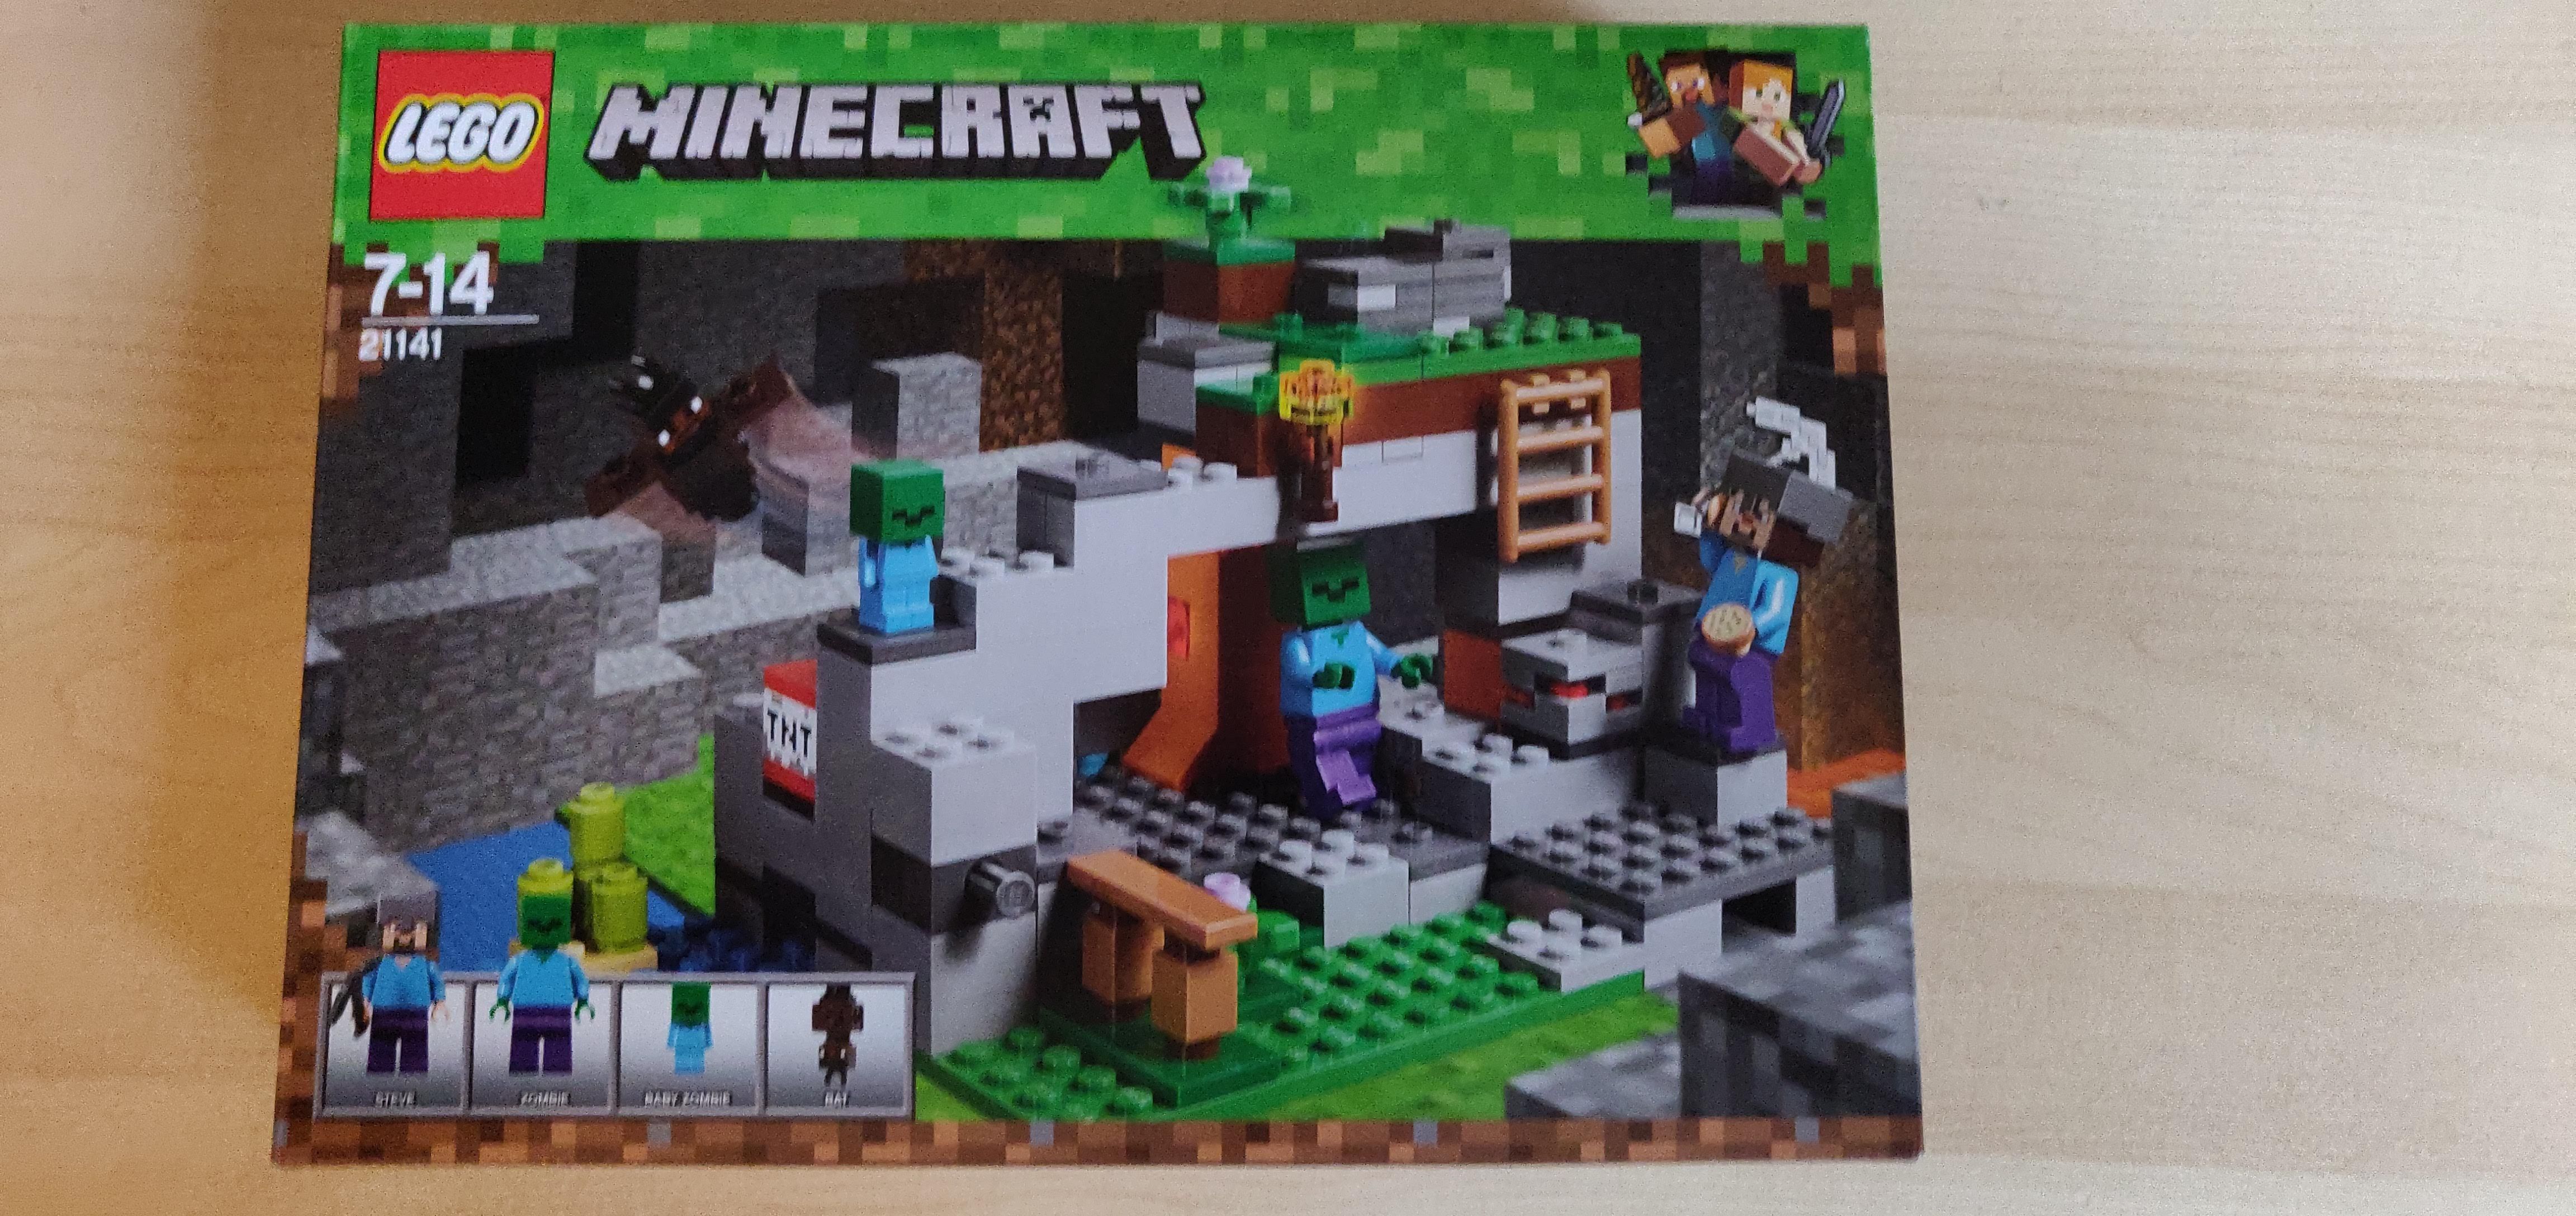

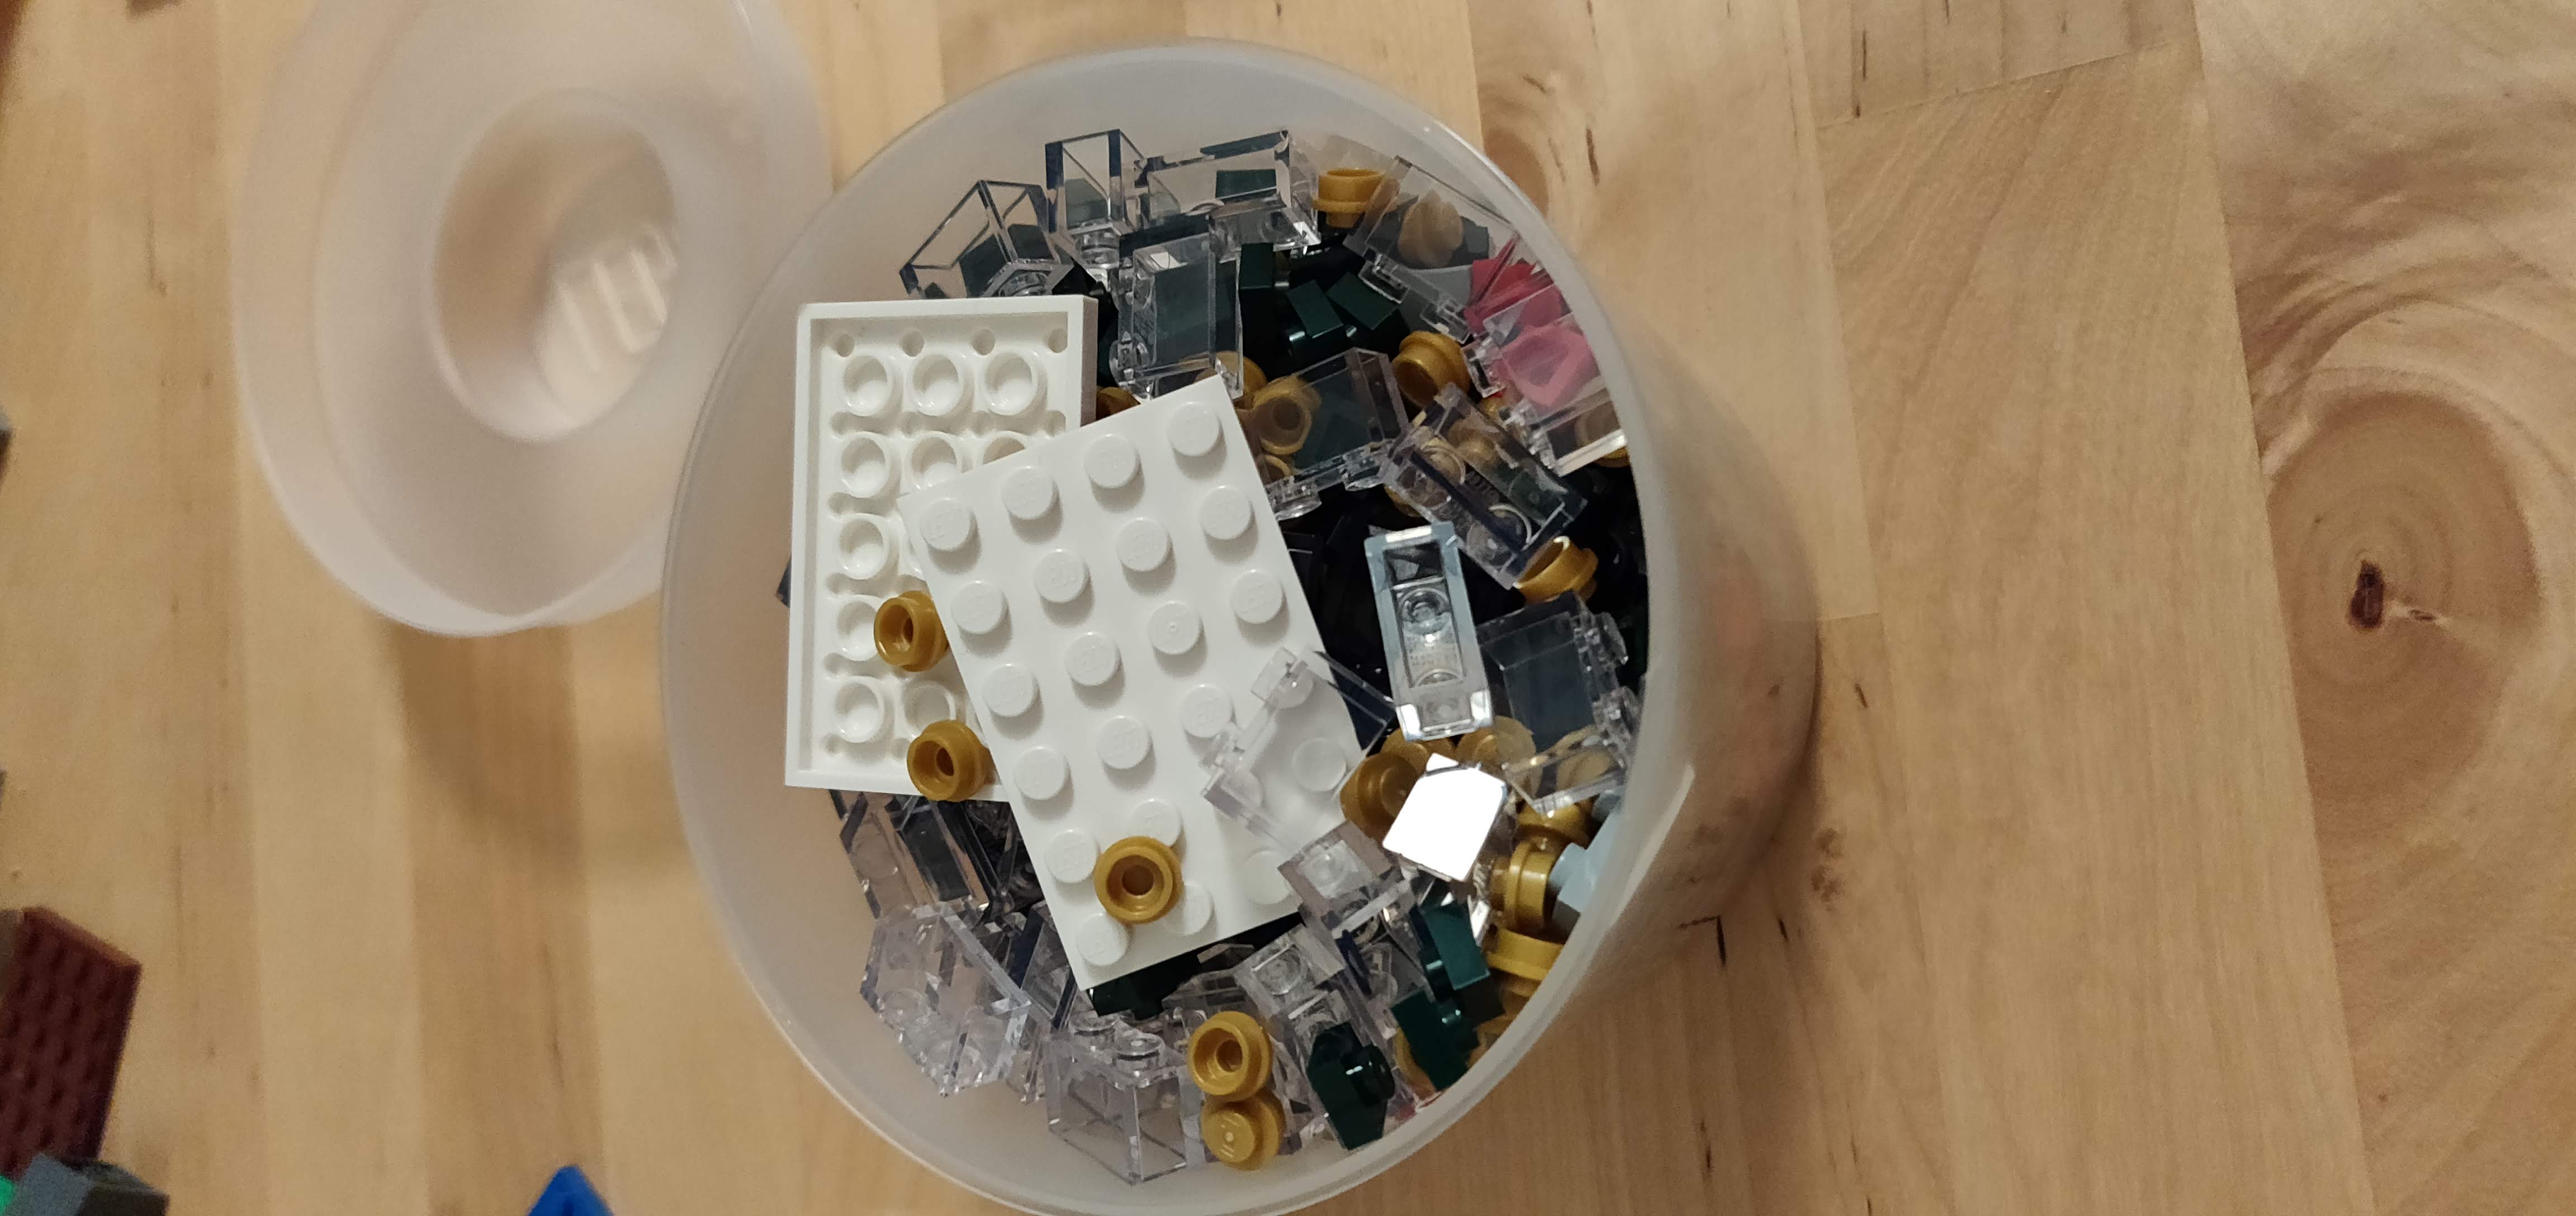
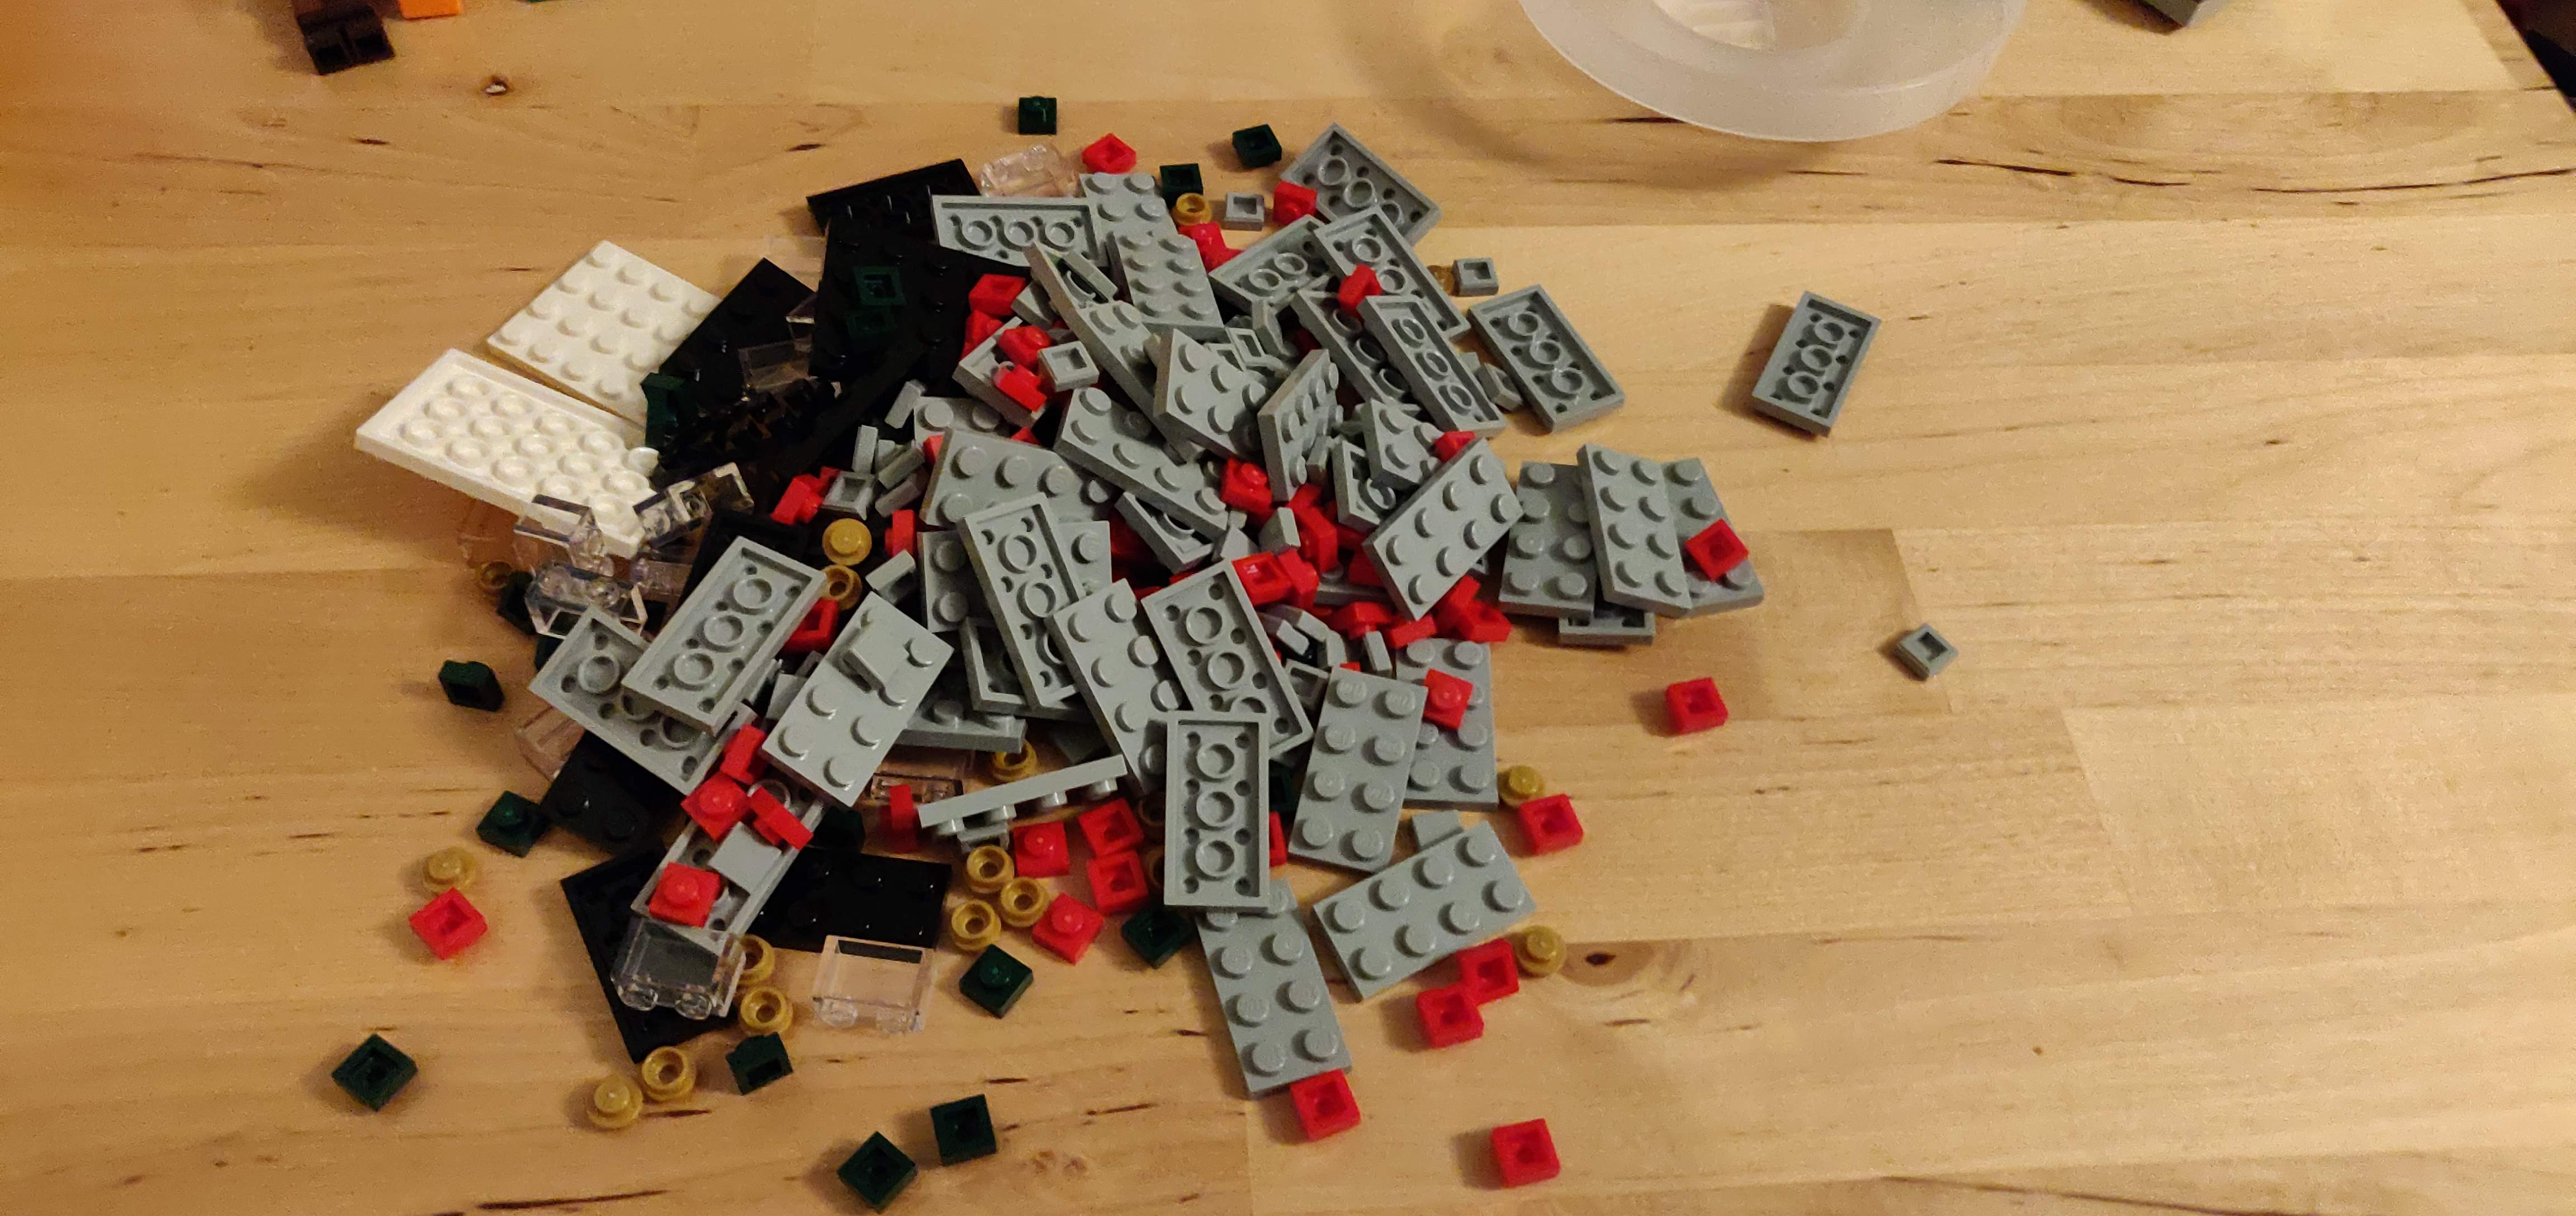
Stand Components:
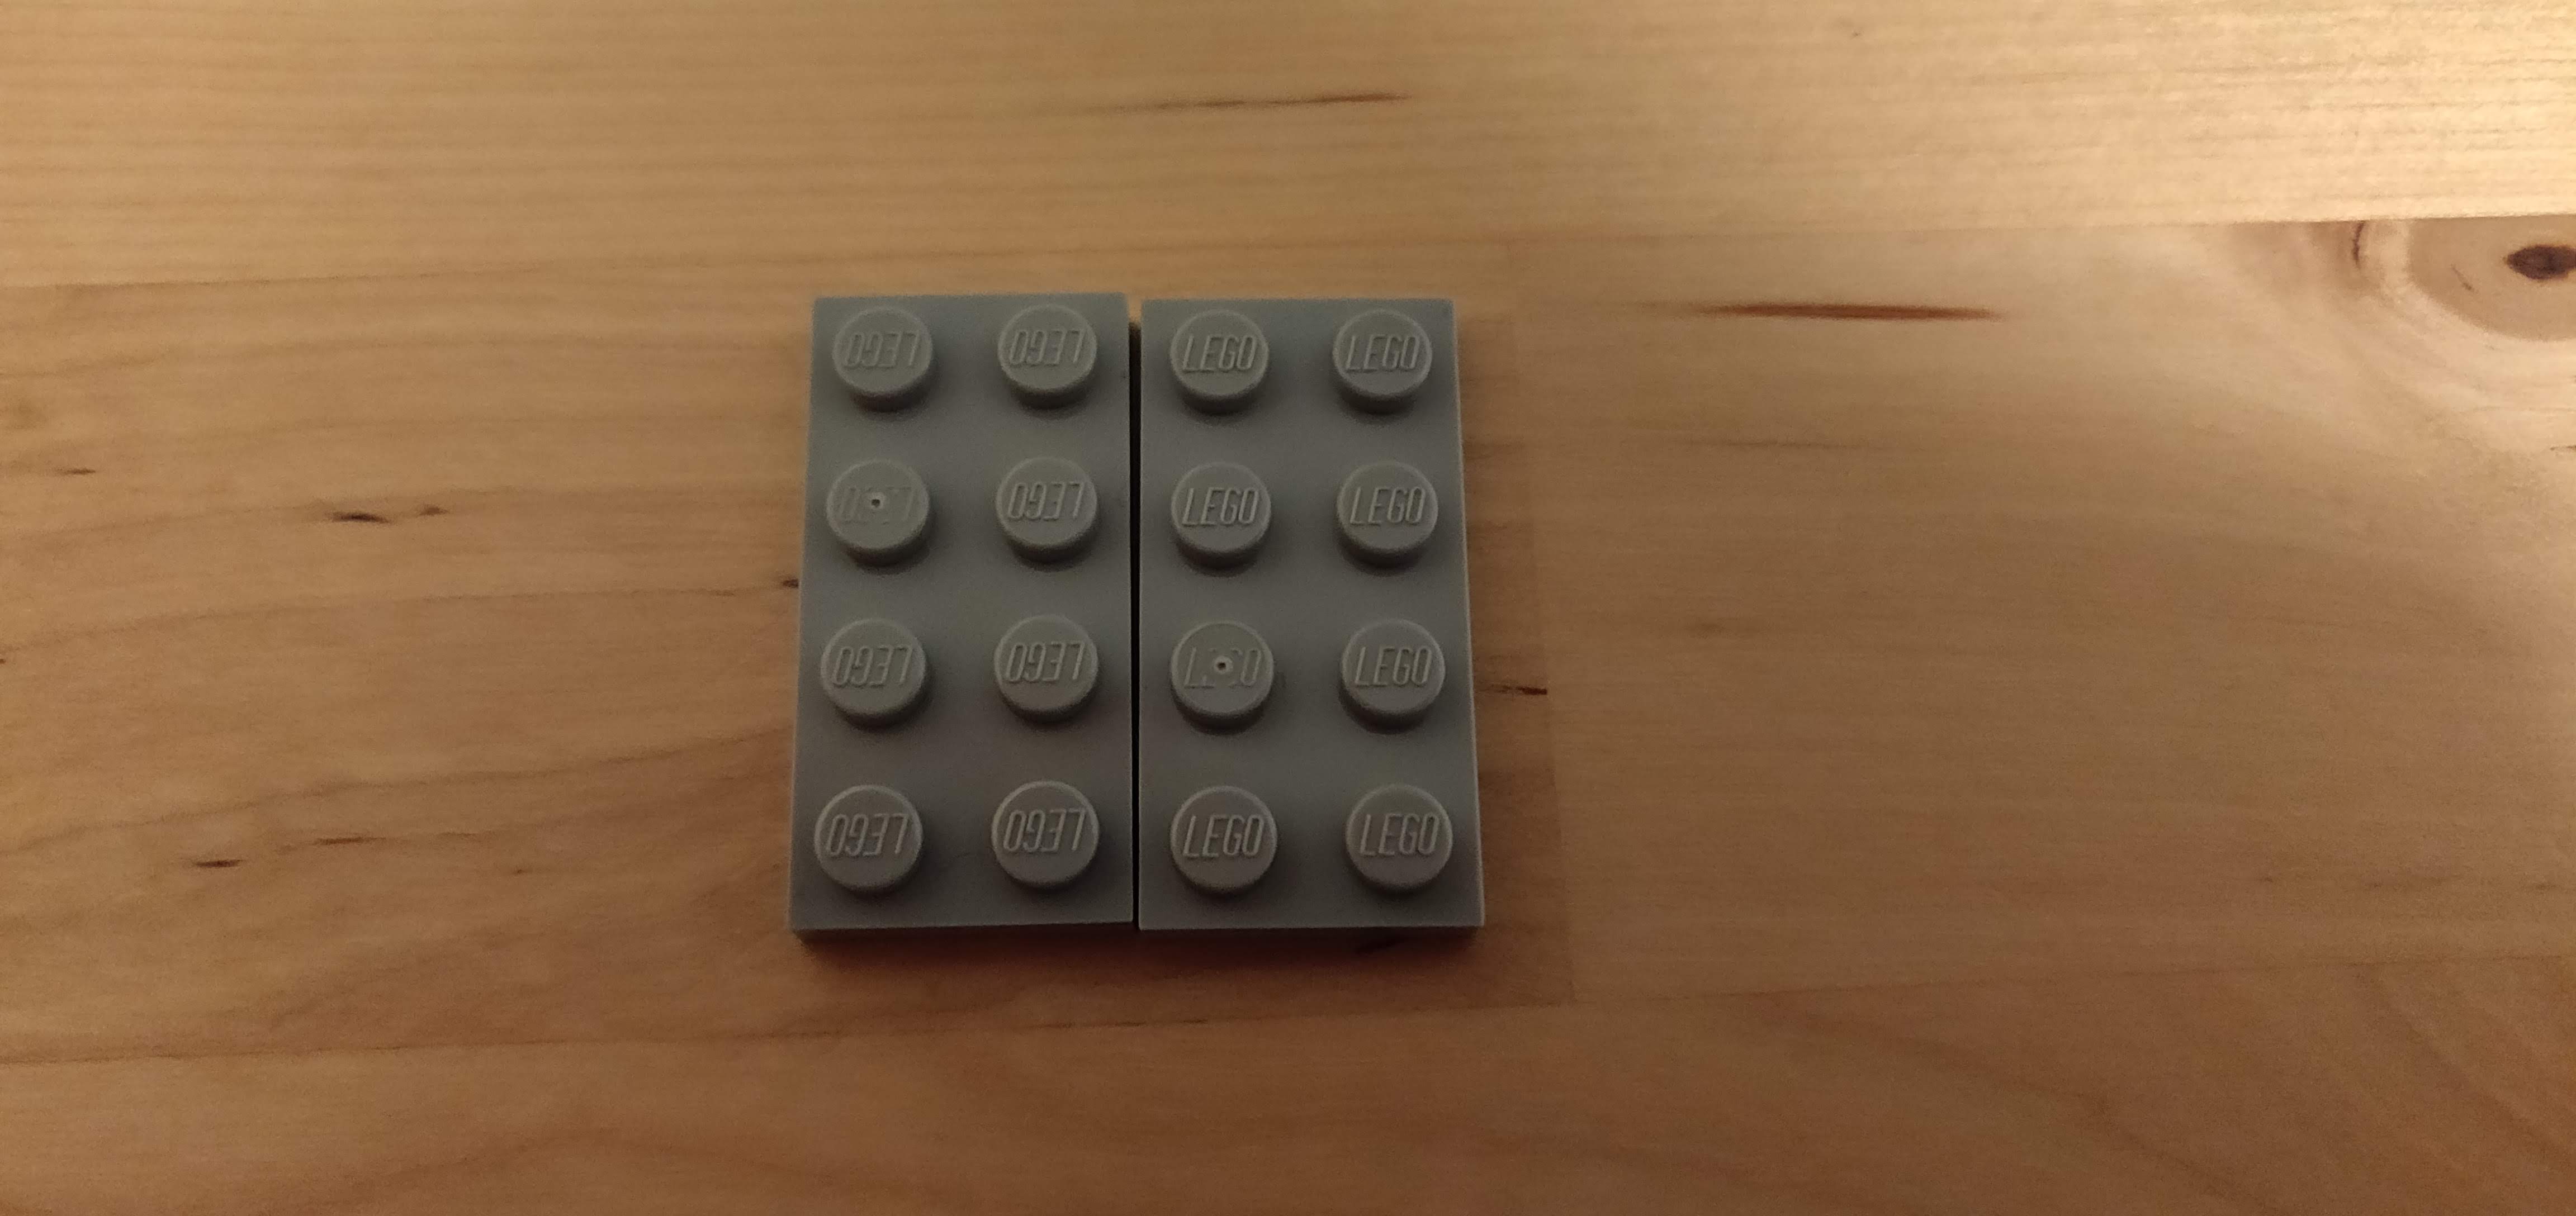
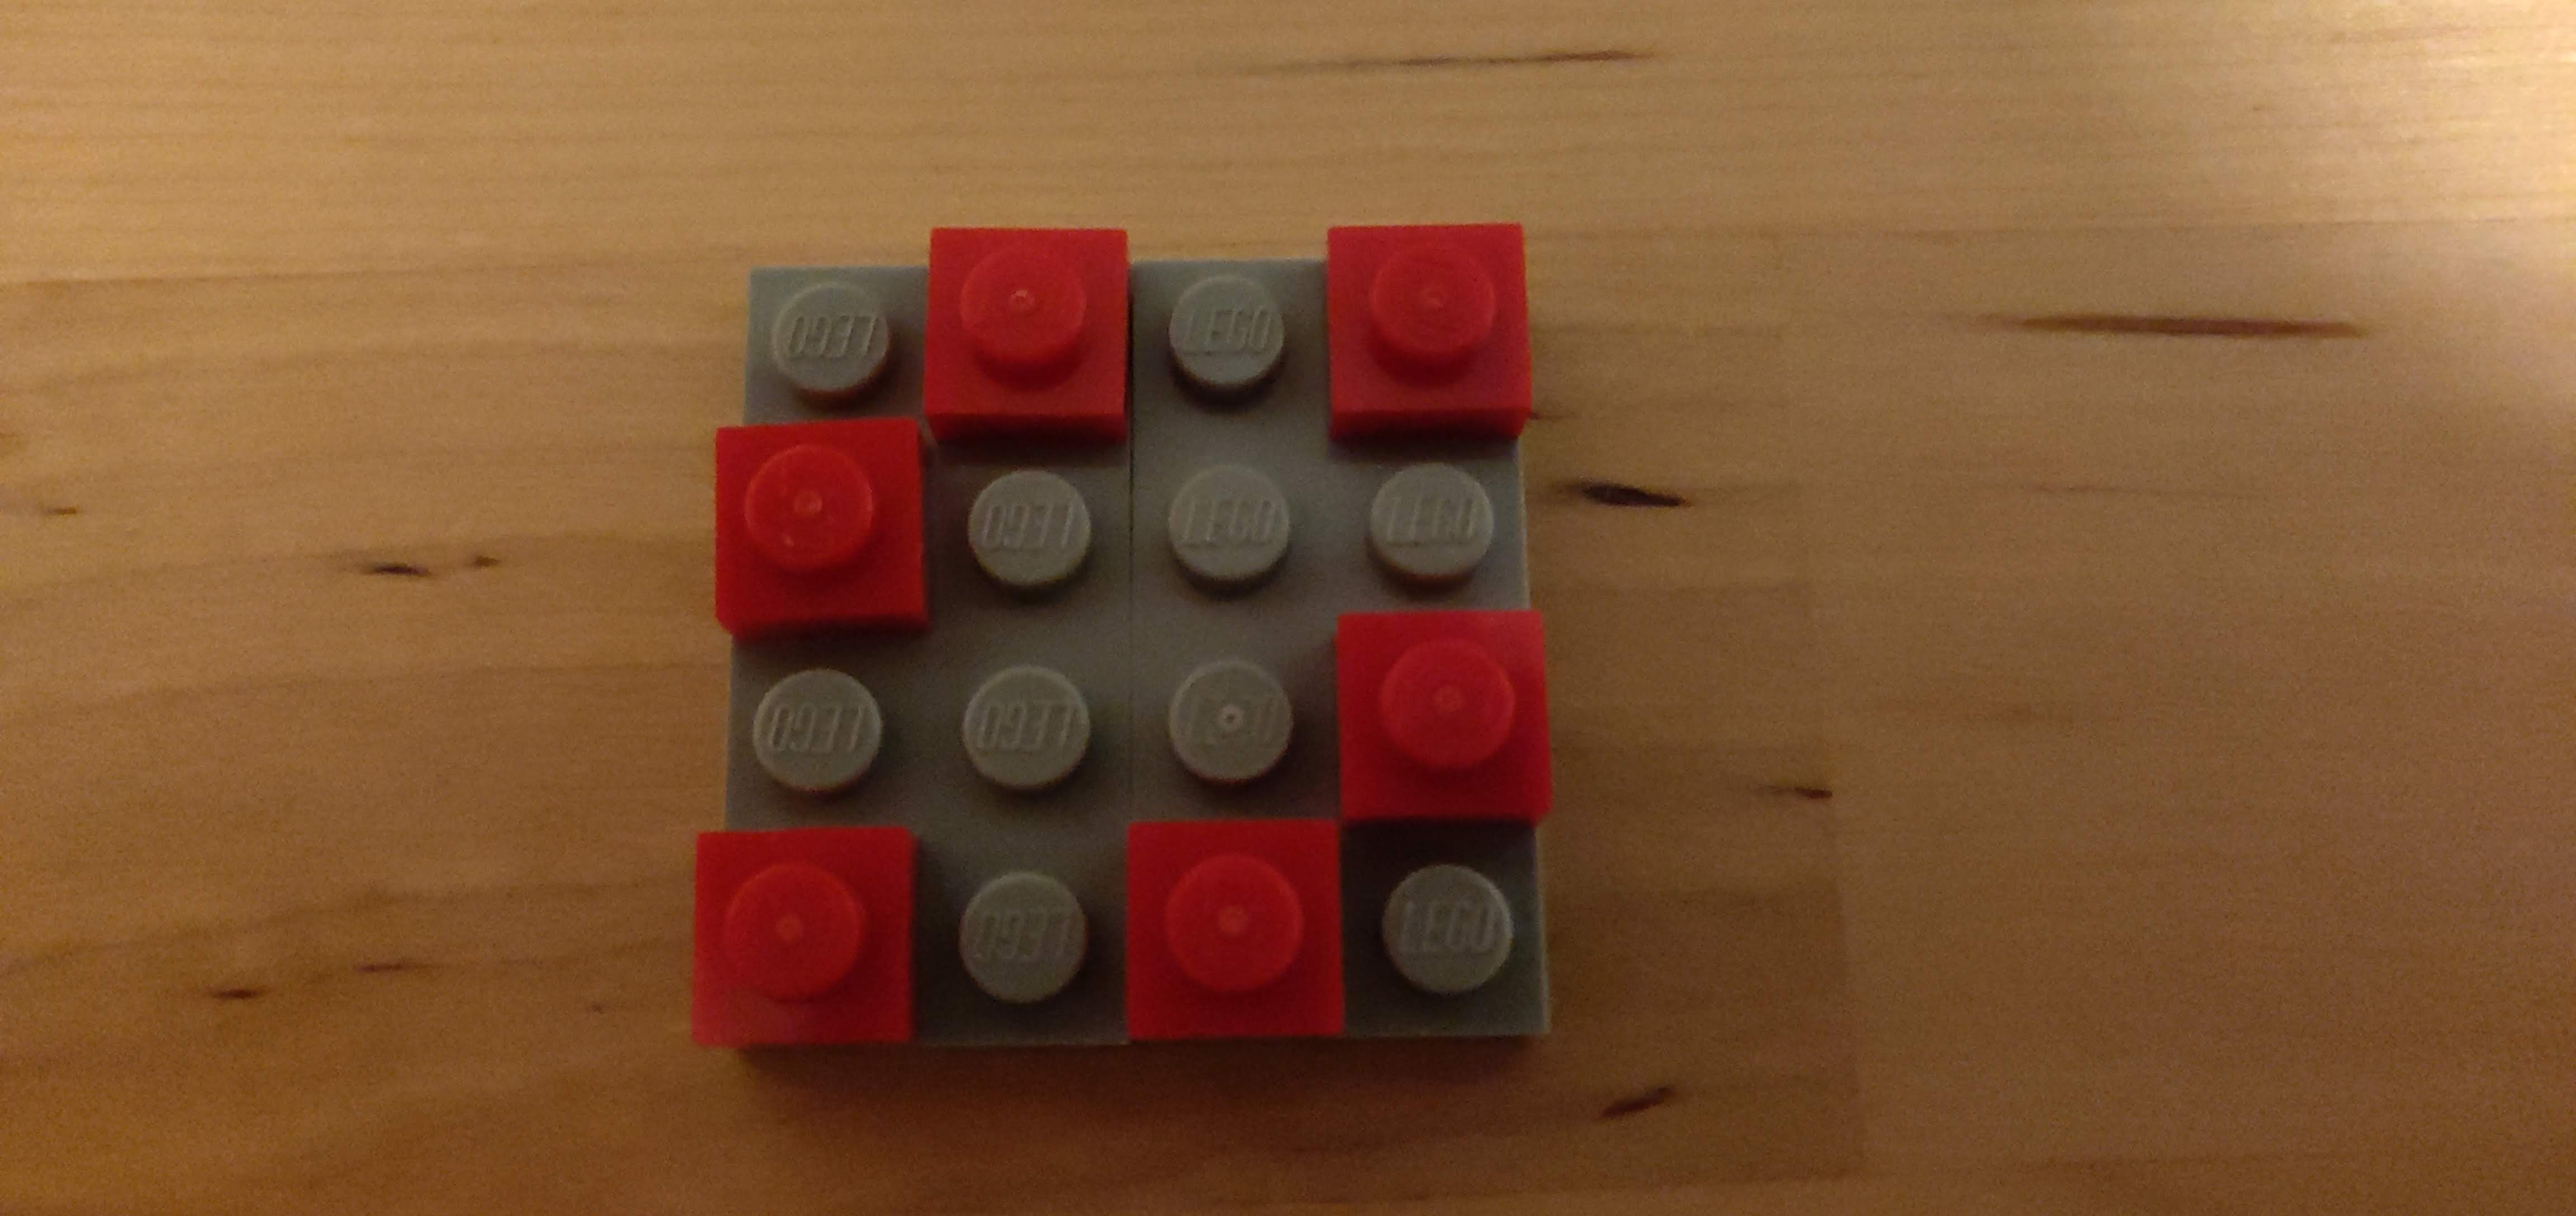
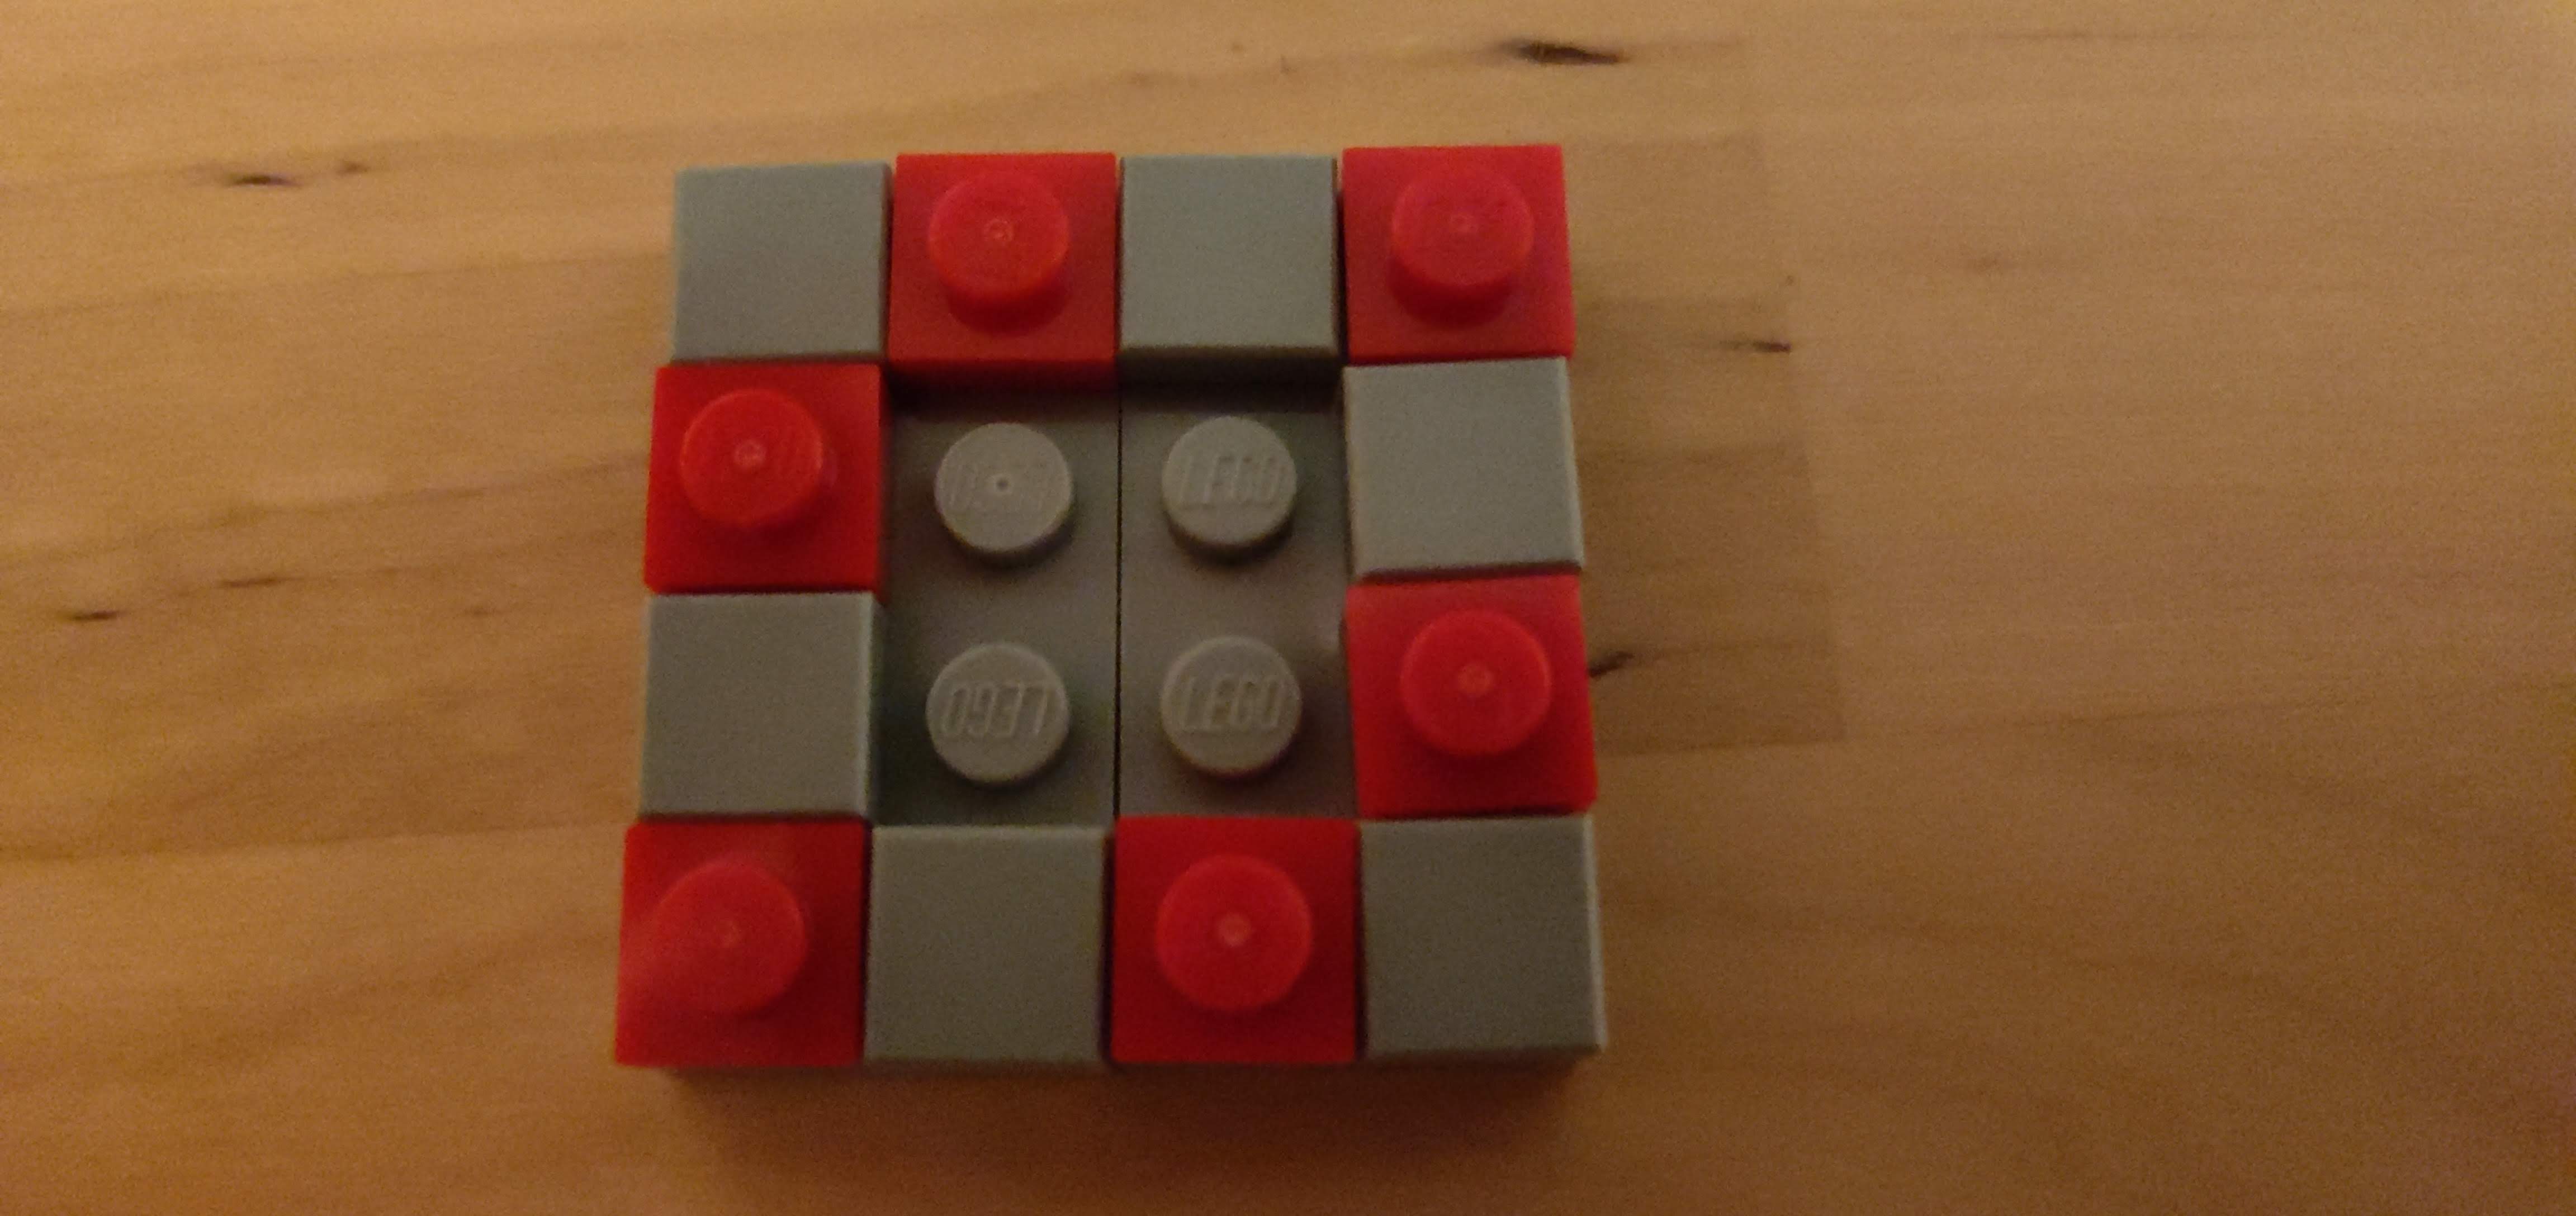
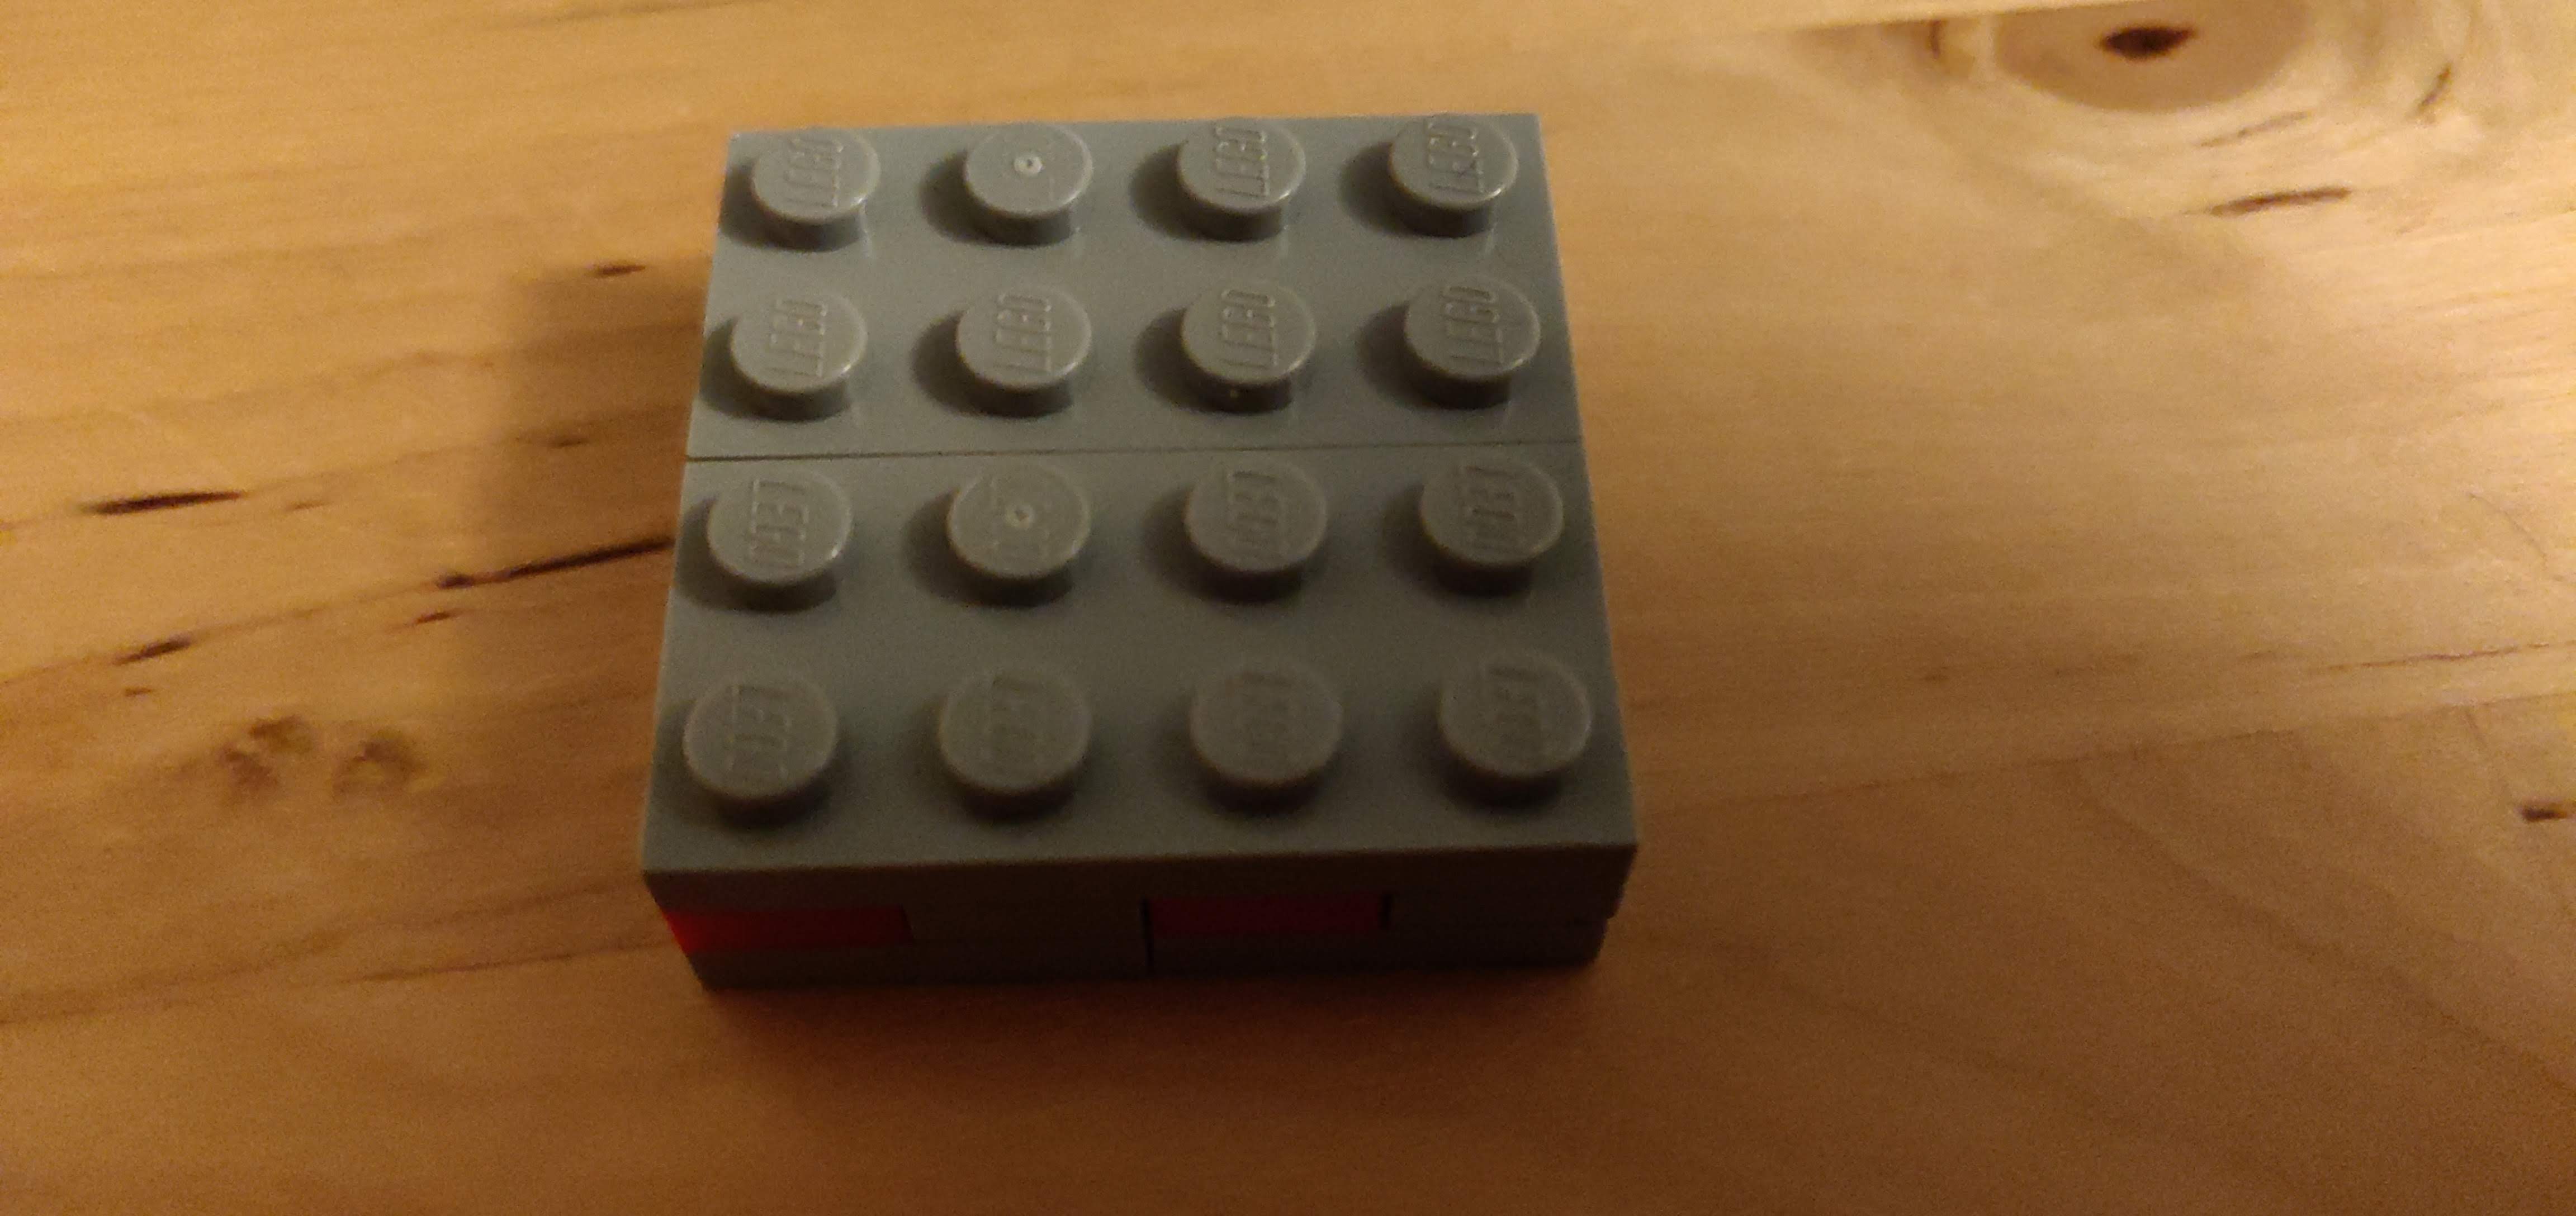
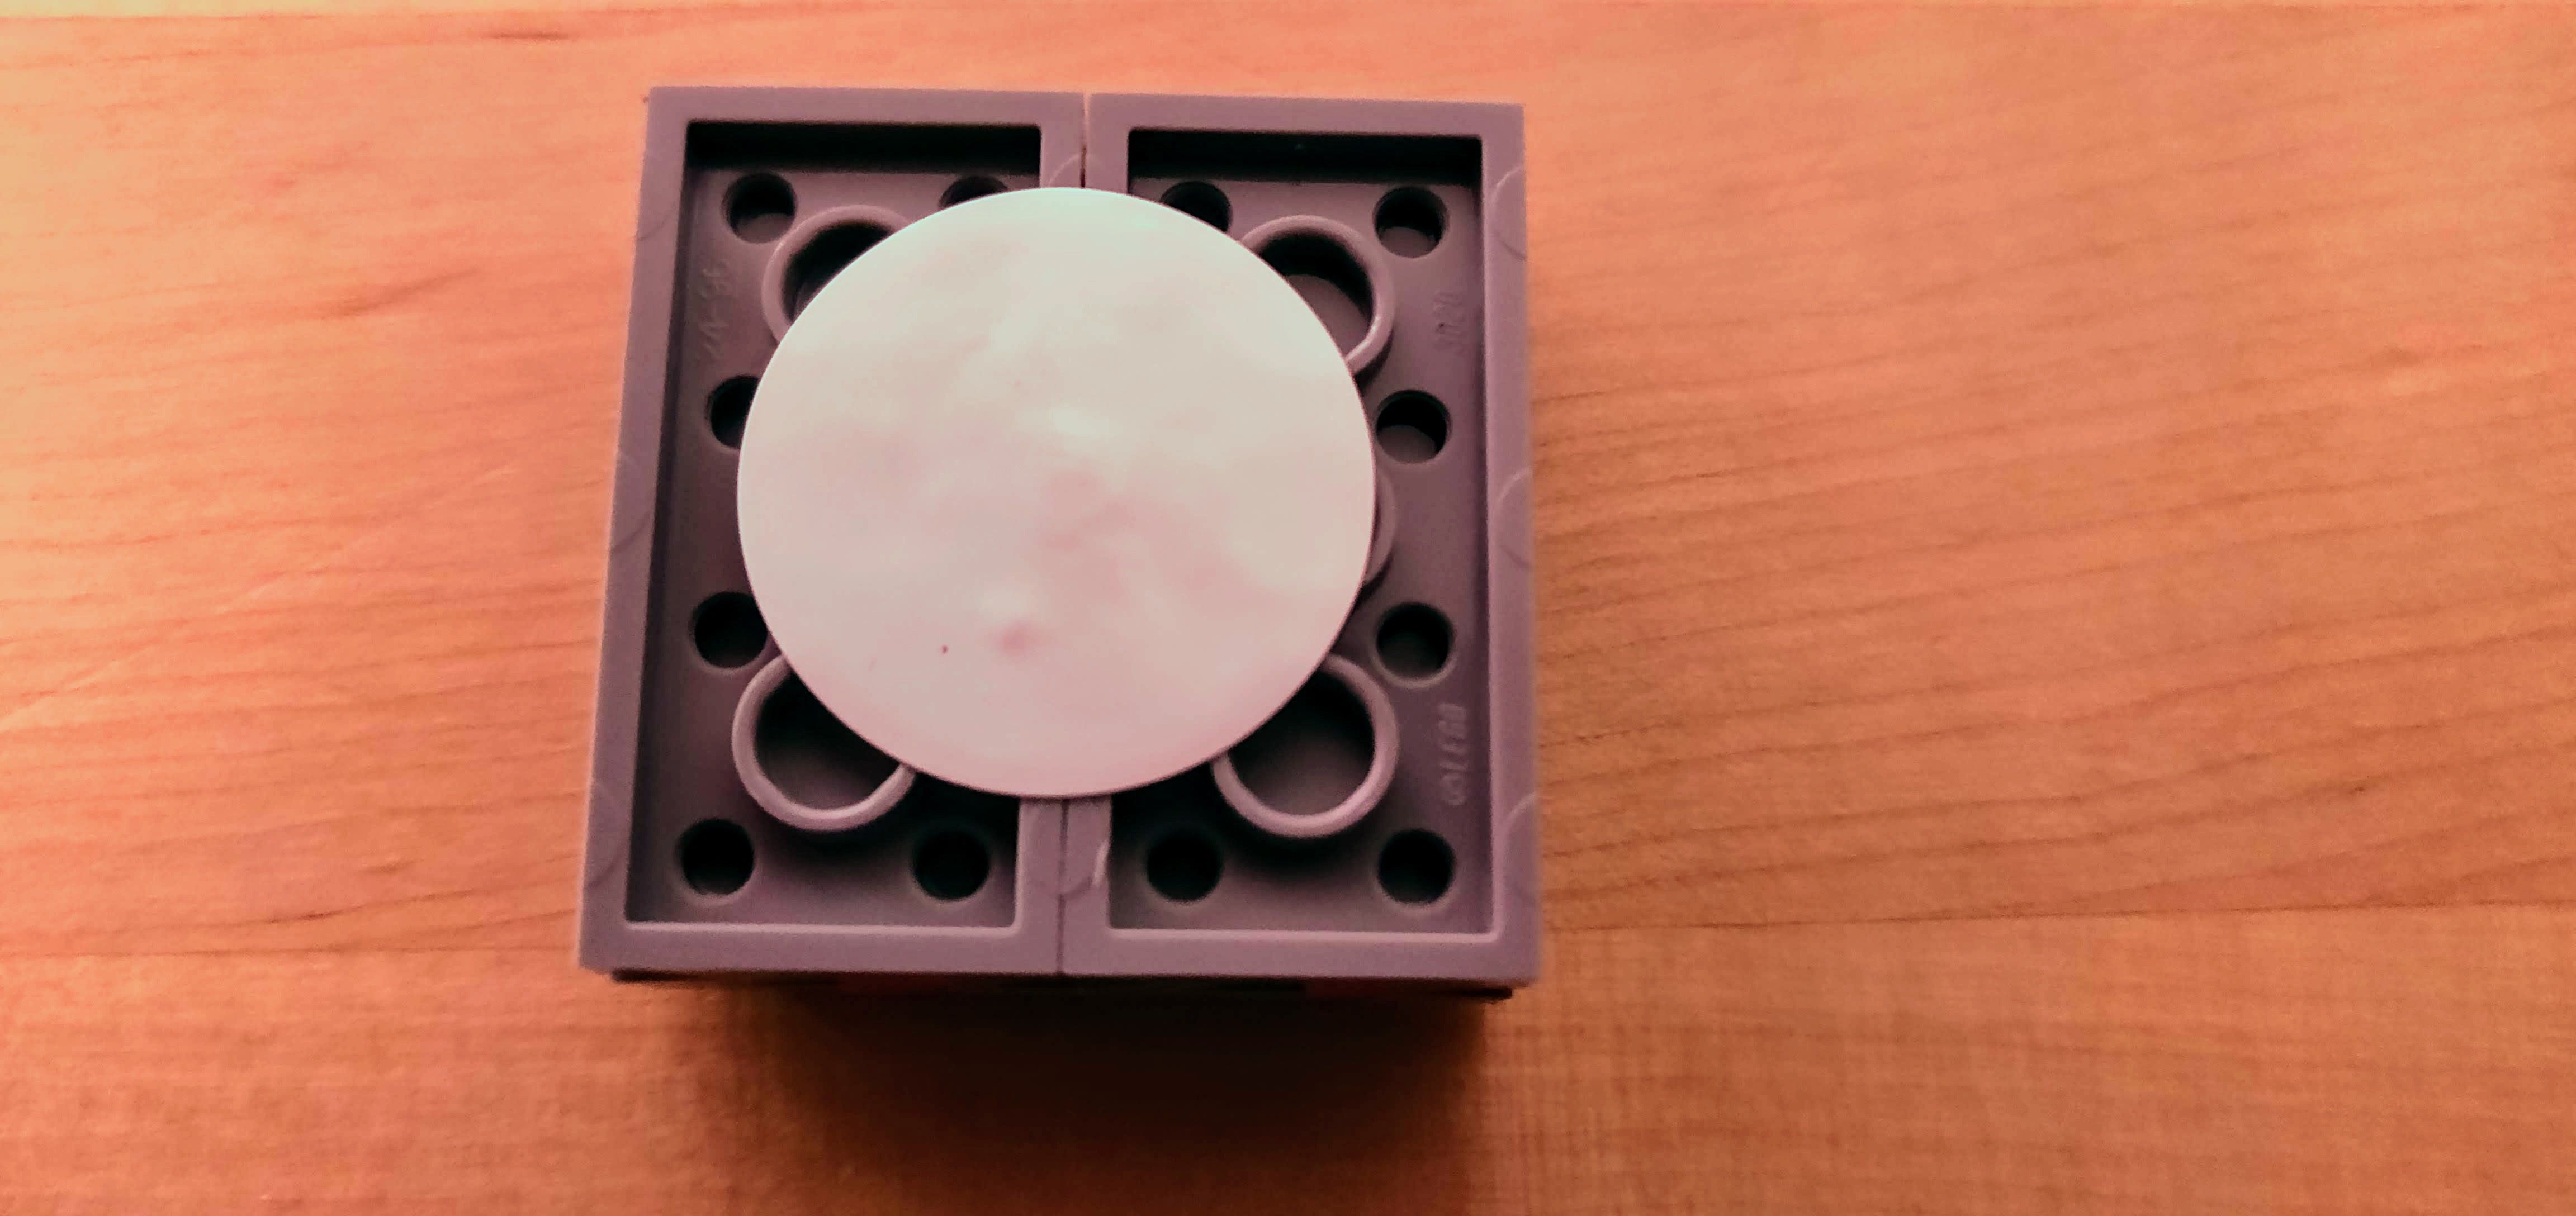
Assembling our Lego Stand
Now we have our Lego, let's get started with building our stands for our Minecraft dolls. Here you can find the different steps that I used towards building those stands:

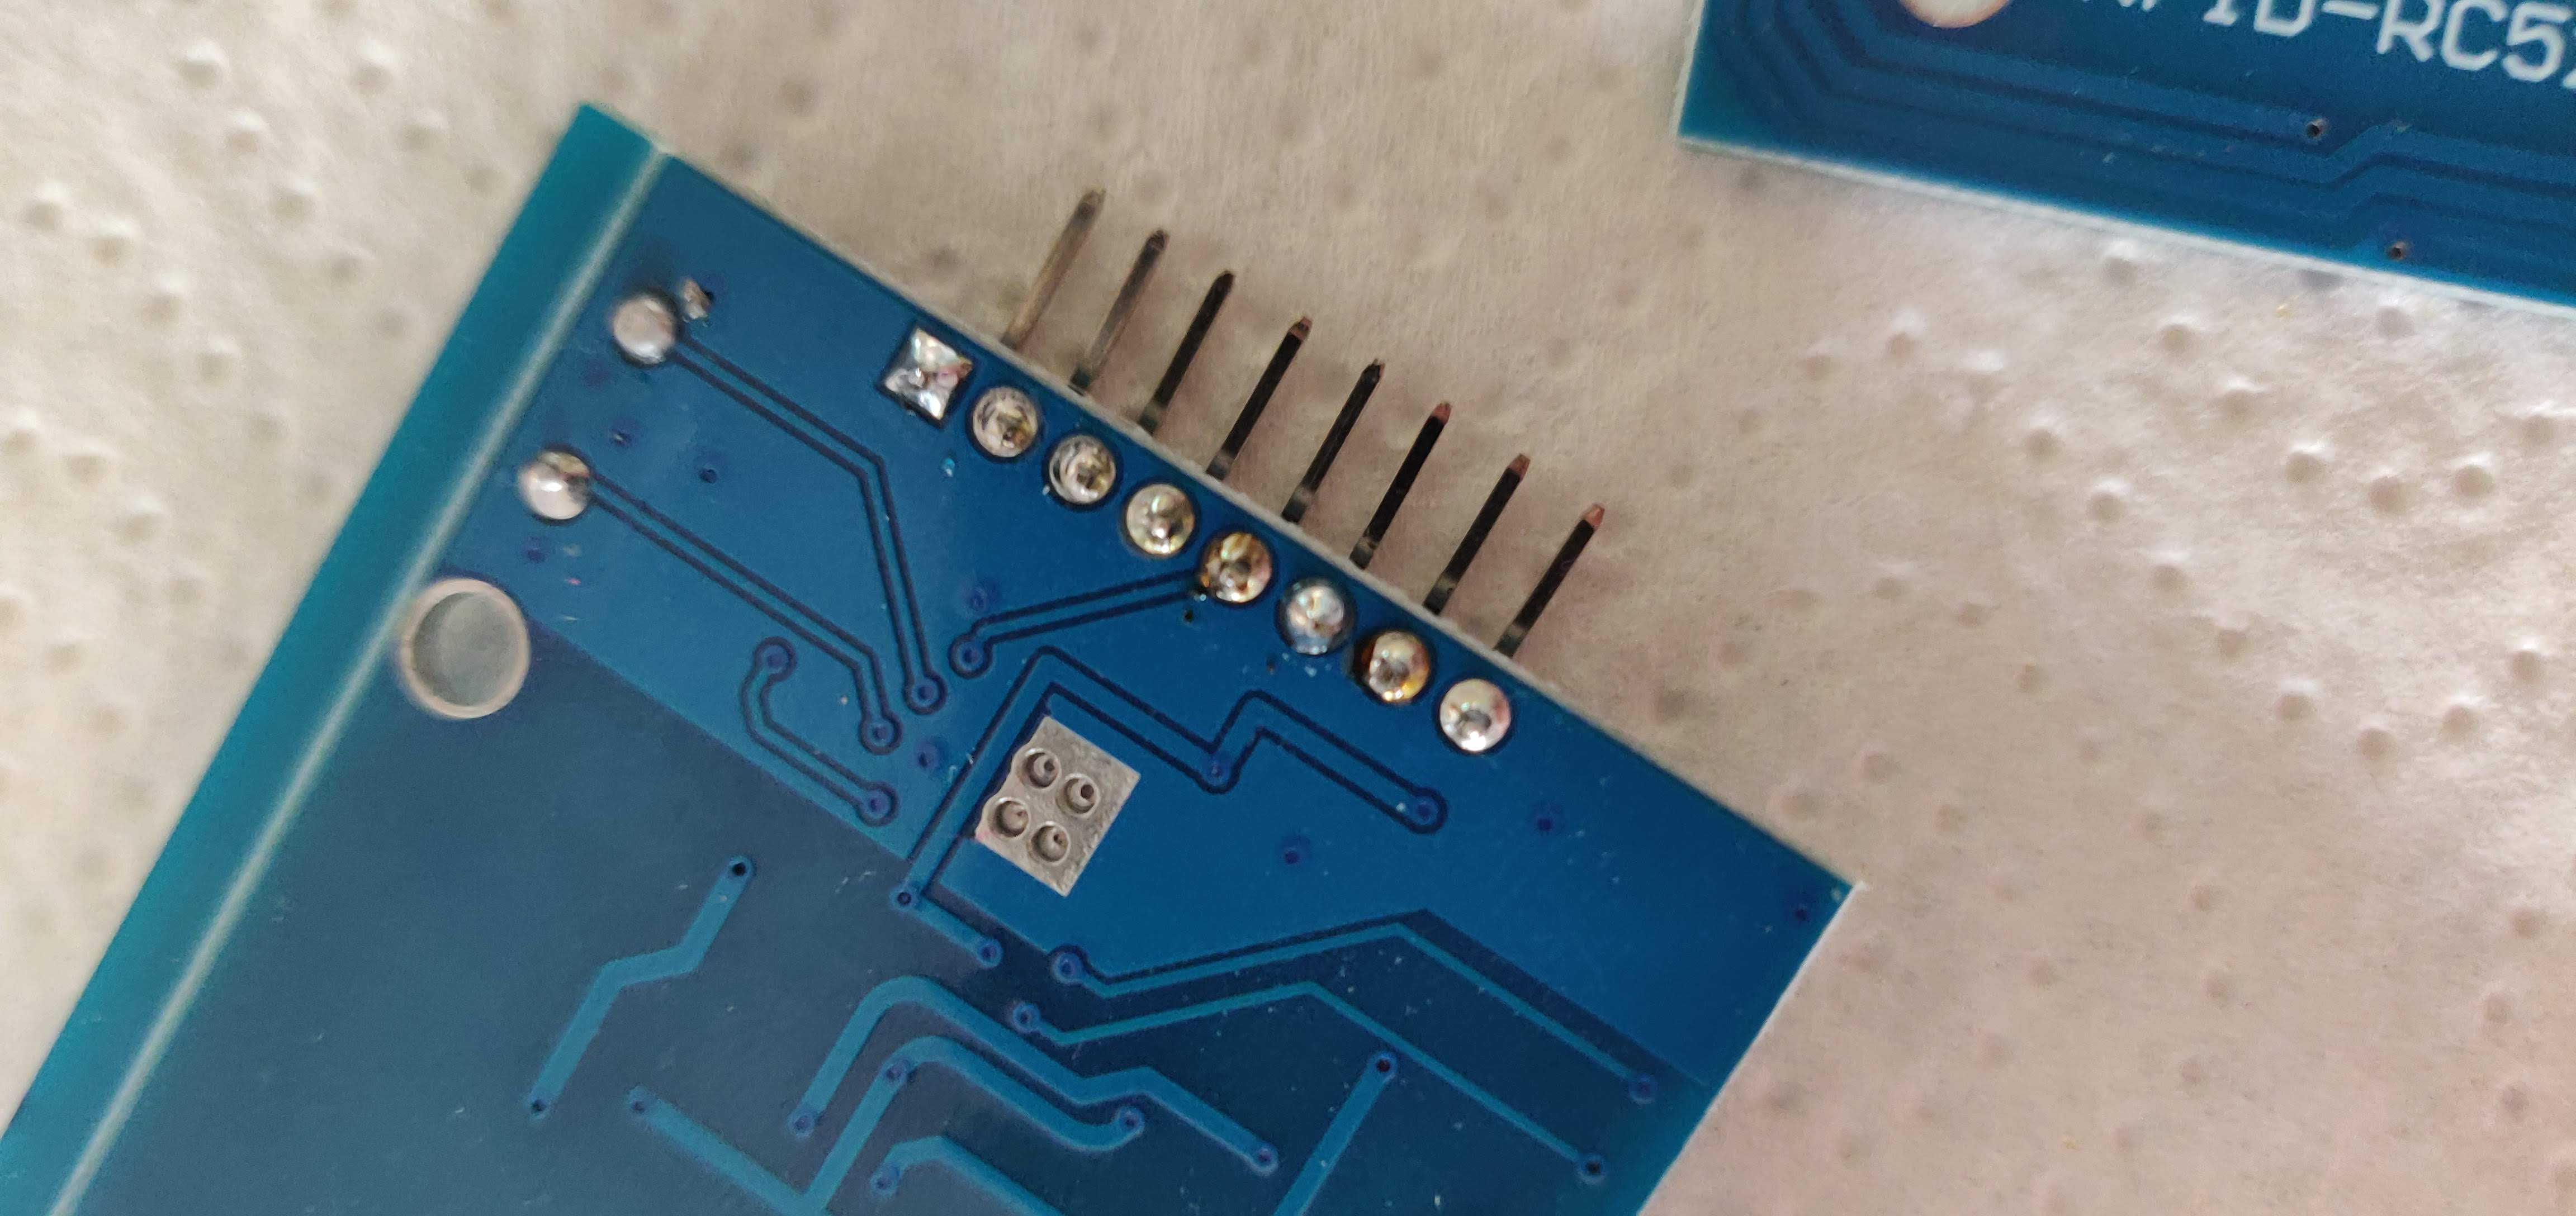
Soldering our NFC Reader
After purchasing the RFID-255 reader a sharp eye will notice that it comes into a small package with nothing being assembled.
A quick soldering trip later then resulted in something usable that we can easily stick on a breadboard


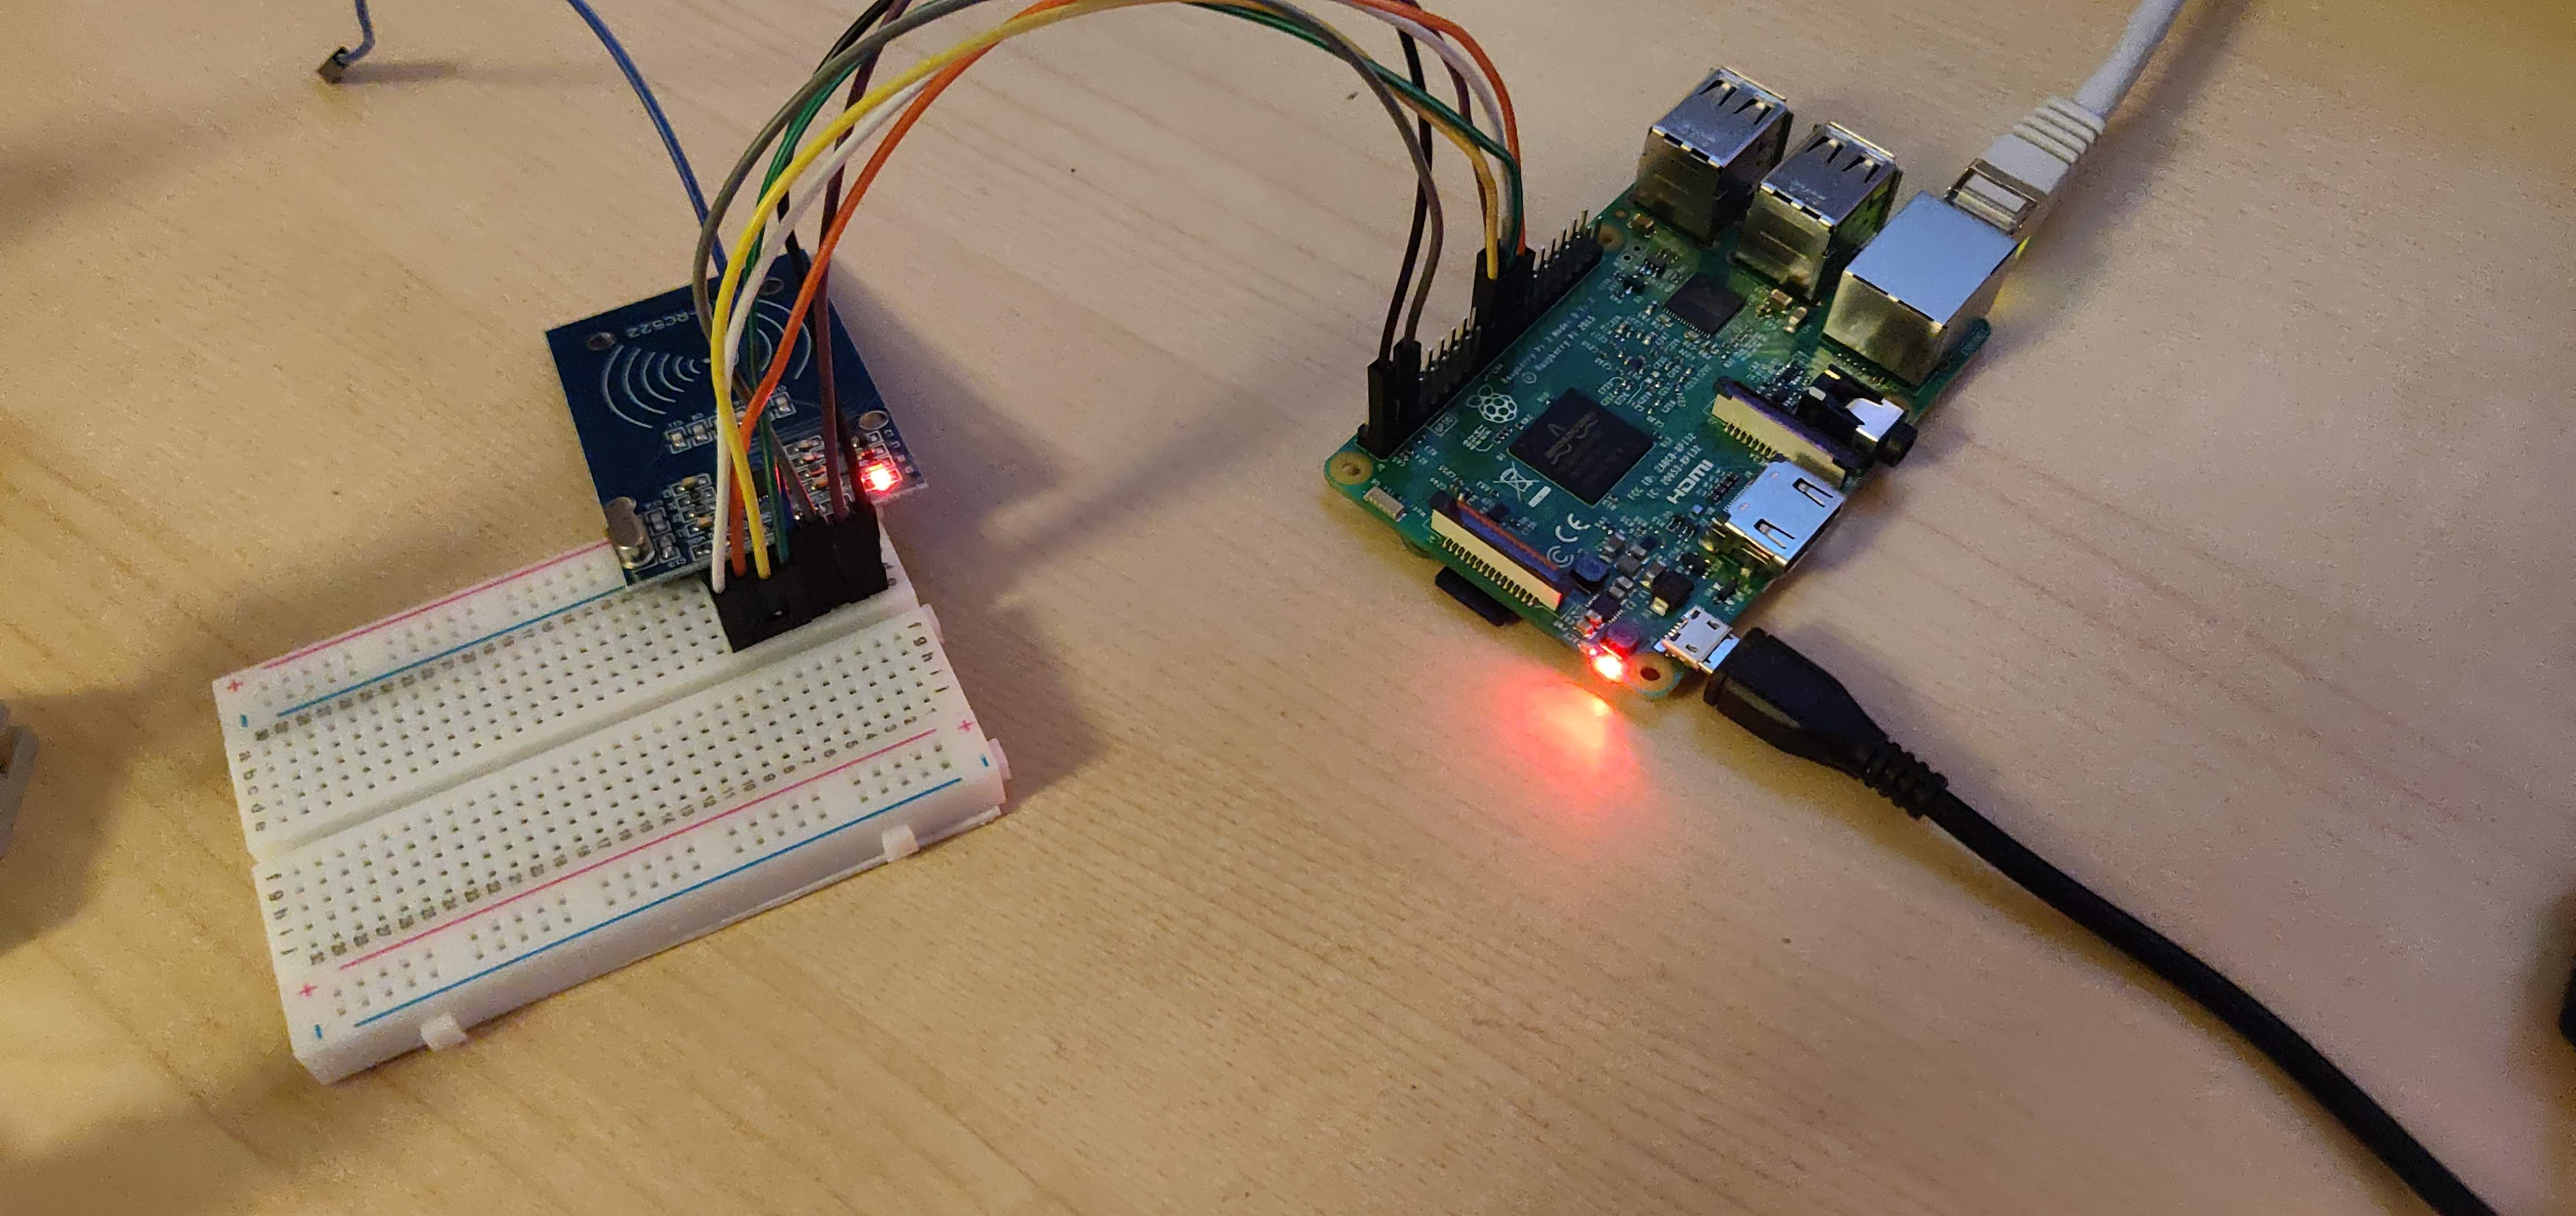
Connecting the NFC Reader to our Raspberry PI
To connect our Raspberry PI reader to the RFID reader that we just soldered above, we need to know the pin layout. Luckily a lot of online documentation is able to provide us something as the layout shown below:
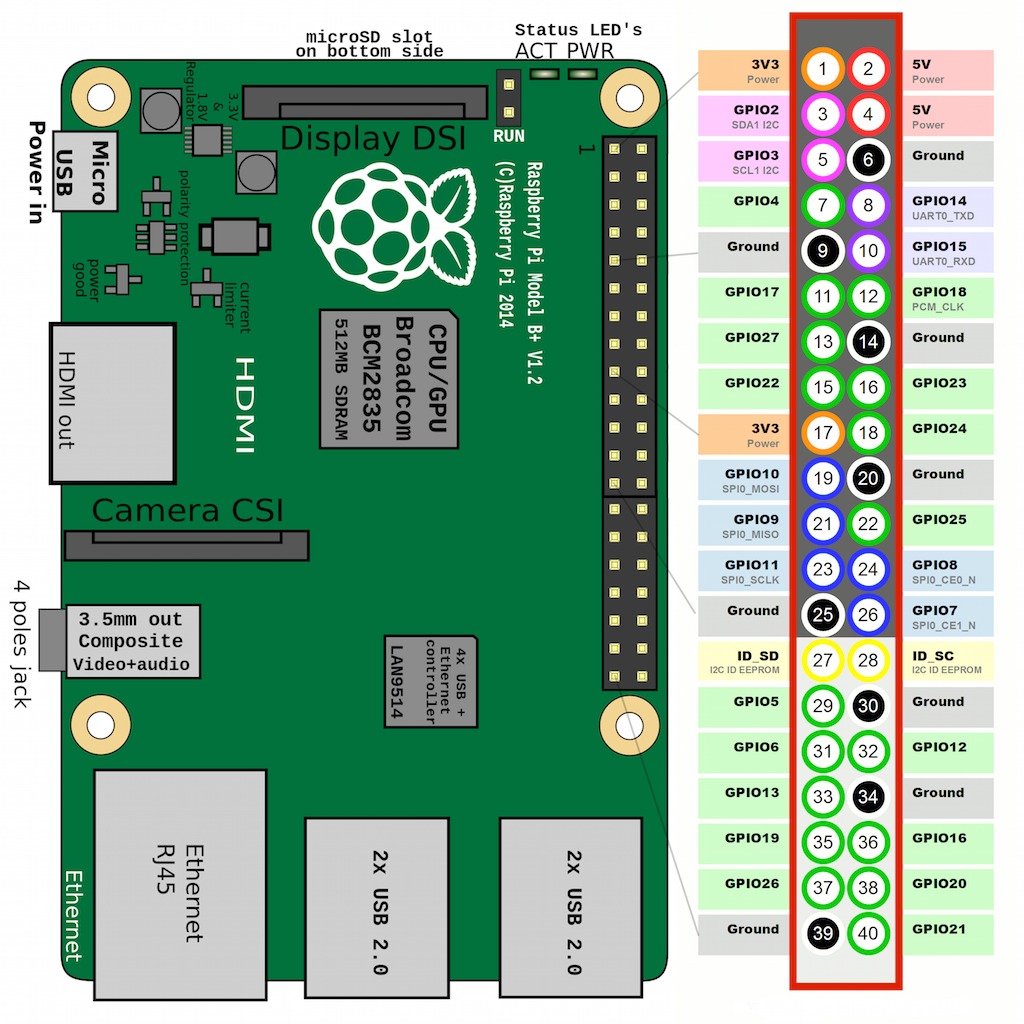
On here we can read our pin connections:
|RFID Pin|Raspberry PI Pin| |-|-| |MOSI|Pin 19 (GPIO10)| |MISO|Pin 21 (GPIO9)| |SCLK|Pin 23 (GPIO11)| |SDA|Pin 24 (GPIO8)| |Reset|Pin 22 (GPIO25)| |Power|Pin 1 (3,3 V)| |GND|Pin 6 (GND)|
Looking like this when we connect them:
Enabling the SPI Interface on Raspberry PI
Before we are able to read out our RFID tag, we first need to enable the SPI interface on the Raspberry PI.
To do this we need to log in on the console of the Raspberry PI and run the sudo raspi-config command. This will open up an interface where we will select 5. Interfacing Options -> SPI -> Enable.
Confirm that this is set by running lsmod | grep spi which should show spi_bcm2835 if everything went correctly. The SPI interface is now enabled.
Creating our code
Now everything is connected, the only thing left to do is write the actual code for 2 components that will do several things:
NFC Reader Code
For our NFC Reader we will be using Node.js for the program code together with a library called mfrc522-rpi which will make our lives easier since it allows us to call functions that can easily read the tags for us.
1. Detecting our NFC Tag
Detecting our NFC Tag can be done through the library mentioned earlier, then we can copy in the tutorial code as mentioned in the library README.md which looks like this:
//# Init WiringPi with SPI Channel 0
mfrc522.initWiringPi(0);

//# This loop keeps checking for chips. If one is near it will get the UID and authenticate
console.log("scanning...");
console.log("Please put chip or keycard in the antenna inductive zone!");
console.log("Press Ctrl-C to stop.");

setInterval(function () { // Every 2 seconds check if a card is present
    //# reset card
    mfrc522.reset();

    //# Scan for cards
    let response = mfrc522.findCard();
    if (!response.status) {
        return;
    }

    console.log("Card detected, CardType: " + response.bitSize);

    //# Get the UID of the card
    response = mfrc522.getUid();
    if (!response.status) {
        console.log("UID Scan Error");
        return;
    }

    //# If we have the UID, continue
    const uid = response.data;
    console.log("Card read UID: %s %s %s %s", uid[0].toString(16), uid[1].toString(16), uid[2].toString(16), uid[3].toString(16));

    //# Select the scanned card
    const memoryCapacity = mfrc522.selectCard(uid);
    console.log("Card Memory Capacity: " + memoryCapacity);

    //# dump fifo buffer
    let cardMemory = {};
    for (let i = 0; i < 45; i++) {
        if (i != 44) {
            cardMemory[`block-${i}`] = mfrc522.getDataForBlock(i).toString().split(",").map(i => String.fromCharCode(i)).join(",").replace(/\\u[0-9a-zA-Z]+/, '');
        }

        console.log("Block: " + i + " Data: " + mfrc522.getDataForBlock(i));
    }
}, 2000);
2. Extracting our NFC Tag Data
Since we do not want everything being extracted, we are just going to specify what we need for our tags. Looking into the result from the democode above shows us that our data is located in Block 7 and that it has a closing byte to show when all the data was delivered.
We can this add the following code to detect this:
// Get out block (i = 7)
let blockNo = 7;
let blockClosingByte = 254;

let blockRaw = mfrc522.getDataForBlock(blockNo).toString().split(",");
let result = "";
let i = 0;

while (blockRaw[i] && blockRaw[i] != "0" && blockRaw[i] != blockClosingByte.toString() && i < 20) {
    i++;
    if (i == 0 || i == 1 || blockRaw[i] == blockClosingByte.toString()) {
        // Do nothing
    } else {
        result += String.fromCharCode(blockRaw[i]);
    }
}
3. Sending our data to Event Hub
The last part to do now is to include our EventHub connection and send the message once a message has been detected. Through the awesome azure-event-hubs NPM package we are able to run the following code:
const eventHubClient = require('azure-event-hubs').Client;
const client = eventHubClient.fromConnectionString(config.getConnectionString(), config.eventHub);
const sender = await client.createSender();

sender.send({
    name: process.argv[2] || result,
    raw: blockRaw
});
Which will configure our sender its connection string as defined in a config.js that we created and connect to the given eventHub. After that we will just send a message containing our block details that we extracted through the code in step 2.
Website Code
1. Creating the base website layout
For the layout of the website, I decided to start from the design presented by the original Minecraft website https://minecraft.net/en-us/ which is very recognizable and easy to recreate using css and html, in just a few lines of codes we can get to this result:
2. Getting the incoming data from Event Hub
Once the website base template is made, we need to hook it up to our EventHub. For this I reused my previous work that explains how you can easily hook your website to Event Hub and consume the events coming in through the AMQP protocol.
3. Displaying our picture
Now we have our events coming in, we just have to add these few lines of code to process the events and update our HTML tree to show a picture:
var decodedMessage = Utf8ArrayToStr(context.message.body.content);
var decodedMessages = decodedMessage.split('\n'); // Apparently multiple json messages per payload
var decodedMessage = JSON.parse(decodedMessages[0]);

console.log("Got Message: ");
console.log(decodedMessage);

document.querySelector("#content").innerHTML = "<img id=\"minecraft\" />";
document.querySelector("#minecraft").src = "/images/dolls/" + decodedMessage.name + ".png";
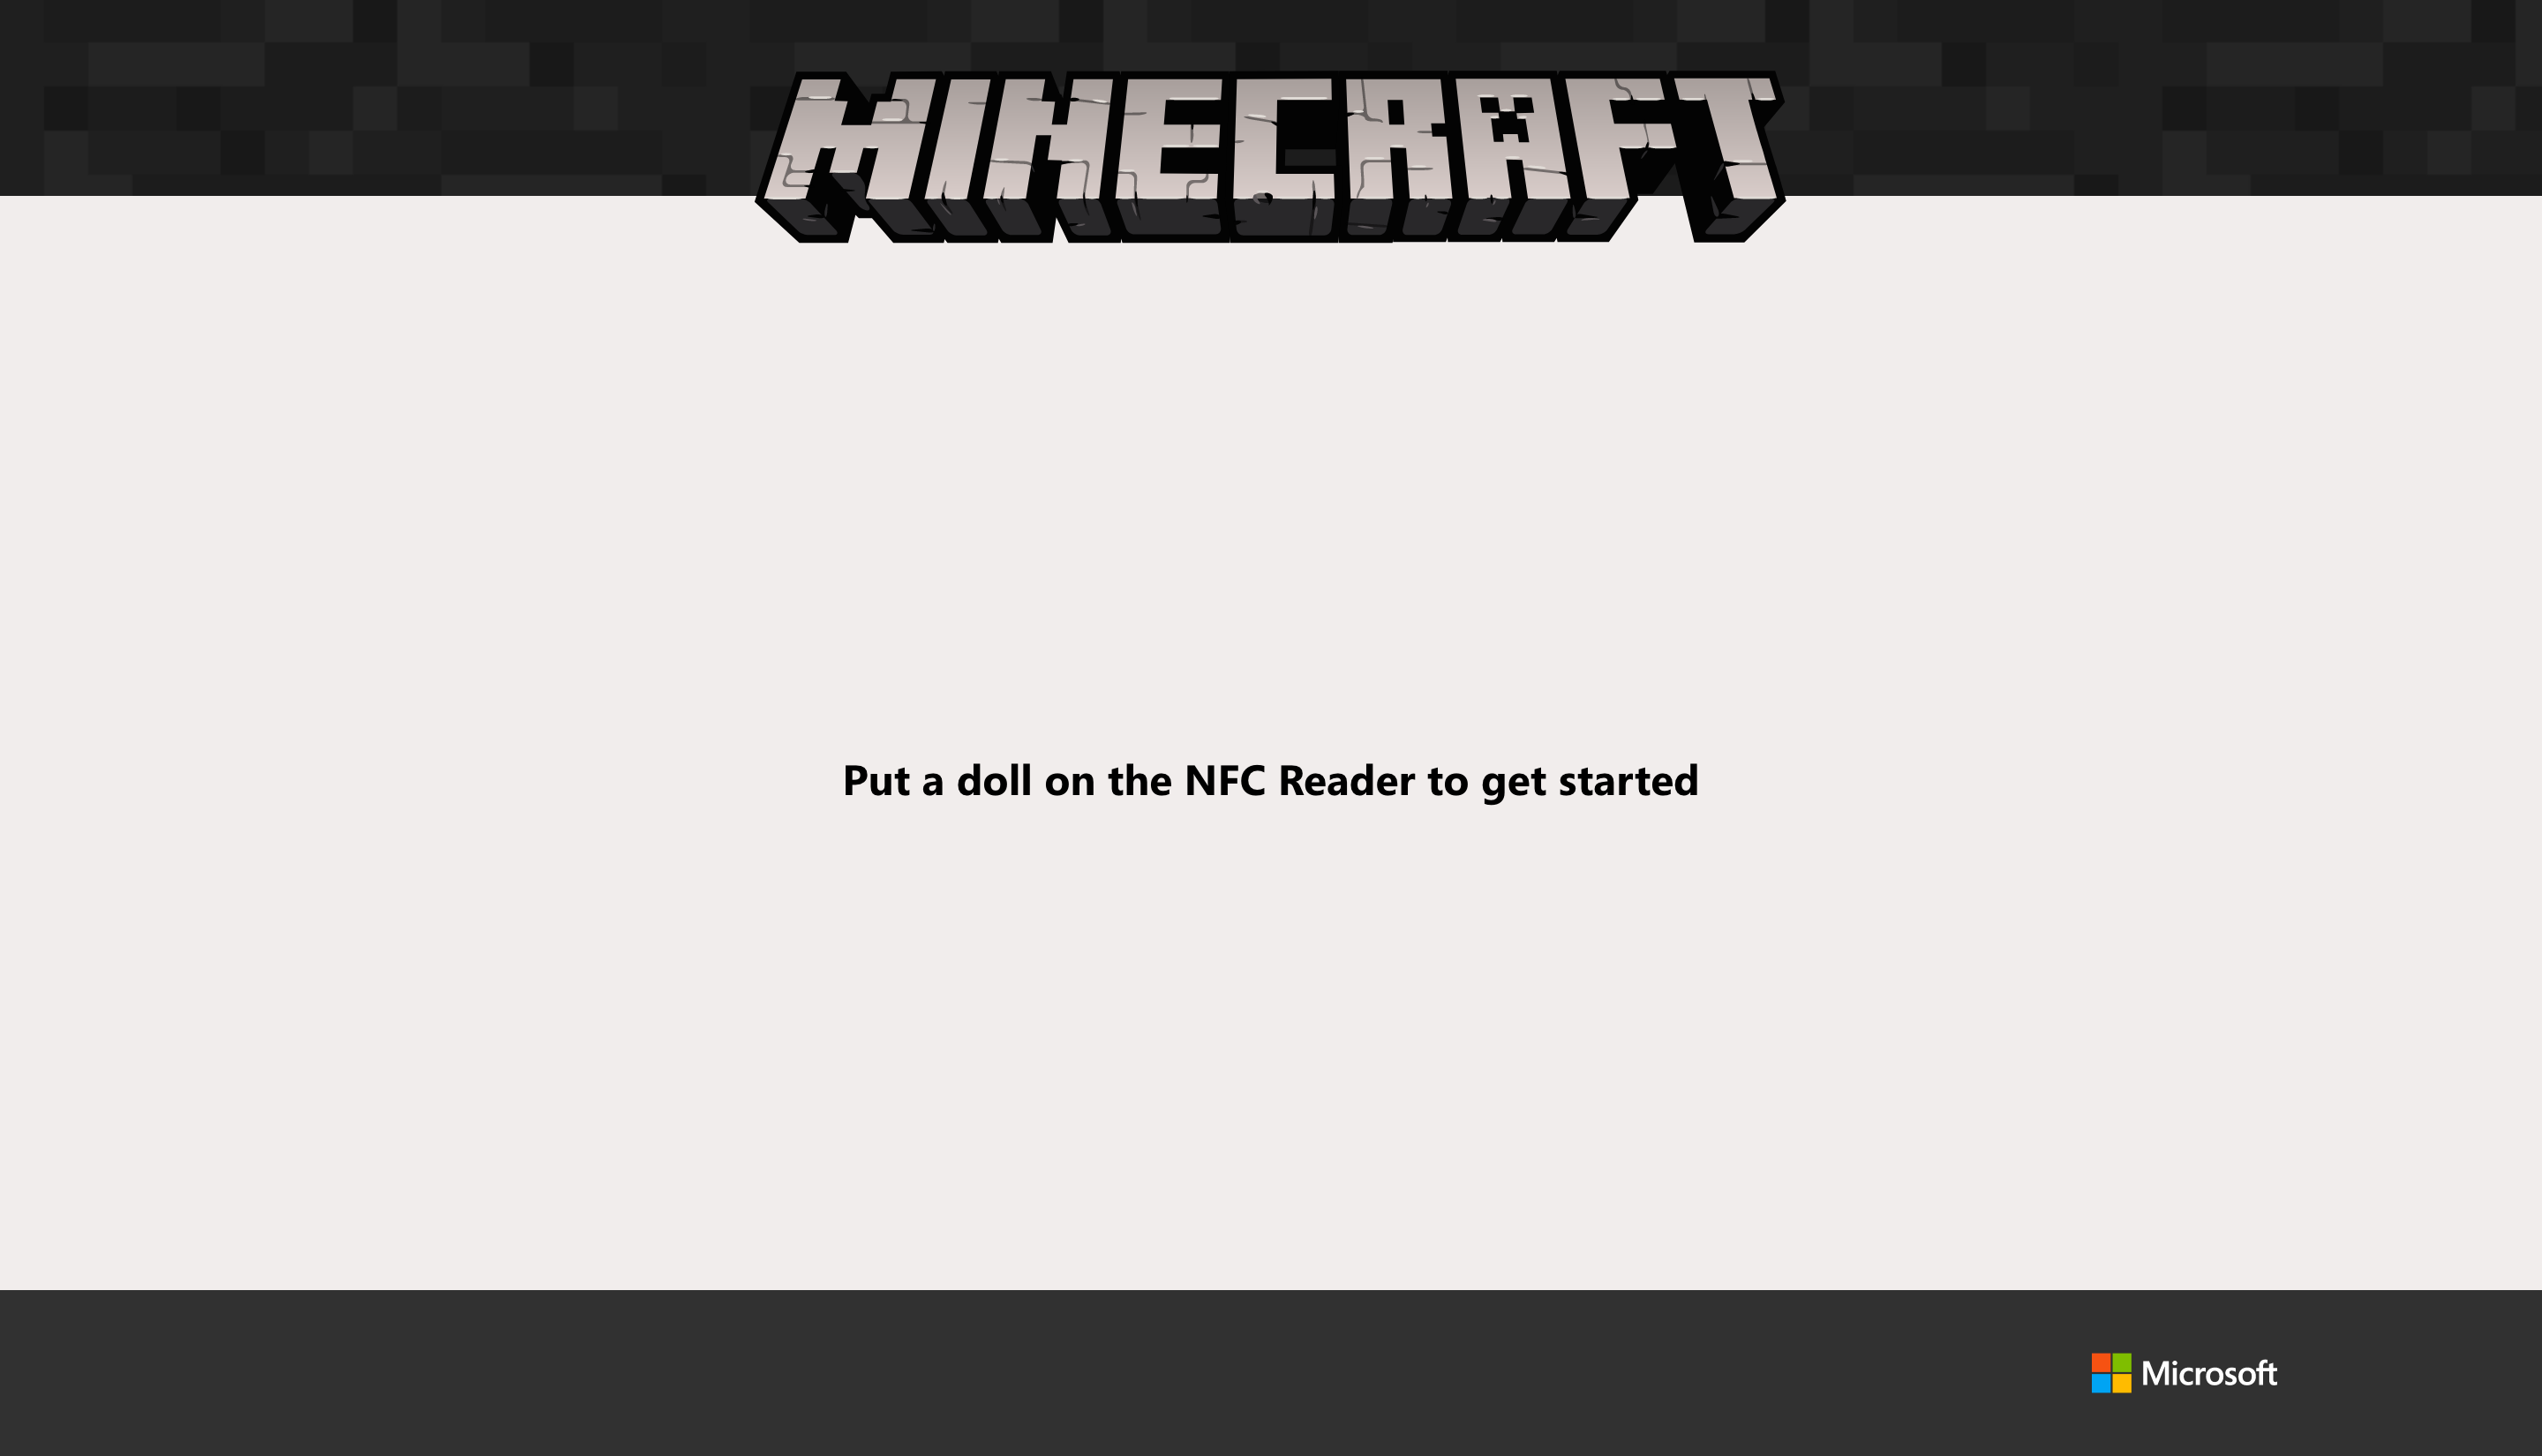
Result
When done successfully we are now able to put a doll on the NFC reader which will present us with the following screen:

Allowing the children to play around with the tags to match the different dolls to these tags.
If you want to replicate this, feel free to check out the code at: https://github.com/Xaviergeerinck/PublicProjects

Comments ()